As the weather changed, I took stock of my wardrobe, and felt like my t-shirts were a little tired. I have loved some of them near to DEATH. So I set about to make some of my favorites over again.
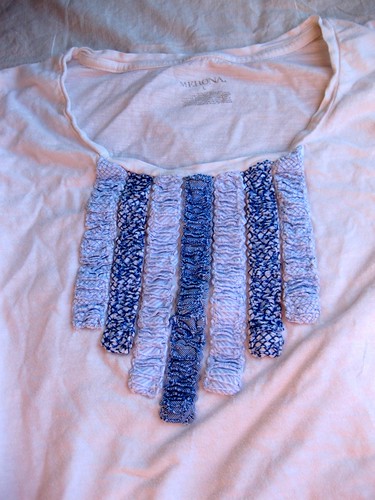
One of them came from “Le Tar Jay Boutique” (wink wink), and I have worn it nearly to shreds. It has these strips of fabric sewn down on the front of it. Here is the much loved shirt.

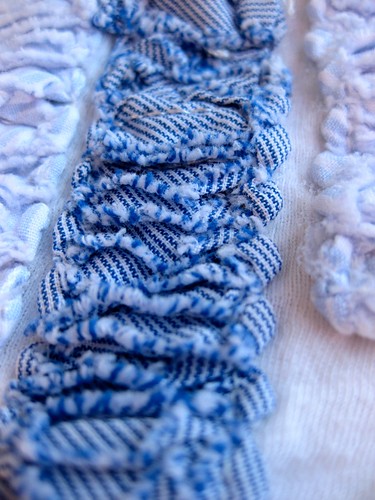
Upon closer inspection/dissection, I figured out the way they created this effect was to sew millions of tiny squares into a strip, and then sew the strip down to the shirt.

The thought of millions of squares was not on the calendar for this project, so I modified the pattern. And here it is for your summer fun!
Ruched Stripes Shirt
Supplies:
- T-shirt
- 2-4 accent fabrics (from stash – or fat quarters will work)
- Scissors (or rotary cutter)
- Thread
- Sewing machine
- Pins
To Make the Ruching:
Cut strips of fabric. Mine are 1.25 wide, and 17 inches long.
Set the sewing machine to a very long stitch length (few stitches per inch) and run the strips through sewing very close to the edges. (Note: You are not joining anything here, just stitching to help you do the ruffle part.)
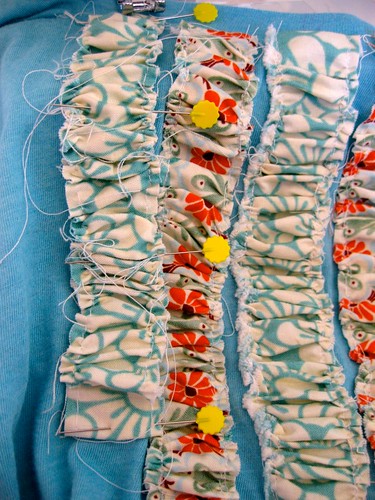
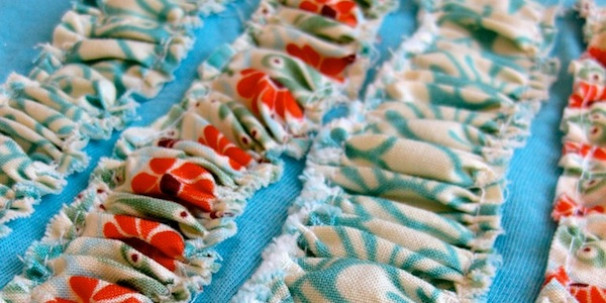
Pull on the bobbin thread (the bottom thread) and form gathers along the sides. This will take a little finesse, to try to keep the sides even, and to make the gathers a little bit symmetrical.
Attach the strips:
Fold the shirt in half lengthwise, to find the center of the neck. Mark this point with chalk or disappearing marker. This will be where the first (middle) piece gets sewn down.
Lay out your strips and see how you like them. You can decide to make them all even. Or to stagger the length in a stepping fashion. And you need to play with the strip colors to see what order you want them to be in. Pin one piece in the center, where your mark is. Place pins through the strips horizontally. I found that it was too hard to sew with all the pieces pinned down. I needed to do one at a time, and use millions of pins, so that the jersey would not stretch too much, and the strip would not get puckered.

Sew on the strips in this manner in succession. Try to keep them straight and evenly spaced. The trick here is to keep the gathers on each side even. Otherwise, the strips themselves curve.
Here is my finished shirt.

I kept the middle three strips even, and then stepped the outside two up a little bit. I am pleased with my replacement. I like the color better than the original even!
Have you embellished a t-shirt recently? We would love to see!
© 2005 – 2012 Kathy Lewinski & Susan Cornish


Pingback: Tutorial: Embellished a tee with ruched fabric strips · Sewing | CraftGossip.com
What a great makeover!! I am going to try this one with my daughter….great summer project for the Mom Daughter craft list!! Hope you will consider adding it to my t-shirt link up on Tuesday It would be a perfect fit!!
Thanks for sharing
Jaelma
http://www.mytshirttalk.com
Pingback: Майка с ситцевыми рюшами | Крафт - Дайджест
Hi! Loved this idea,and I’ll be trying it soon, since I just received a few boxes and bags of clothes 🙂 You made an excellent tutorial!
Kudzu