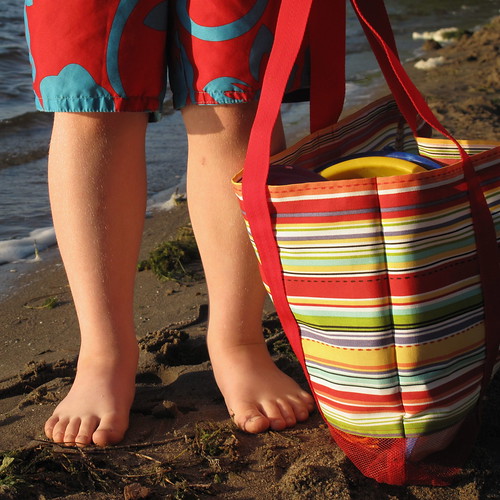
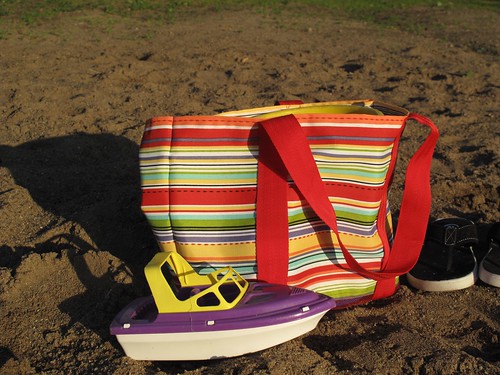
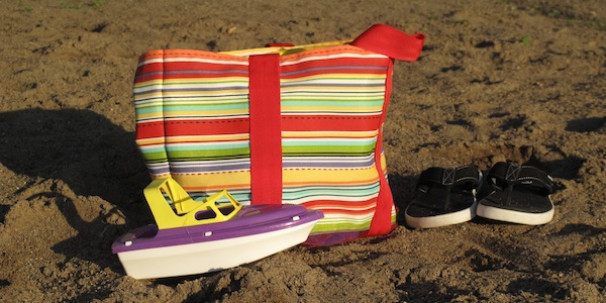
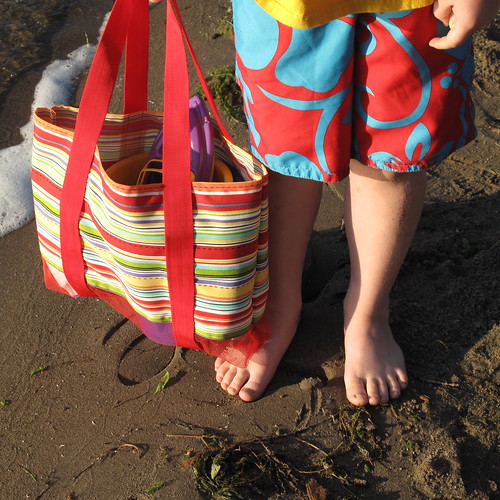
Memorial Day is right around the corner and for a lot of people that is the start of beach season. We all love going to the beach, but aren’t thrilled about bringing half of it home with us on the kids beach toys. Our solution is a tote bag that allows the sand to fall right through thanks to its mesh bottom.
Enter to win this bag here. (Winner to be chosen June 1st)
Leave the Sand at the Beach Bag
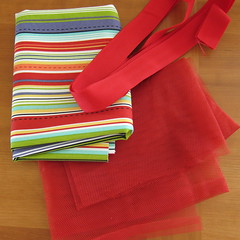
- 3/4 yd canvas fabric (We needed 3/4 of a yard because of the way we wanted the stripes to go. If we did the stripes the other direction we could have just used 1/2 a yard)
- 1/2 yd mesh fabric (You are looking for a strong mesh like the type used to make kitchen scrubbers. It is often by the tulle in the fabric store and comes in lots of colors.)
- ruler
- scissors
- pins
- thread
- sewing machine
- iron
- 104″ webbing (This is just short of 3 yards)
Cut The Fabric:
1. Cut two 20″ wide x 12″ tall pieces from the canvas fabric. Because we were doing horizontal stripes we made sure to cut pieces so the stripes would match up on the side.
2. Cut two 20″ wide x 6″ tall pieces of the mesh
Sew the mesh and canvas panels together:
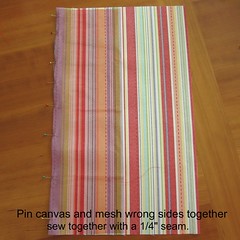
1. Pin a piece of mesh to a canvas pieces (20″ side to 20″ side), wrong sides together. Sew a seam with a 1/4″ seam allowance. Repeat with the second piece of mesh and canvas.
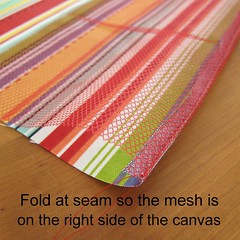
2. Fold the mesh back over the right side of the canvas at the seam line. Pin. Sew a seam there with a 1/2″ seam allowance. Repeat with the second piece of canvas and mesh.
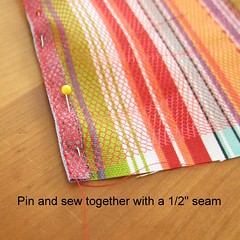
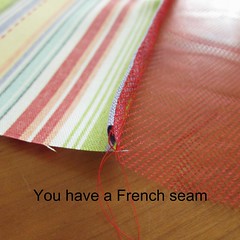
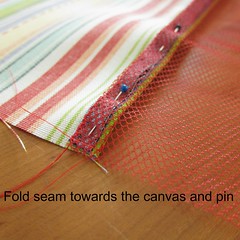
3. Pin the seam allowance up toward the canvas panel of the bag on the wrong side. Do not iron it, the mesh will probably melt. Top stitch the seam in place twice, 1/8″ in from the edge and then 1/4″ in from the edge.

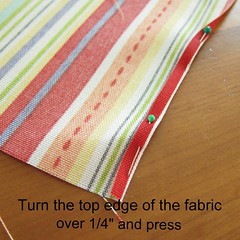
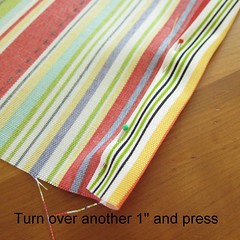
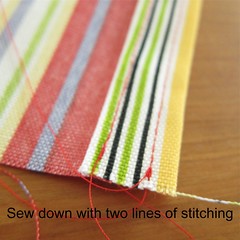
4. Hem the top edge of the bag by turning the canvas over 1/4″ to the inside. Press. Then turn again an 1″ and press. Sew down with two lines of stitching.
Sew on the strap:
1. Cut the webbing into two 52″ lengths.
2. Pin the webbing to the right side of the bag with the ends at the bottom of the mesh 6″ apart.
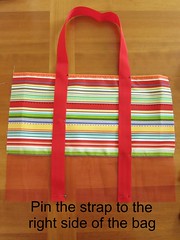
3. Sew down each side of the webbing 1/4″ in.
4. Sew across the top of the webbing 1/4″ down for the top.
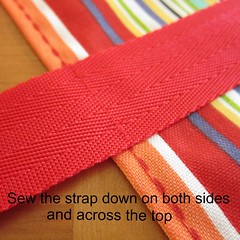
5. Repeat for second side of the bag.
Sew the bag together:
1. Place the bag pieces wrong sides together, matching up the side and bottom seams. Pin together. Sew the sides and bottom together with a 1/4″ seam allowance.
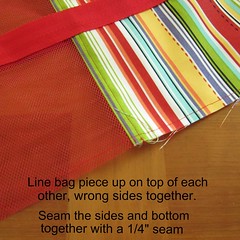
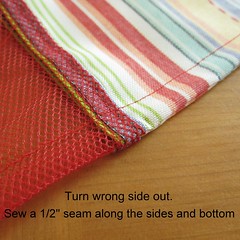
2. Turn the bag so the wrong side is now facing out. Pin the side and bottom seams. Sew the sides and bottom together with a 1/2″ seam allowance.
Make the bottom gussets:
1. With the bag still inside out, at bottom one corner match the side seams to the bottom seam. Using your ruler find the spot where the bottom of the triangle is 3″ across with the middle point being the seam. Mark and pin this line. Sew across this line. Repeat at the other bottom corner making sure the bottom seam allowance folds the same direction as in the first gusset.
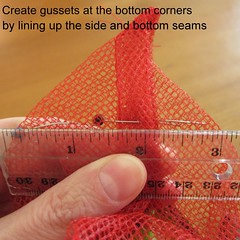
2. Fold the gusset triangles up towards the side of the bag and sew into place.
© 2005 – 2012 Kathy Lewinski & Susan Cornish



I totally misread this. I couldn’t figure out how the sand left the bag until I realized that the mesh was the bottom of the bag rather than a mesh liner. How ingenious. What a great project.
what a great idea–wish i had something like that when my kids were little. I recognized those chubby feet!!!
Love the well-matched seams and the cute feet! I think I need to get the sewing machine in use again.
Pingback: Tutorial: Mesh bottom beach bag to keep the sand out · Sewing | CraftGossip.com
Pingback: Les trouvailles de la semaine #124 - Le blog thread&needles