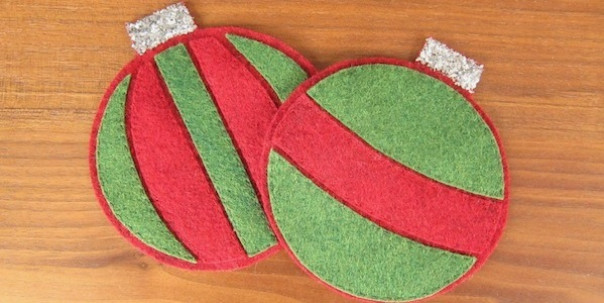
This week for Iron Craft we were challenged to make something that could be used on our dining room or kitchen table. Inspired by some of the interesting felt coasters I’ve seen around the internet lately, I decided to make some that look like Christmas ornaments. I think the silver at the top really makes these.

The basic shape of these is pretty simple, but you can make them as dressed up as much as you want by how you cut the pieces for the top layer. I kept to easy stripes, because I was in a bit of a hurry. When I have a little more time I’d like to try some more elaborate designs like stars. Red and green are of course, the traditional Christmas colors, but you could make these in colors to match your Christmas decorations. This was also a great project to use up some felt I had leftover from making reindeer pillows.
Felt Christmas Ornament Coasters
Supplies:
- Heavy felt in various colors (Look for the felt that comes by the yard on bolts instead of the small squares of craft felt. It is much thicker and sturdier.)
- Scissors
- Pencil
- Pins
- Sewing or embroidery thread to match the felt
- Sewing needle
- Tacky or fabric glue
- Small paint brush
- Silver or gold glitter
Print out the Ornament Coaster Template. Cut the patterns out. Using the pattern of the larger circle with a square on top, cut out the base shape from felt.
Now, with a pencil draw the design you want for your top layer on the smaller circle and cut it out. The pattern has a slight oval shape to it so make sure it is the right direction on your base when you are drawing the design.


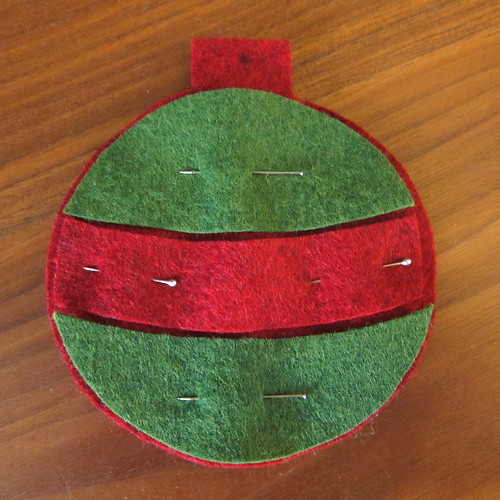
Use those pieces as patterns to cut out the shapes for the top layer of your coaster from the felt. I wanted my top layer pieces to have a little space between them, so I cut them slightly smaller than the full pattern pieces.
Pin the pieces to the base.

Using the matching thread top stitch them to the base very close to the edge of each piece. If you are very good with your sewing machine you could use that instead of hand sewing.

I went for matching thread as it hides any uneven stitching better, but you could add an extra design element and use a different color. You could also do some embroidered designs on the ornament as well, just keep them as flat as possible so a glass will sit on it securely.
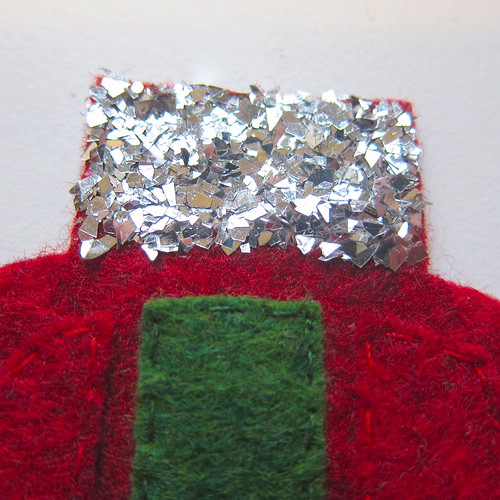
Using a small paint brush, paint a generous amount of glue on the square at the top of your ornament. Cover with glitter while still wet. Let dry. Shake off excess.

If you make any of your own coaster with this method we’d love to see them in our Flickr group.
© 2005 – 2011 Kathy Lewinski & Susan Cornish


so cute! and you made the process look really simple to do. Nice job!