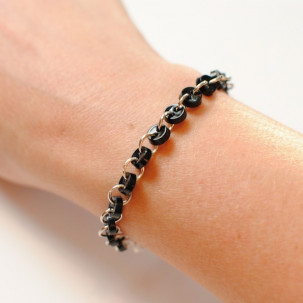
Last week, I made button rings that were inspired by a couple of the other Iron Crafters’ projects from the button challenge. Well, I was also inspired by the button bracelet made by QAMom that week and knew I needed to make some to match my rings.
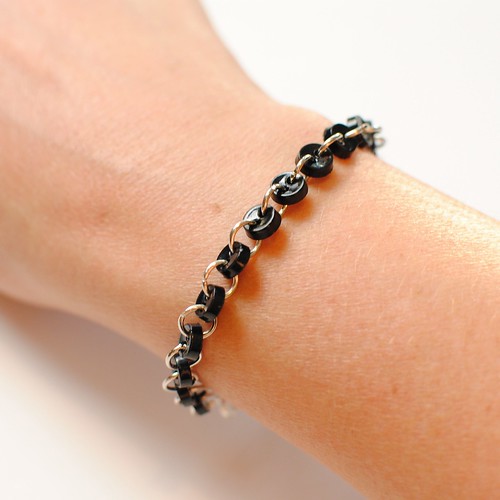
This project couldn’t be easier and I love the results. Look at how great it matches the black and white ring last week. Now, I feel like I need the perfect little black and white outfit to go with my jewelry.
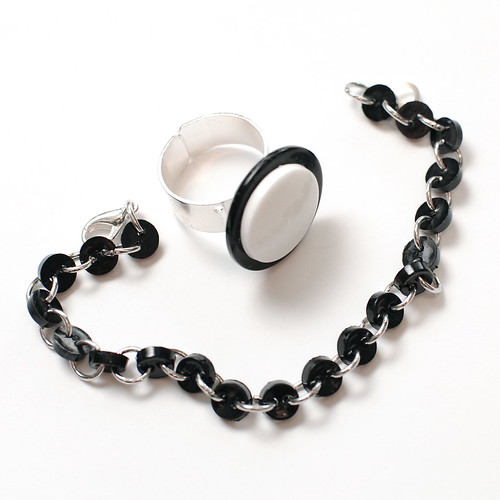
Button Bracelet How-To
Supplies:
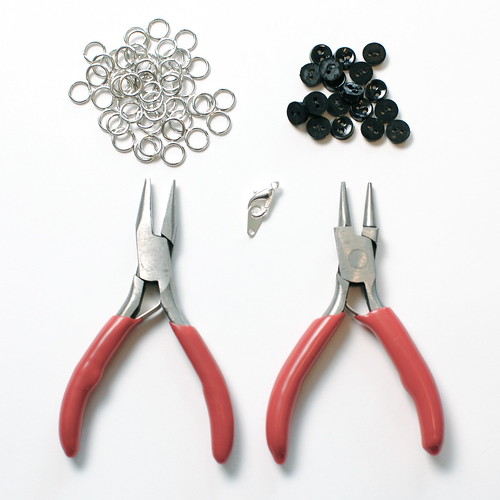
Jump Rings – They need to be slightly bigger than your buttons, my buttons were about 6mm and the rings were 7mm.
Buttons
Clasp
Two pairs of pliers – You want pliers that don’t have ridges on the inside, so they don’t mar the jump rings. I got a set of three jewelry pliers for $9.99 at Michael’s.
The amount of buttons and jump rings you need will depend on their size and the size of your wrist.
Making the Bracelet:
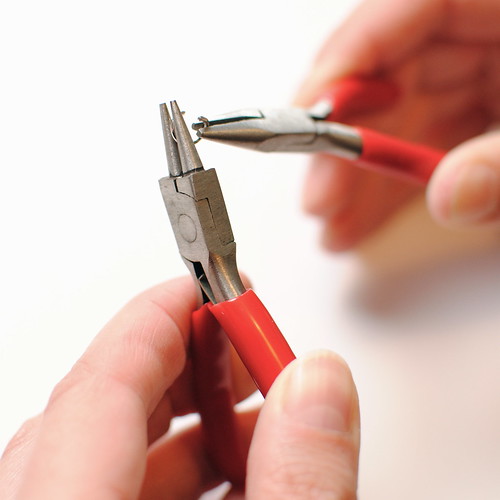
Use one set of pliers to hold a jump ring and another to bend it open enough to fit a button on. I bend it by holding one end in place and pulling the other forward. I find this way makes it easier to close the ring once your buttons are on without mis-shaping it. If you pull them apart sideways, making a C shape, it is harder to retain the circular shape when closing.
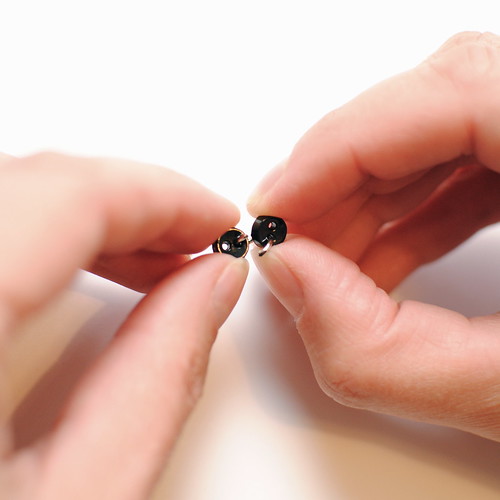
Put two buttons on the open ring. If your buttons have sides, make sure the same sides are facing the same way when you hold them side by side.
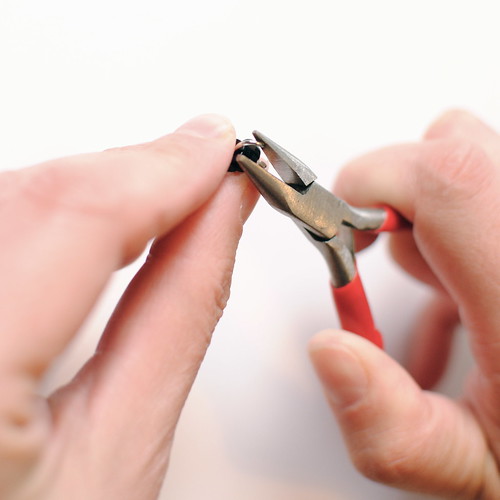
Use the pliers to close the jump ring. Sometimes you may need to use two sets of pliers to get it to close tightly.
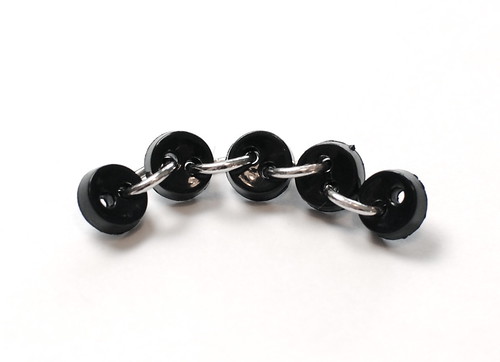
Keep adding rings and buttons to form a chain until it is long enough to go around your wrist.
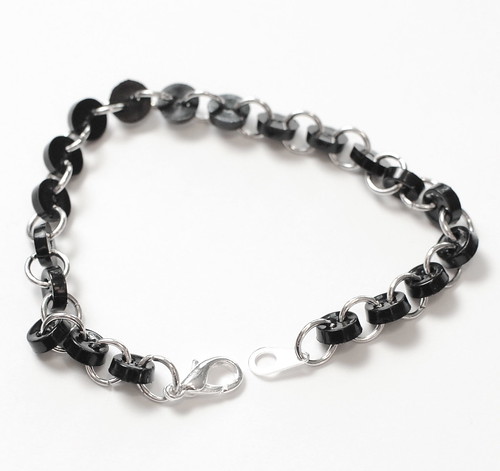
Put a jump ring on each end of the chain and attach the clasp.
Now I’m off to make a white one!
© 2005 – 2011 Kathy Lewinski & Susan Cornish



I love the way they turned out!
Great tip about how to pull the jump rings. That is helpful.
Very cleaver. Love how it looks.
That’s awesome and I love that it involves something I already have in stock at home!
that looks lovely! great job.
That’s come out neat and nice. Love the ring too…Love Black and white combo…its always classy! Now waiting to see the outfit to go with the jewelery!
I love how this is so delicate. Another project I want to do. Thanks for the tut!
Your bracelet turned out great! It matches the ring really well. This project appealed to me because the results can be pretty elegant given the starting materials.
very creative idea.thank you
Love this! A great project to do with my daughter; I think her school colors would be a big hit with her and her friends, to start out the school year.
very, very, very cool idea!!
Aah, nice diy! 😀 I posted a link to this DIY.
http://leisurelysensitive.blogspot.com/2011/08/diy-accessoires-2.html
I hope you don’t mind it, if you don’t like it then I will deleted it ;).
I love this bracelet. You would never know that it was made with buttons. Could potentially be a ring from the looks of it. A Necklace would be cool, too. Oh, can’t forget the earrings. LOL
Hello from Turkey, Istanbul,
Do not ask me how could I find you!!!
Marvelous.
I wish I had that patiancy and do the same.
Well done.
Lazy mum Cigdem
Great tutorial! Simple but creative. I found many button accessories but usually they’re stringed using ribbons and threads, but yours is different 🙂 I like it so I featured it on my blog hoping others can get ideas from you through me 🙂 You can check out the link here: http://www.handmade-jewelry-club.com/2012/10/diy-bracelet-tutorials.html
Cheers!
Pingback: Pulseras de botones | Hacer manualidades
Pingback: Friday Favorites–Bracelets | Crafty Staci