With Halloween next week, the current Iron Craft challenge was to make something creepy, spooky, or scary. I channeled iron crafter Dr. Russ and made papercut haunted village and graveyard candle covers.
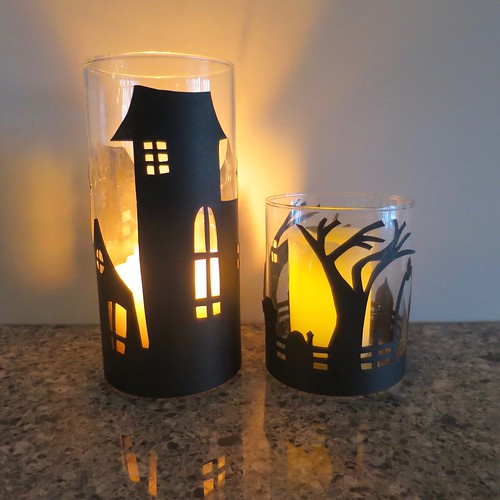
I love doing things like this for different holidays because it isn’t permanent, so I can cover the glass candle holders with something else for the next holiday. Also once you own the candle holders all you need to buy is a piece of 12″ x 12″ cardstock which costs about $1, most of the other supplies will probably already be in your craft room. I chose to use cardstock because it is stiff enough to stand up straight.
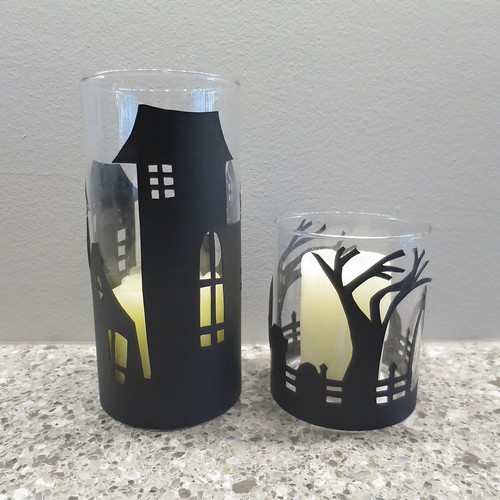
It also isn’t very hard to do, especially since haunted villages and creepy graveyards don’t require straight lines. Actually, crooked lines look best.
Spooky Papercut Candle Covers
Supplies:
- glass candle holders with straight sides, flared sides will be much harder to fit a design around. My holders were 11″ around by 7″ and 4″ tall.(I found all different sizes of these at the dollar store.)
- black cardstock (I used one sheet of 12″ x 12″ cardstock from the scrapbooking section and used it to cover both candles. The amount you need to depend on the size candle holders you use.)
- measuring tape (optional)
- pencil
- ruler
- exacto knife
- cutting mat
- paper scissors
- glue
- glue stick (optional)
1. Measure around your candle. You can do this with a measuring tape or just wrap the paper around and mark it.
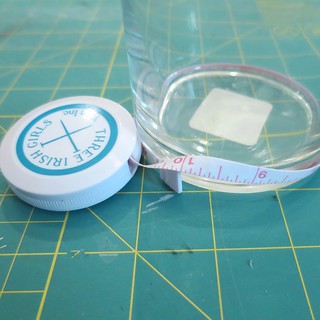
Draw a line making the width, so you know how long your image can be.
2. On the back of the cardstock draw out your image with the pencil.
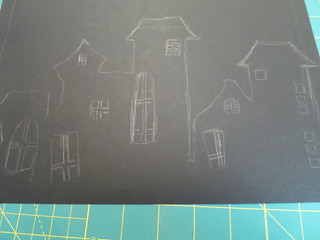
I looked at images online to give me some ideas and then just went ahead and freehanded it. When you are doing the design remember that it need to overlap at the ends about 1/4″ at least at the bottom so you can make a circle to go around the candle. (If you are covering a candle that is bigger around, you may need to piece a couple papercuts together.)
3. Using the exacto knife and scissors cut out the image. On the haunted village, I used the knife to do the windows and scissors for the outside.
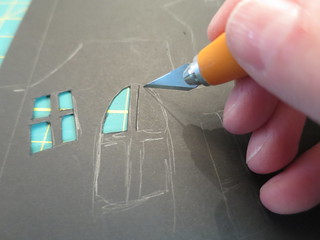
You can see the tab I left at the bottom to glue it together. There is no windows on the opposite side at that point so the tab will be hidden inside.
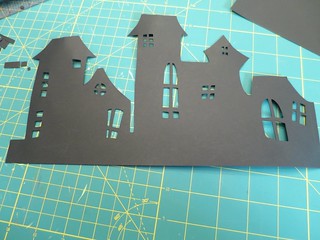
The village was really simple to do, while the graveyard took a little more concentration to make sure I was cutting out the correct pieces, especially with the fence. I used the exacto knife for this whole piece.
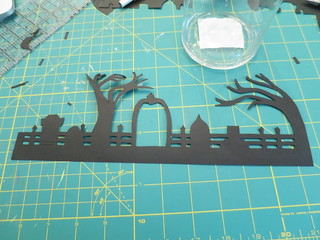
On this one, the bottom of the tree overlaps right up to the edge of the opening of the fence on the other side.
4. Glue into a ring that fits around your candle holder and slip on.
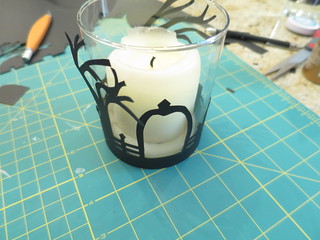
The papercut will not cling around the edge of the glass especially at the roof eaves and the tree branches. You can leave this like it is or you can tack the parts the stick out down. I tried a couple different things and the one that held things down best was glue stick. If you smear some glue on your candle and wipes off easily with a damp paper towel.
5. Put a candle inside. With the village candle I found it looked best with a shorter candle than I would normally put in the holder. This lit up a lot more of the windows.
© 2005 – 2016 Kathy Lewinski & Susan Cornish



One Comment to Iron Craft ’16 Challenge 21 – Spooky Papercut Candle Covers