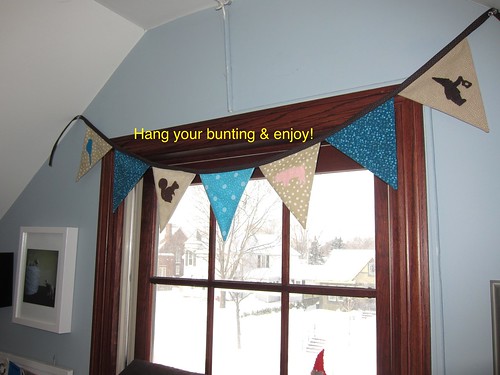
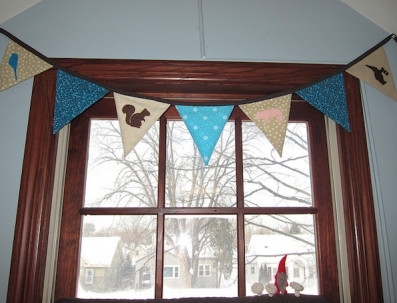
This week, I challenged the Iron Crafters to make bunting or garland. Ok, I’ll admit this was kind of a selfish challenge because I wanted to make some bunting to go over my craft room window as a sort of valance. My craft room is a little space in our finished attic that luckily has a nice big window to let in the light. I didn’t want to block off any of that light with curtains but I thought a little something at the top of the window would be a fun finishing touch. I love the look of bunting, it’s just so…festive.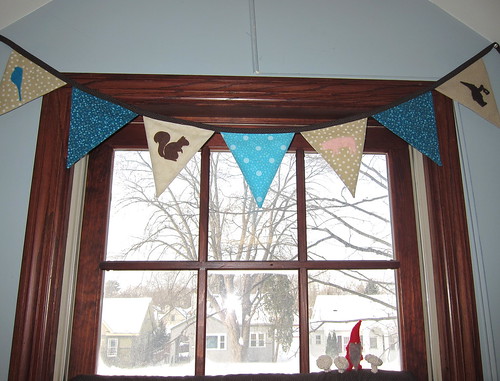
I originally thought I was going to do each flag for the bunting in a different craft, one knit, one quilted, one embroidered, one appliqued & so on. But, when I started going through my scrap quilting fabric I really liked how these different polka dot fabrics looked together so, my plan simplified to just fabric flags with some of my favorite motifs appliqued on some of them.
Appliqued Bunting How- To
Supplies:
fabric (the amount really varies by the length of your bunting & size of your flags)
scissors or rotary cutter
thread
craft glue stick
fabric glue
felt
thread to match felt
sewing needle
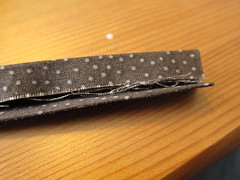
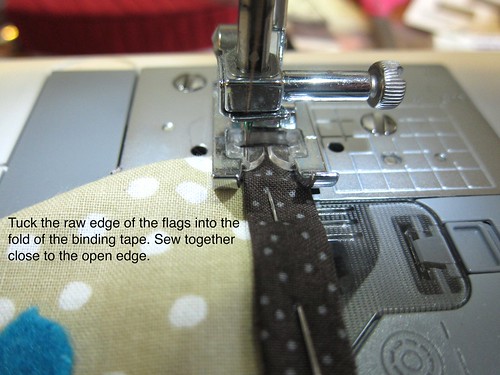
Make the binding for the bunting flags to hang from. (You can buy bias tape at the fabric store & skip this step though it’ll just be a solid color.) Measure the length of space you want your bunting to cover. 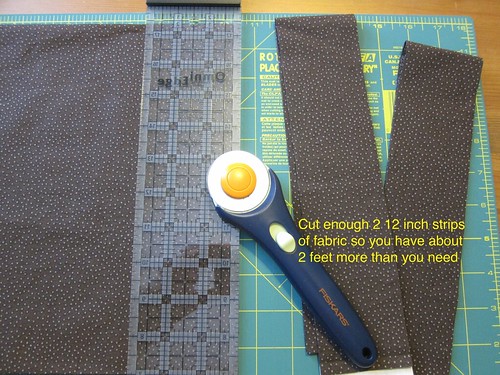
My final strip is about 3/8-inches wide. If you want it wider start with strips that are wider than 2 1/2 inches.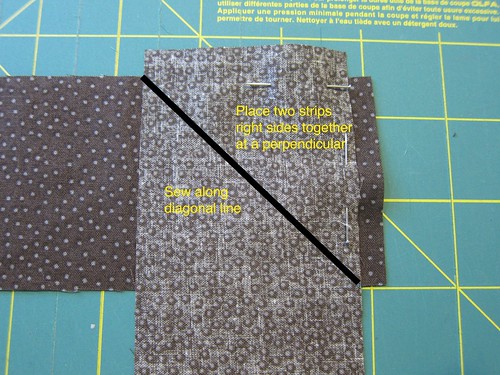
Trim the seam to 1/4-inch & press open. Fold the strip in half length-wise and press. Now fold it into thirds (like a piece of paper being folded to fit into an envelope) and press again. You’ll have a strip that is a little more than 3/8-inch wide with all the raw edges inside. 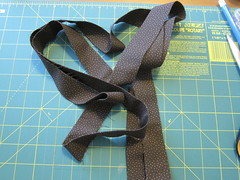
Make your flags.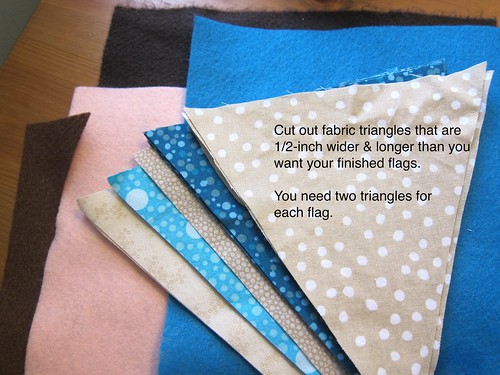
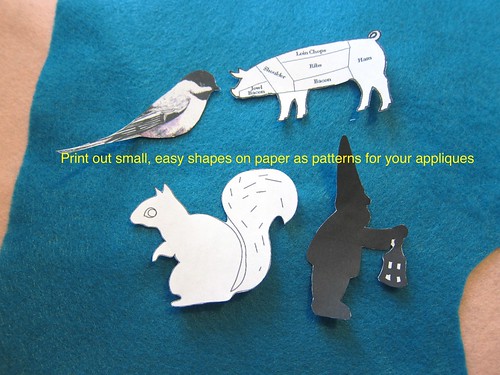
Cut the patterns out of felt. I glue the paper patterns to the felt with a craft glue stick. The pattern comes off easily & I find its much better than pinning for small patterns. (The cute little gnome with a lantern pattern comes from fellow Iron Crafter Namesake Design. The squirrel comes from an embroidery pattern by Badbirds.)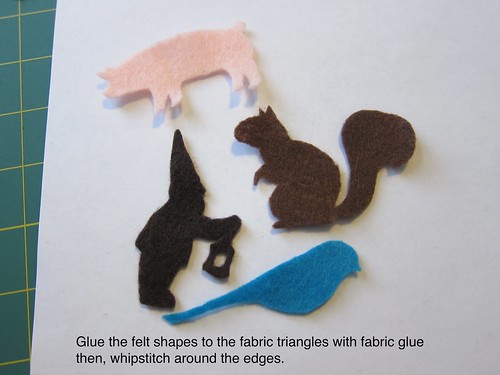

© 2005 – 2011 Kathy Lewinski & Susan Cornish



I'm lovin' your Iron Craft projects! You rock!
love it. I especially like the appliques!
When I saw this on Flickr, I just knew it was yours. I recognized those appliques from some of your other projects. This bunting is so pretty and classy!
I finally finished mine. I will post it here shortly. I love your colors and it looks so cute. ZI love the squirrels.
I just saw that you used my little gnome 🙂 He looks great on your bunting! Thanks for linking back to my blog.
Pingback: The 38 Timeless Window Decor Ideas (Classic)