It has been wonderful to see all the picture of everyone’s cuffs on the Ravelry group. All the different color palette make me want to knit another pair. Anyway, here is how my very sedate color palette looks up to this point.
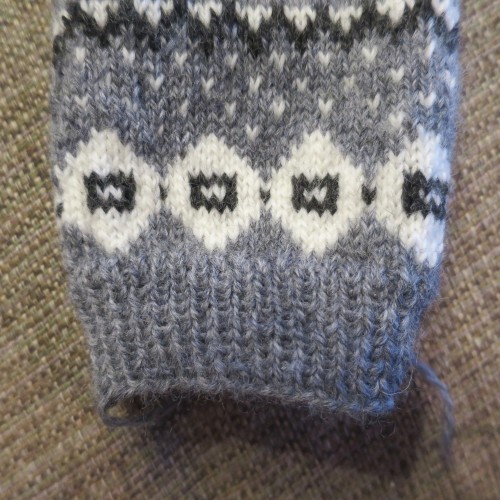
This week we will continue knitting the hand and place the stitches for our peasant (after thought) thumb on scrap yarn. If you have never done a peasant thumb, it is a lot easier than it looks. I took a few pictures while doing mine to help illustrate the instructions.
In the pattern it will tell you to knit a certain number of stitches and then knit the next set of stitches with a piece of scarp yarn. I like to use a yarn with a lot of contrast to my mitten, this makes it easier to see it when it comes time to take it out. Don’t worry about working a color pattern when knitting with the scrap yarn.
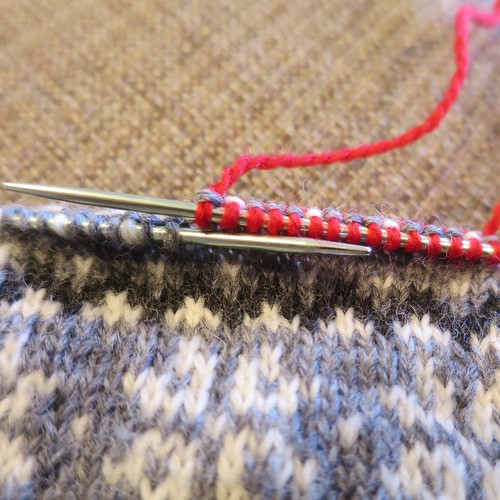
All the scrap yarn stitches will be on your right needle. Slip those stitches back on to the left needle so you can knit them again.
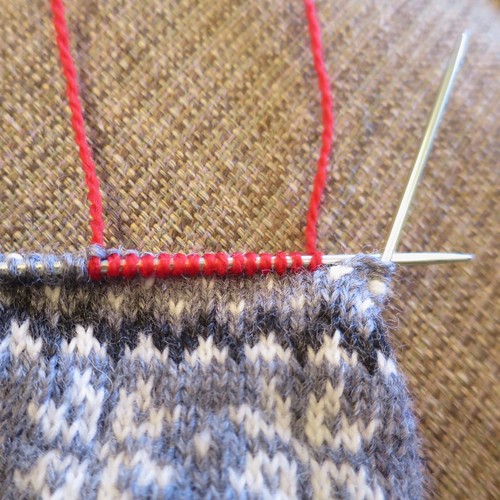
Now, reknit the scrap yarn stitches and the rest of the row using your working yarn and following the color pattern.
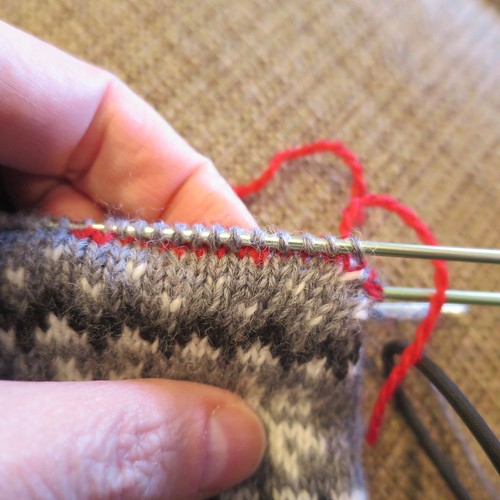
Once you have worked a few more rows it will look like this.
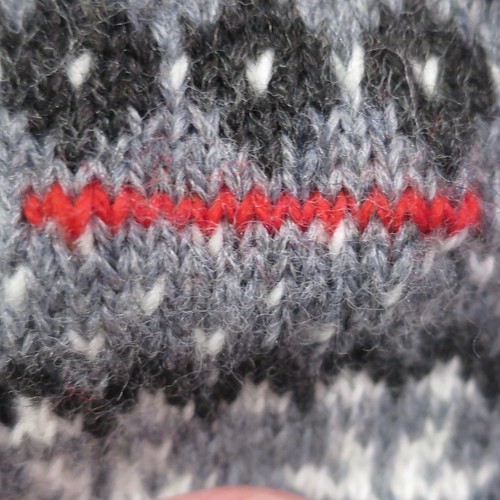
I’ll show you how to remove the scrap yarn stitches and knit your thumb in clue 4.
A note of the placement of the thumb. I like to place my thumb about 1/2″ in front the edge. I like the way that makes the mittens fit me and feel like it gives me a little edge for that side of my hand. Here’s what that looks like when worn (using my Winchester Plaid, Anti-Possession Mittens).
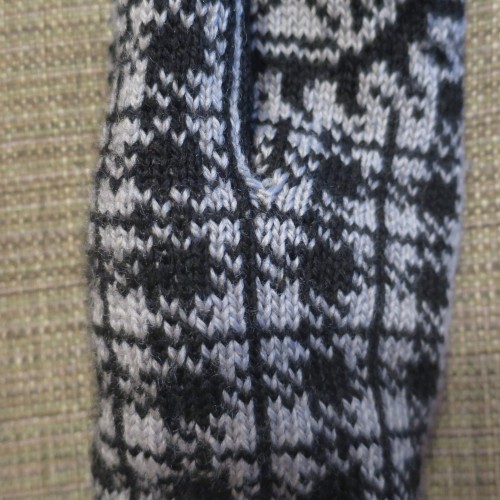
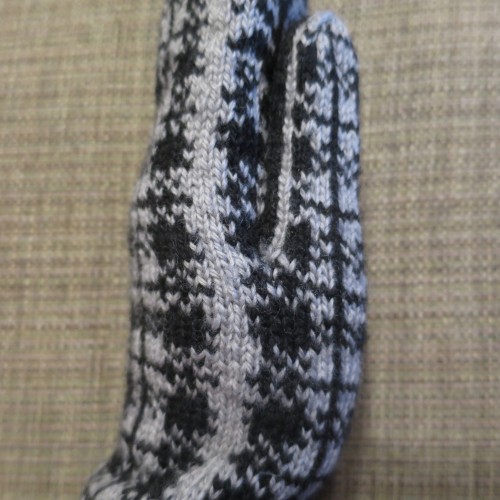
Some people though, prefer for the thumb to be started just one stitch in. Neither way is incorrect. In case you are someone with the preference for the thumbs to start right on the edge, I have offered an alternative placement of the thumb in the pattern. Either placement will work with the colorwork on the thumb.
And let’s get on to the pattern!
There are three different pdfs you can download here, each is for a different sized mitten. Please keep in mind these sizes are based on getting gauge, if your gauge is off your finished size will be different. Also you will see each size has two slightly difference length options available too, though that won’t come into play until later in the KAL.
Winter Snows Mittens Small Clue 2 – Small 7″(17.87cm) wide by 7″ (or 6.75″) long
Winter Snows Mittens Medium Clue 2 – Medium 7.5″(19cm) wide by 7.5″ (or 7.25″) long
Winter Snows Mittens Large Clue 2 – Large 8″(20.32cm) wide by 8″ (or 7.5″) long
© 2005 – 2016 Kathy Lewinski & Susan Cornish


4 Comments to Winter Snows Mittens MKAL – Clue 2