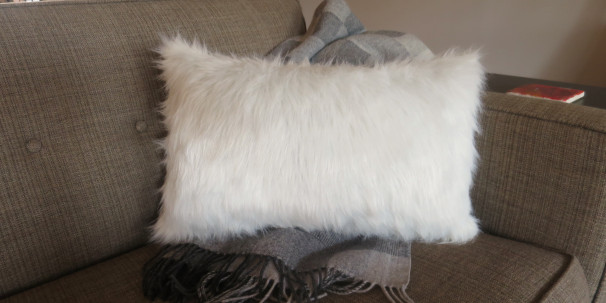
For this Iron Craft challenge we were asked to make something inspired by animals. The project could be for an animal, have an animal theme or use an animal print material. My first idea was to sew a wool bear, but I could not find nice brown wool locally at all and didn’t have time to order something. I started thinking about supplies I had on hand and thought the faux fur I used to make a pom-pom last week would make a great pillow cover.
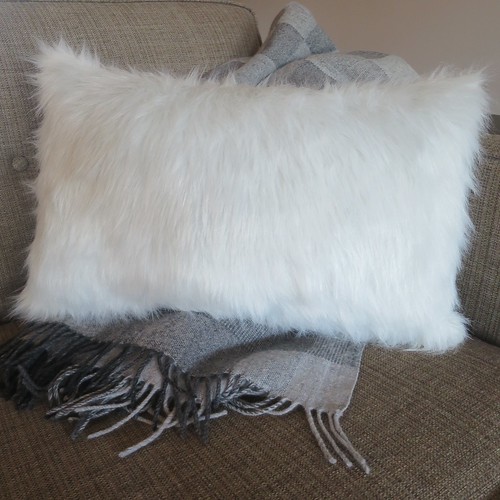
I’m always attracted to the fur and faux fur pillow you see in all the home furnishing stores these days…and they aren’t cheap.
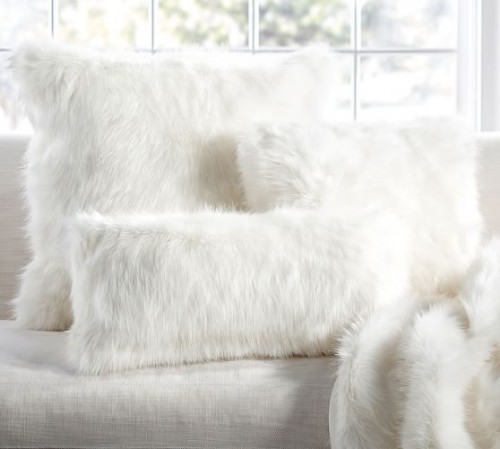
These pillows from Pottery Barn, which are faux fur and look so much like mine, start at $45 and go up to $60 for the cover alone. I spend $4.50 on a quarter yard of faux fur and reused a pillow form from an old pillow that no longer goes with our decor. That is quite a savings for very little work.
With colder weather not too far away, I’m thinking of creating a whole set of different faux fur pillows for the living room. Doesn’t that fur just call for cuddling up in front of a fire under a blanket?!
Faux Fur Pillow
Supplies:
- pillow form
- faux fur, enough to cut two pieces the size of your pillow
- scissors
- thread to match fur
- sewing machine (optional)
- hand sewing needle
I’m not going to insult you all by giving you step by step instructions to sew a square pillow, but I will give you some tips on using the fur and an overview of how I assembled my pillow.
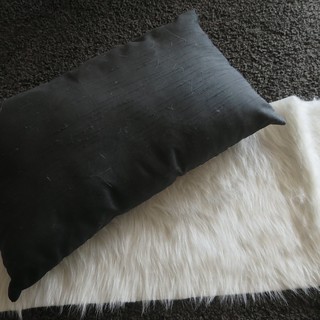
I cut the fur into a strip the width of my pillow by twice the length. My pillow was 12″ x 20″ so my fur piece was 12″ x 40″.
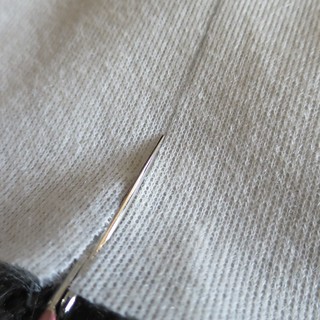
When cutting the fur, cut from the back just through the backing. This will prevent you from cutting much or any fur and give you no mess.
Fold the fabric in half length-wise with the right sides together and sew up two sides of the pillow with a 1/2″ seam. Try to push the fur towards the middle of the pillow piece to prevent it from getting too caught in the stitches. My fur had a definite direction to the nap, so the side the went in the natural direction was easy to move away from the seam, the other side did not stay out of the way as well. Here is the result…
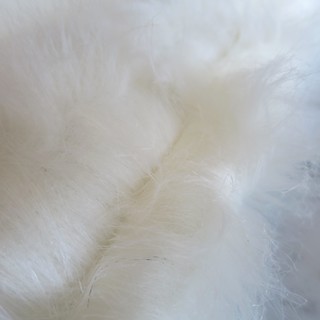
When you turn the pillowcase right-side out you will have a very visible seam with lots of fur caught in it. Carefully, pull the fur from the seam. You can use your fingers, but I found using the edge of a comb worked really well and much quicker. Once you have worked your way down the whole seam it will be almost invisible.
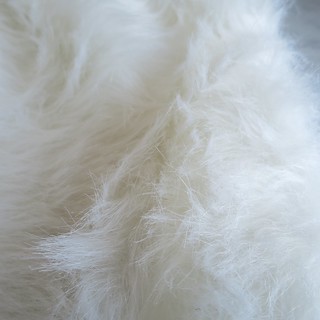
Then it is just a matter of putting the pillow in the case and hand sewing the last seam shut. Usually, I work on making neat, even, invisible stitches on hand sewn pillow seams, but the fur hides all of that. So, I just turned the edges in 1/2″ and sewed them together with about 1/4″ stitches at the edge. You will catch fur in your stitches, use the needle to help pull it out as you go along. When you are done you will have a another almost invisible seam
That’s it, about 1/2 hour work and you have a throw pillow that looks like something you bought at any of the trendy decorating stores.
© 2005 – 2015 Kathy Lewinski & Susan Cornish



One Comment to Iron Craft ’15 Challenge #18 – Faux Fur Pillow