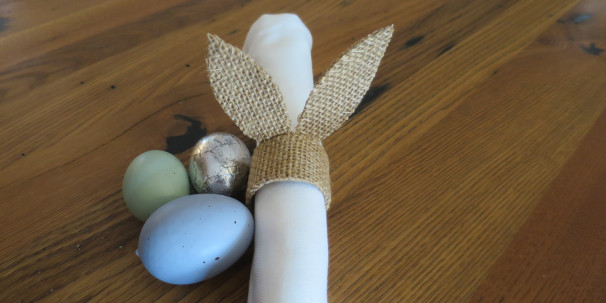
For this Iron Craft challenge we are dreaming of spring. I didn’t plan on doing an Easter project, but I was inspired to make some cute little napkin rings for Easter.
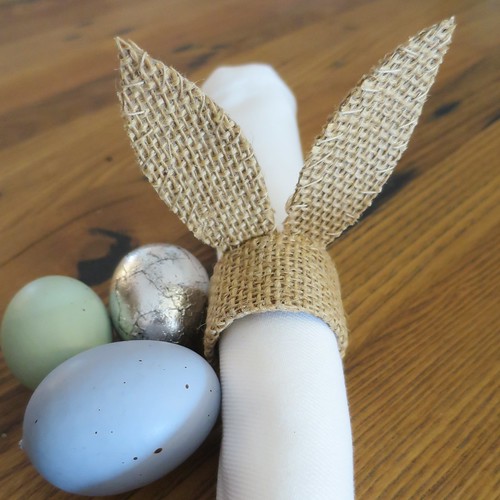
These napkin rings were relative simple to put together and are made from empty toilet paper rolls. It may seem like a toilet paper tube isn’t sturdy enough, but once the glue holding the burlap on dries, these are quite firm. I love the look of the natural burlap, it is so great with the whites and springy colors of an Easter table.
Burlap Bunny Ear Napkin Rings
Supplies:
- 1 toilet paper tube per napkin ring
- ruler
- exacto knife
- pen or pencil
- scissors
- burlap
- tacky glue
- thread to match burlap
- thin, sharp hand sewing needle
1. Cut a 1″ wide ring from the end of the toilet paper tube. I found an exacto knife was the easiest way to do this without crushing the tube too much.
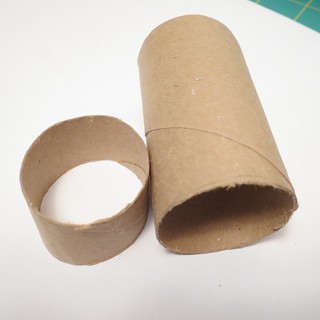
2. Open up the remainder of the tube so you have a flat piece of cardboard.
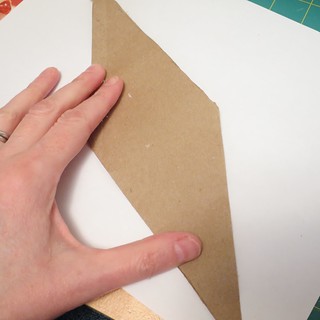
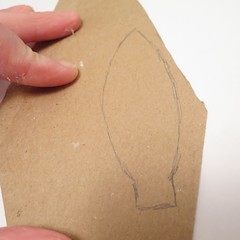
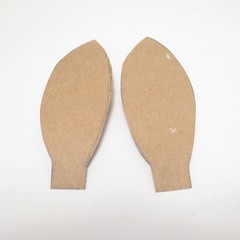
Draw a bunny ear shape on one side of that cardboard. Mine was about 3″ high and 1″ wide at it’s biggest. Draw tab at the bottom of the ear. Cut that ear out and use it as a pattern to make a second one from the remaining cardboard.
3. Cut a rectangle of burlap to cover the 1″ tube inside and out, about 2.5″ by 5.75 (I am assuming most tubes are the same size. You may want to measure yours.)
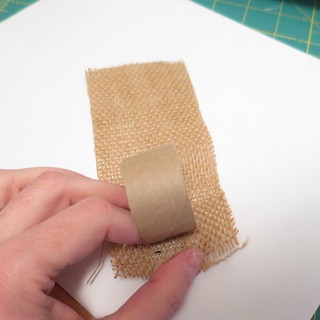
Put glue on the outside of the tube, getting from side to side, and glue the burlap around the outside of the tube. You want the tube in the middle of the burlap strip so there is overhang on each side. Overlap the ends glueing them securely.
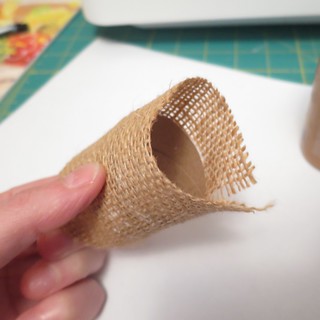
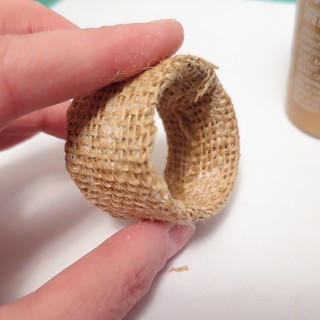
Put glue on the inside of the tube and fold over both sides of the burlap. Secure or cut off any loose pieces. Let dry.
4. Cover one side of the ear pieces with glue, make sure to get all the way to the edges. Place on a piece of burlap. Let dry a little and cut out.
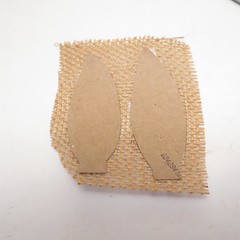
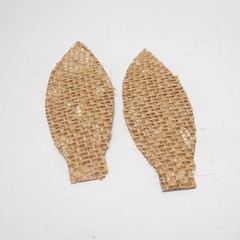
Repeat for the other side of the ears. Let dry.
5. With the thread and sewing needle, whip stitch around the edges of the ears. You could skip this step, but I found it helped keep the edges from fraying.
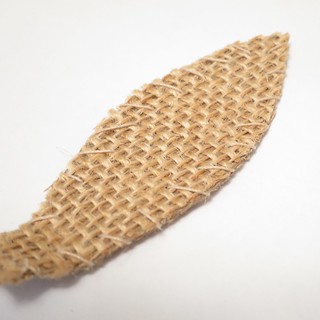
6. Fold tab on the bottom of the ears. Place the tab inside the tube and sew into place. They will be floppy.
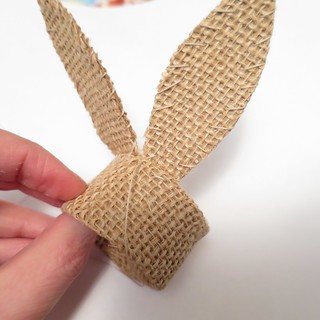
Make the ears stand up straighter by bringing the needle and thread up through the tab of the ear and close to the edge of the tube. Then bring it back through the ear just above the tube and tighten. Do this three or four times across the base of the ear.

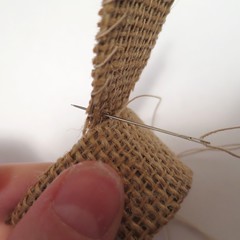
Add a drop or two of glue to the tab of the ear that is inside the tube to hold it securely in place once the ears are sewn on. Let everything completely dry.
Now go and set a beautiful Easter table!
© 2005 – 2015 Kathy Lewinski & Susan Cornish



Pingback: 23 Napkin And Place Holder DIY's For A Fancier Easter Dinner Table