In looking for a project to do with the sewing class, I came across this iPad sleeve pattern and thought it would work really well. We MADE it work, but it was not the finest choice. I still like the pattern and if I was going to do one for myself or as a gift, I think it would be great. But as a kids “learning to sew” project it was problematic. Let me show you how it played out.
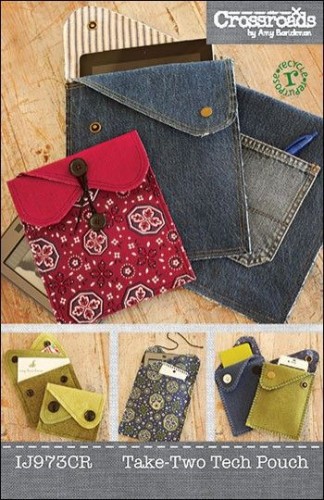
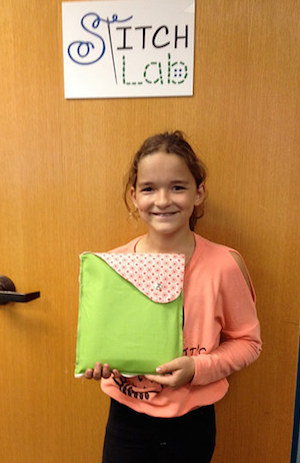
The kids at school are required to housed their iPads in a protective case called the Otter Box. It is GIANT. This case is probably military spec and is indestructible, but it makes the iPad itself as thick as a big book. This meant the pattern needed to be modified to fit the case AND the iPad. The first thing we did was to look at the pattern pieces from the package and then make it bigger and wider to accommodate the Otter Box. I wanted all the girls to have their own pattern. Their cutting skills vary greatly and I didn’t want to play “pass the pattern” with each one slightly altering the last one’s mistakes. So, I had them cut their own copy of the modified pattern out of paper first, pin their own pattern to their fabric and cut it out from there.
The instructions call for 3 layers, fabric, a contrast fabric and a fusible lining. Times two, that turned into a lot of precise cutting and a lot of work. I felt like our cases needed to be a little bit thicker, so I got a medium weight interfacing. The downfall to this plan was there was not one available that was iron-on both sides, so we ironed it down on one side. On some of the bags, we put double sided iron-on down around the edges, but this was a fine line, because cutting and then ironing double-sided iron-on is a tricky move. If you get it wrong, the iron-on gums up the iron. To top it off, for most of the girls, this was their first time using an iron.
In the pattern picture, the ragged edges look good. I thought that made it a great choice for kids. We picked some heavy fabrics, similar to the weights pictured. (I love the felt, but I knew that would be cost prohibitive to do in thick wool.) What I am not sure is factored in is just how much wear these kids would put on their cases. (I think the pattern was written for “ladies” to carry their tablets to the coffee shop.) The kids are SO PLEASED to have the cases, they use them constantly. They use their iPads constantly too. Some of the ragged edges are just frayed. And as they wear, they are coming apart so the three layers show (a thick fabric layer, a layer of one-side iron-on fusible interfacing, and a contrast layer). It looks a little bit indecent.
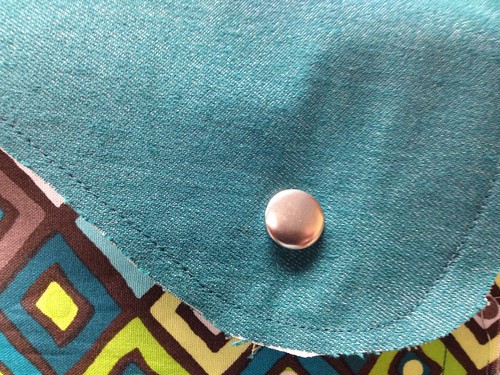
To combat the layers pulling apart, I had some girls zig zag the edges. That worked out well.

I love the double seams shown in the pattern picture. I am not sure if they did this free hand or used a double needle. I thought it would be really neat to use the double needle. But when we got there, the girls were having some trouble keeping a consistent seam allowance. So instead of looking really neat, it would have highlighted a “challenge”. Threading and rethreading a double needle on six machines became a crazy idea and outside the scope of what we had thread and time for.
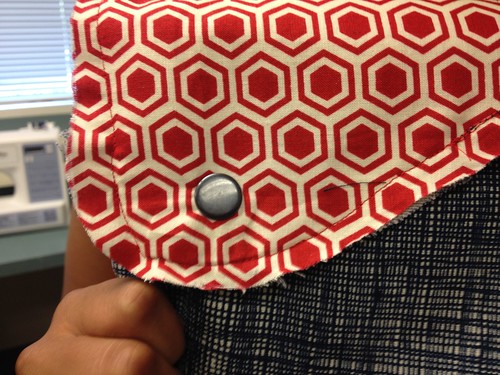
I love the way the blanket stitch looked all the way around the top. That could still possibly happen. But most of the girls wanted to move on by the time we were done here.
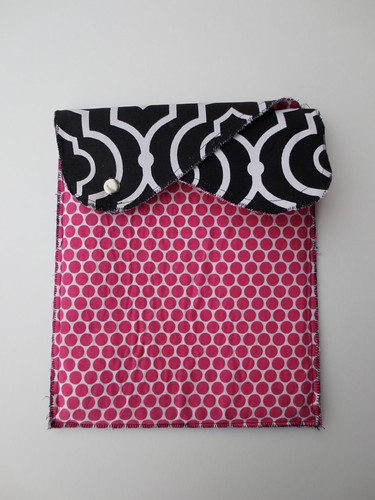
The change for the depth of the Otter Box meant that the flaps did not close properly.
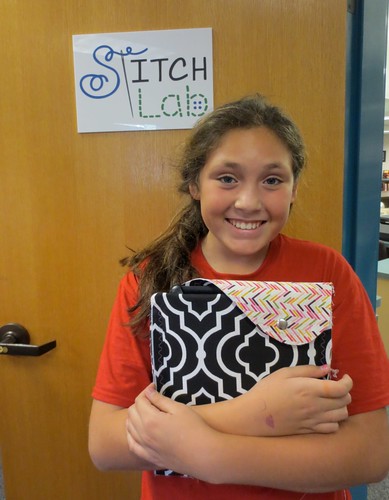
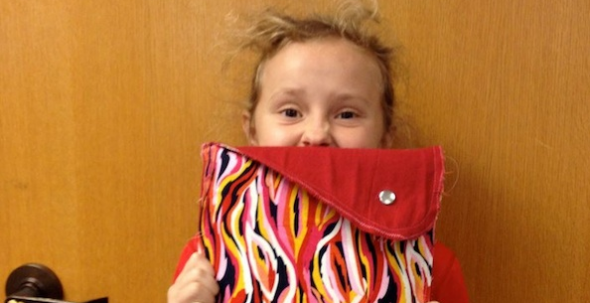
If they are going to look like they do in the picture, the thing they are holding inside needs to be almost flat, like a phone or a tablet. But for us, there is a distance that the flap had to travel. The angled edge on one side means that there is a gap in the top that exposes the top corner of the device. (You can see where this beautiful creature’s Otter Box is showing at the top left of her case.)
The way we got around that was to fold one of the flaps back in over the Otter Box itself. Then the other flap comes down in front as pictured.

Our final challenge was the snaps. Have you ever done snaps set with a hammer? I am still shaking my head and laughing. The package is smaller than a standard deck of cards. But it has full step-by-step directions on it, in English AND in Spanish. The print was so small, I could not see it much less read it.
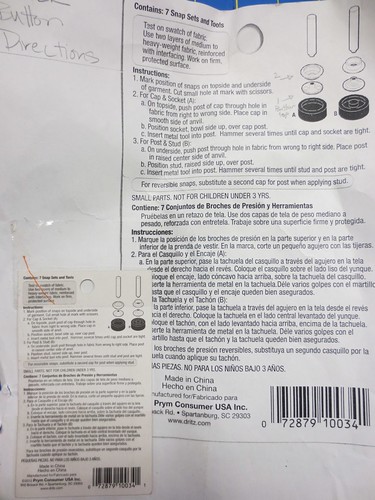
I enlarged the instructions and copied them. Then I pulled all of the components out of the package and laid them down on strips of tape. I labeled them “1, 2, 3, 4” and added corresponding numbers on the instructions. We had a hammer and pliers. But if you used the wrong tool at the wrong time, you will crush the snap. If that happens you will need to get the ruined snap out of your project and replace it. The more times that happened, the more strain you put on the fabric.
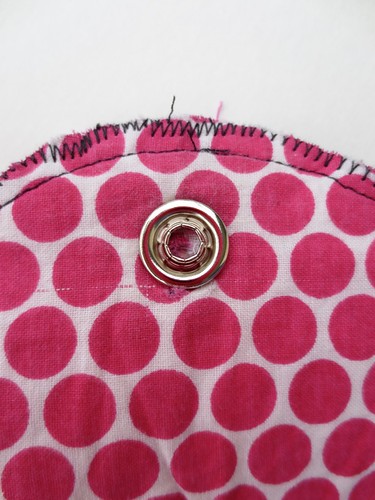
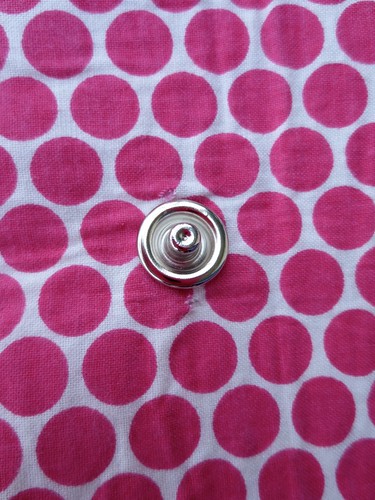
However, by golly, they all wanted the snaps. None of them wanted the other closures shown. So we went, in shifts, out to the concrete to hammer away on our snaps.
That’s how this project went. Look at those faces. Oh, how I love my job.
© 2005 – 2014 Kathy Lewinski & Susan Cornish



6 Comments to Sewing with Kids: Tech Pouch Pattern