(For the 24 weeks leading up to December 1st, we’ll be making a Christmas ornament, giving you enough to fill an advent calendar.)
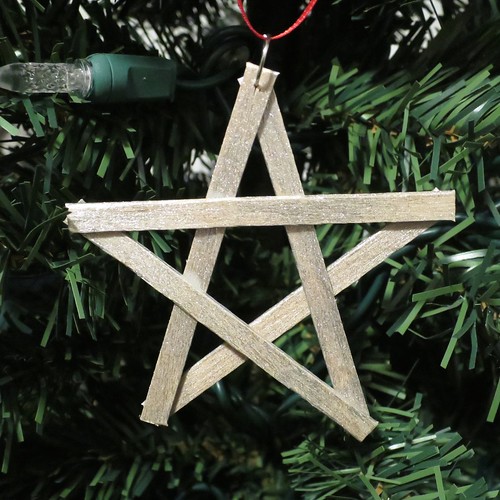
This week’s ornament was inspired by a drive in the country where I noticed a barn with a star on the front. Now, stars on barns are not uncommon, but this one was just made from wood slats an allowed to grey like the rest of the wood. I thought a star ornament of wood slats would be pretty too.

My wooden slats are actually coffee stirrers and instead of letting them naturally grey, I gave them a light coat of silver paint. This is a super quick and simple ornament. Perfect for a rustic tree or on a gift.
Wooden Star Ornament
Supplies:
- 3 wooden coffee stirrers
- silver acrylic paint or wood stain of choice
- paper towels
- scissors (not your good fabric scissors)
- glue like tacky glue
- small braid nail
- hammer
- jump ring
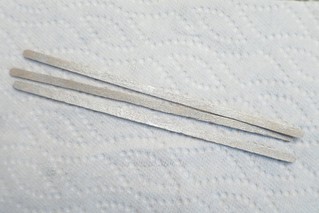
1. Stain or paint the coffee stirrers. I wanted the wood grain to show through, so I put the paint of and rubbed it off with a paper towel. Let dry.

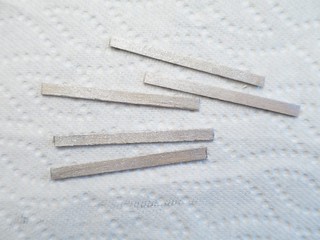
2. Cut each stirrer into two 3″ lengths. I was able to cut them with just a regular pair of scissors. You will have one extra length.

3. Glue five of the slats into a star shape.

Start with the upside down “V” with the bottom about 2″ apart. Then glue on the straight piece making sure it is centered horizontally. Glue on the last two slats. Let dry.
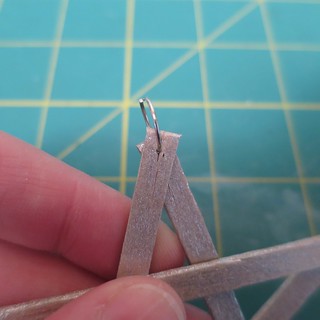
4. Use the small nail and hammer to put a hole through the top of the star. (The wood did split a little when I did this, but it doesn’t really show up later unless you are looking very close). Insert the jump ring through the hole. Be careful you are doing this to the top point of the star, I didn’t check and mine hangs a little wonky.

You could also just tie a ribbon through the top of the star.
© 2005 – 2014 Kathy Lewinski & Susan Cornish


One Comment to Advent Calendar Project ’14 – Week 13