Oh boy, did I struggle with this challenge. We had to make something that featured either starts and stripes or both. I just could not come up with a good idea. So, I went with my old stand-by, the throw pillow. (It was fine because I still need a few more that match the new place.)
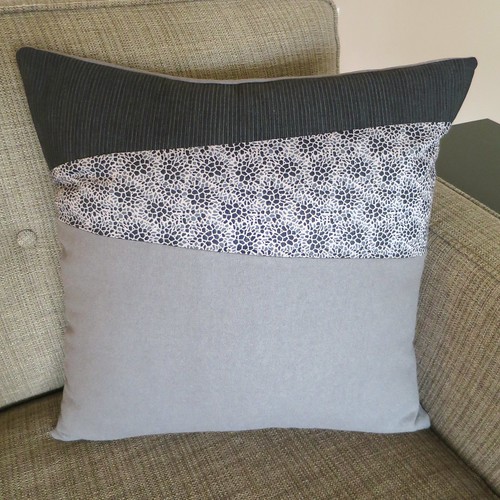
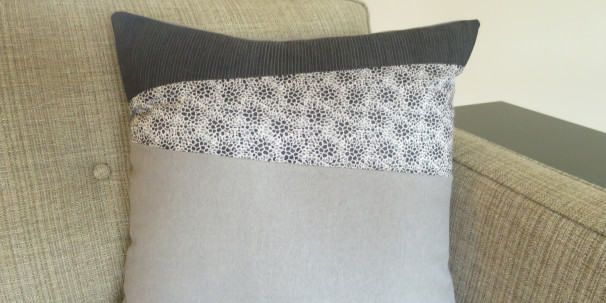
Instead of crisp, straight stripes, I decided to make some that were a little off kilter. Plus I added texture by using different fabrics. The grey is a beautiful wool suiting, the pattern is a quilting cotton and the black is a ribbed Ikea placemat. Yup, a placemat, a little weird, but I loved how it looked.
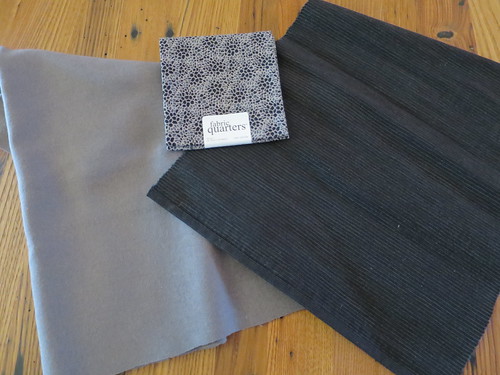
Wonky Stripes Pillow
This is a real basic pillow with no zipper or flap, just two pieces the same size seamed together with a pillow form inside. The only part that takes any time is putting the font piece together.
Supplies:
- main fabric (enough to cut a front an back square for your pillow)
- contrast fabrics that are at least as wide as your pillow (I used 2, but you could do more)
- ruler
- dressmakers pencil or pen
- scissors
- straight pins
- sewing machine
- thread
- iron
- pillow form
- hand sewing needle
1. Cut the back piece of your pillow. My pillow insert was 18″ x 18″, so I cut a piece that exact size. I do this because I find it gives a fuller finished pillow.
2. Now cut the fabric that will be the front piece and the contrasting fabrics, so they are about the right width for your pillow front. (In my case 18″.) It is ok if they are slightly wider, but not narrower.
3. Decided which piece will be the top and square off the top, giving it a straight edge. Then cut the bottom at an angle, any angle you want will work but remember to leave a little extra for seam allowance. (I used a 1/4″ seam allowance when joining the pieces for the front and then a 1/2″ for the pillow edges.)
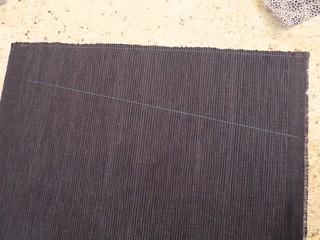
I used the placemat for the top so it already had a straight edge on top making it easy.
4. Now cut the second fabric. Lay the fabrics out so the sides are even (in my picture the top fabric is a little wider so I just made sure the sides were straight to each other) and the same side of the fabric is facing you. Use the bottom edge of the top piece to cut the top edge of the second fabric at the same angle. Then use a ruler to draw your bottom line. Once again it can we be any angle you want just leave a little extra length for seam allowance.
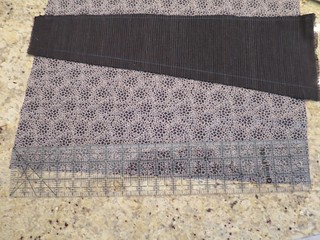
5. With right sides facing each other, sew the bottom edge of the top fabric to the top edge of the second fabric. Press the seam either apart or towards one side, whichever you wish.
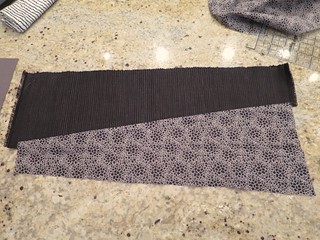
6. Now use the bottom angle of the second fabric to draw the line for your last or main fabric. Same as above make sure the same side of the fabrics are facing you and the sides are lined up.
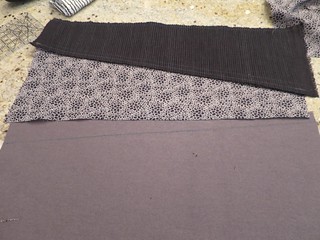
Sew together with right sides facing each other and press the seam.
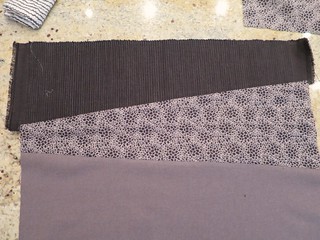
7. Cut the front piece so it is the same size as the back piece (for me that was 18″ x 18″). I just used the back piece as a guide. Pin the front and back pieces together with right sides facing each other.
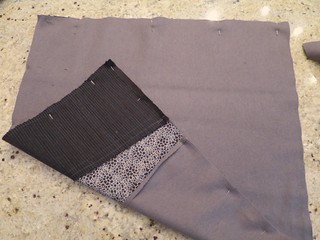
Sew around all the sides leaving an opening at the bottom to insert the pillow form.
8. Clip the corners and turn the pillow right side out. Work the corners out as much as you can. Insert the pillow form. Sew the opening shut by hand.
© 2005 – 2014 Kathy Lewinski & Susan Cornish



4 Comments to Iron Craft ’14 Challenge #13 – Wonky Stripes Pillow