I was commissioned to make a costume for an upcoming school production. Let’s stop and let that triumph soak in for a moment. What a great victory!
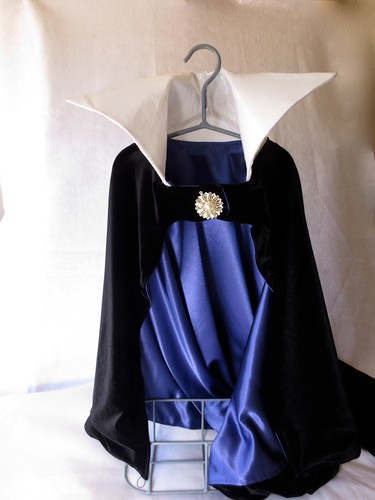
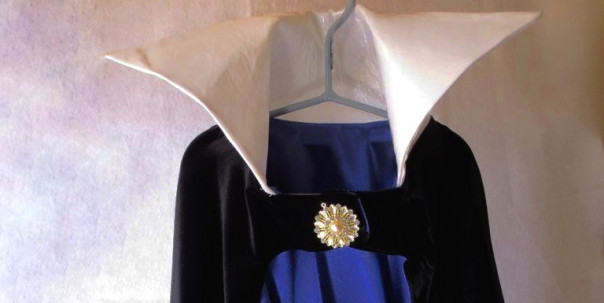
I made the Snow White Evil Queen! Oh Yes! This project was AMAZING to work on and I want to share some lessons and some instructions with you. The cape was made with velvet and shiny satin. It is such rich beautiful fabric! One of the guiding inspirations for the cape construction were the sketches from Liz at I Can Do That.
This post will be the details of the cape. If you would like to see the whole ensemble, here is the Dress, The Crown, and the Evil Queen on stage.
Evil Queen Cape
Supplies:
- 2.5 yards of velvet
- 2.5 yards of satin
- .33 white satin (for the collar)
- thread to match (all)
- 1 foot double sided iron on facing (for the collar)
- paper: grocery bag or wrapping paper (for collar pattern)
- Pelon iron on vinyl
- black elastic cord
- jewel for the neck
- hardy hook closure for neck
Tools:
- sewing machine
- pins
- sewing scissors
- iron
- ironing cloth, or simple tea towel (to protect the satin from the heat)
- painter’s tape
- a HUGE clean floor space
Collar:
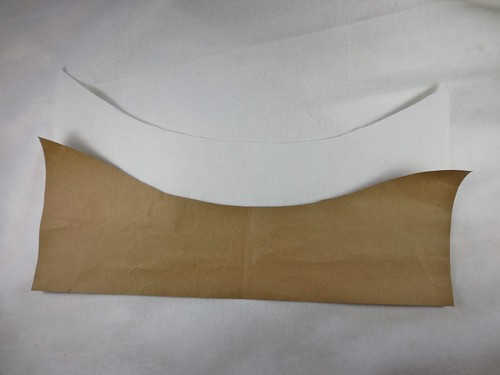
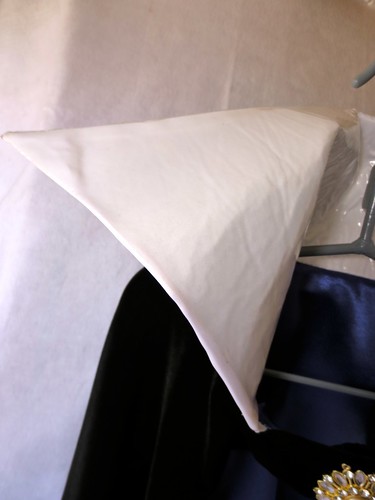
Cut a paper pattern (see the shape in the picture below) and try it on. Check to see that it has enough volume for your liking, but not so much that it will be like a punishing dog cone.
Fold the paper in half (to make sure it is symmetrical) and trim it if you need to. Leave an inch extra at the bottom for seam allowance and stability. Lay the paper on the interfacing. Cut the shape, plus an inch in height, out of the interfacing.
Iron the satin, you want it to be meticulously flat. Iron the vinyl coating on the right side of the satin on what is to become the right side of the collar. In other words only front facing half of the satin needs the vinyl. (Please note there are not pictures of this step here. I finished the cape, we had a fitting and make-up got on the collar immediately. We had not anticipated just how much the fabric would actually ride across the cheeks of the Evil Queen, but it did. So for me, this step was carefully done later. And I would recommend this from the start. )
Fold the satin in half right sides together and pin it down. Using disappearing ink and using your interfacing as a template, trace very close to your interfacing onto the white satin.
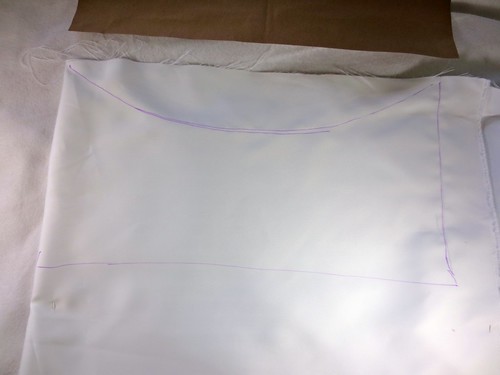
Sew, right sides together, along the ink line you have just traced, leaving the neck side open. (close 3 sides)
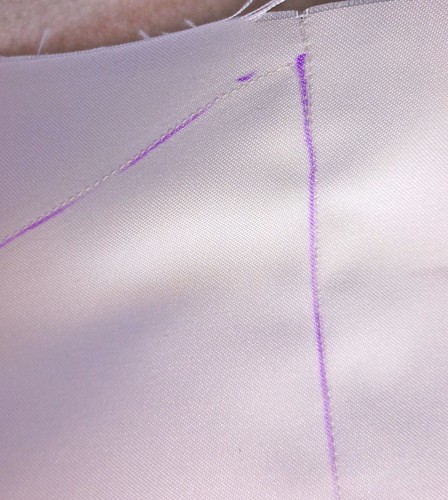
Slip the interfacing in to the “pocket” you just sewed to check the fit. If it’s good, then cut the satin 1/2 inch outside the marked line on the 3 sewn sides. (you are now trimming your seam allowance into the piece.) Trim the corner points close. Turn the pocket inside out and make the corners tight. Slide the interfacing into the pocket, getting it all the way into the corners as far and as tight as you can. Next you will iron the satin down to the interfacing. If you have applied the vinyl, you will need to use the paper backing that came with the vinyl and lay that on the top so that you do not gum up your iron. Set the collar aside to put in the neck hole.
Cape:
The first time I took a swing at this cape, I laid the material out on the floor very carefully. I lined it up, pinned it, and then took it right to the sewing machine. I used the walking foot and sewed the two fabrics together. On the planet there are not two harder fabrics to sew. (If you think I am wrong, write and in and “throw down” your challenge. I am all ears. )
The velvet stretched and it was pleating at each pin. I stretched and tried to manipulate it, but still, in 2.5 yards, I ended up with 3 extra inches of velvet at the end. I tried lightly pressing the satin to see if it would flatten down a little bit, but that did not work.
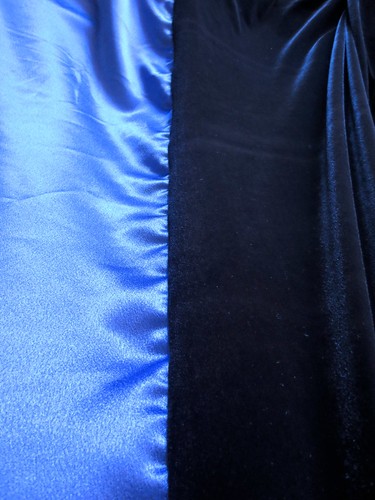
It was just too puckery.
I used my seam ripper and with surgical precision, I ripped out what I had done and started over. This time I read about sewing satin and velvet together and I acted like a quilter. : )
Tape the velvet to the floor, right side up.
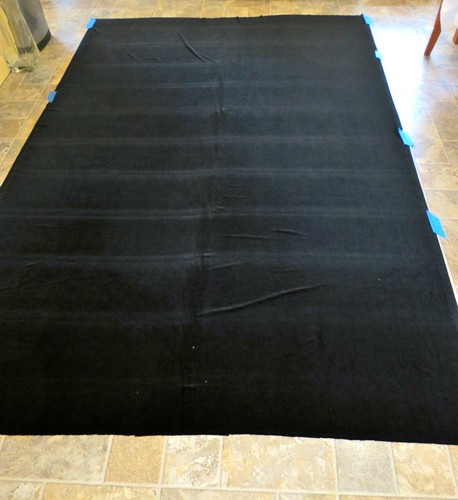
Make it straight and flat, but not stretched. Lay the satin on it, right side down. Carefully align the two. Make sure they are both flat and have no wrinkles. Pin three sides, the two long sides and one short side. The short side will be the top.
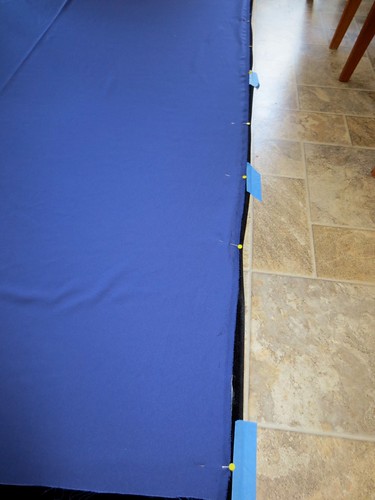
Use a LOT of pins. Then, hand baste all the way around the three sides. The more carefully you baste, the better your results will be. Carefully pull the tape off, lift your cape ensemble and head to the sewing machine.
Using a top feed foot, sew carefully around the three sides. The velvet will want to stretch and buckle, don’t let it. Against intuition, if you slightly stretch the velvet SIDEWAYS, it will help to minimize the extra fabric. That will take away the possibility of the puckers. I was trying to force the velvet under the needle. This was painstaking and only marginally successful. Once I started stretching the fabric horizontally (and sewing the vertical seam) then the process was smoother.
You now have a huge pocket, sewn on three sides. Add loops of elastic cord to the top two corners to add drama and help carry the weight of the cape. The elastic loops will fit around the Evil Queen’s middle finger. Then the corner of the cape will ride on the middle of the back of her hand. It looks really good, AND allows some extra control over all the fabric. Cut 4 inches of cord, fold in half and force the fold through the corner forming a loop between the two right sides. (You made need to use a seam ripper to open one or two stitches in the corner.) Then sew the ends down in the seam allowance. Clip the corners being careful not to clip the cords.
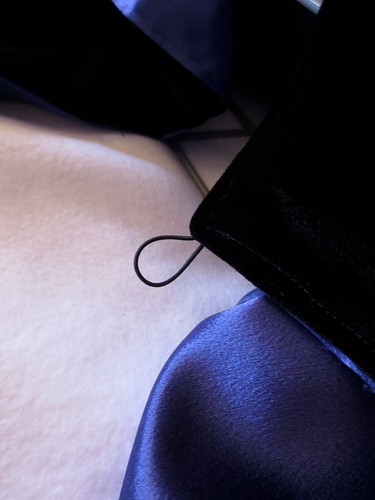
Turn the whole pocket of fabric right-side-out. Make the corners nice and sharp.
Next, cut a neck hole out in the middle of the closed top neck of the cape.
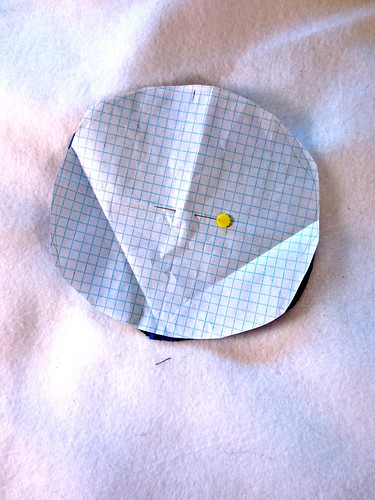
Here is my circle I cut. (Cut through your paper, your velvet and the lining.)
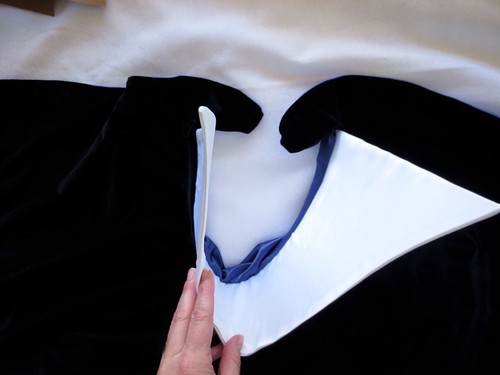
This hole is set about 2.5 inches away from the neck edge. Set the collar into the circle (It will not go all the way around. Remember, you do not want to cover the Queen’s face.) Cut two small pieces of interfacing and slip them into the holes that are now at the neck edge. Sew on the hook and eyes and the broach onto the neck . Insert the collar in here, and sew all the way around, closing off the neck hole and neck opening, then top stitch (on a machine) or invisible stitch (by hand) the front neck closure sections. Iron the pieces of interfacing in place.
One of the issues I wrestled with was the sheer weight of the cape. Even after it was cut and hemmed, the weight of the fabric still pulled the cape backwards, choking the Queen and throwing the look of the collar off. In the end, my solution was to go ahead and add snaps to hold it up. These are no ordinary snaps, they are purse closures. I attached one side to the shoulder of the dress and one side to the shoulder of the cape through the lining only.

The snaps are not visible from the outside of the cape. They are visible if the cape is off, on the shoulder of the dress.
Before you cut and hem the bottom edge, try on the cape to determine how long you want it and how practical it is for your needs. Cut off any excess. Hem both sides separately and then do an invisible stitch to loosely join the two.
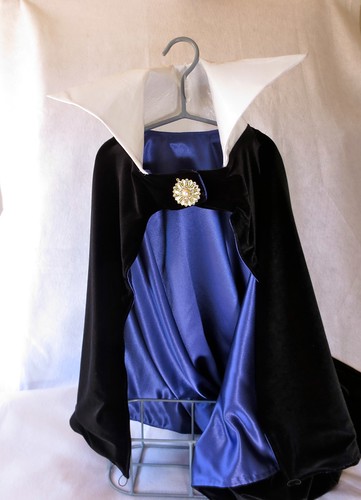
Stand back, and admire the drama you have created.
This was the first large scale commission project that I worked on. I have to say it was thrilling. I really enjoyed the process and working on something so dramatic.
© 2005 – 2014 Kathy Lewinski & Susan Cornish



Pingback: The Best Free Cape Tutorials for Halloween ♥ Fleece Fun