From time to time I buy crafts kits to do with my 5 year old daughter. I’m sure many of you parents and grandparents do the same thing. Since it is hard to know which kits are good, and which aren’t so good, I thought I’d share our experiences with some of them.
I got this bead maker kit and we worked on it together one day after school.
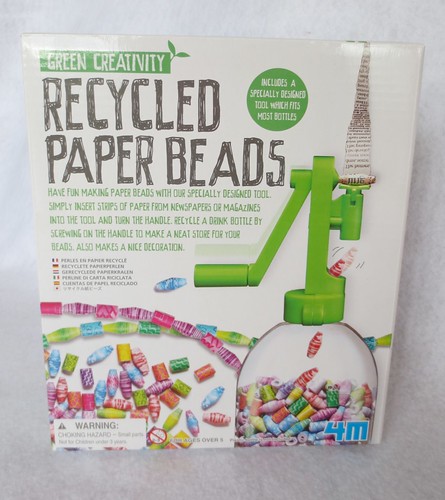
When we opened the box this is what we found.
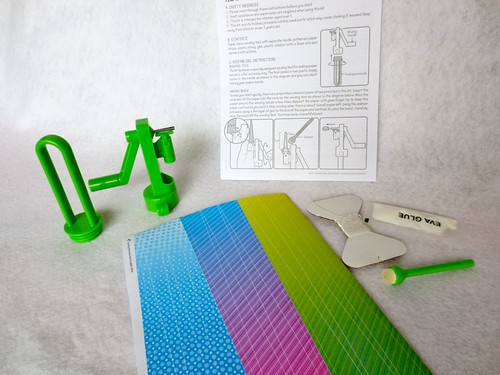
- elastic
- glue package
- a sponge tool
- directions
- papers (to get started with)
- two plastic mechanism pieces
Hang on, where is the bottle?
The fine print on the box says “Comes with an attachment that will fit most bottles,” but not most of the bottles we had in our house. (I guess they didn’t say “most liqueur bottles” did they?) I went dumpster diving ( in our house) and found a mini Coke from a recent party and washed it. Drying it out was a trick. Sure enough, the tool screwed right on perfectly.
The paper needs to be cut into strips to make the beads. That was not in our skill set (yet). The kid is good at cutting, but not fine strips along a straight line. So she cut some and I cut some.
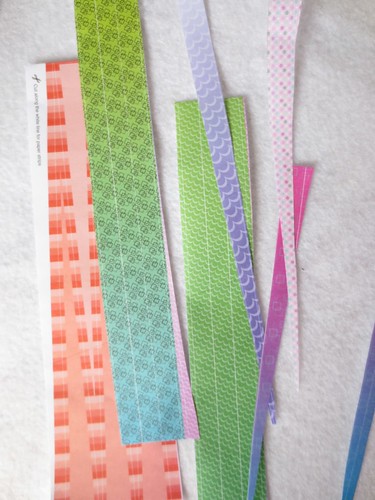
Then came the winding.
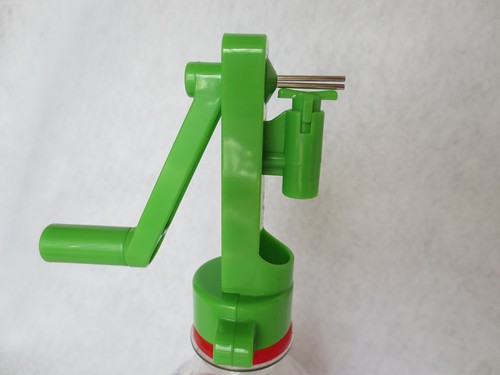
The tool is fussy. The paper has to go into the metal pieces at a right angle. If it is not lined up correctly, the bead will form a sideways spiral.
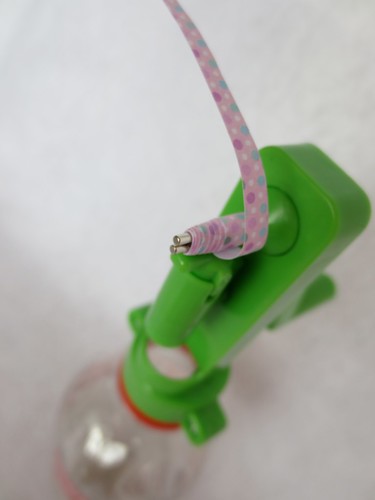
Then turning the crank was problematic to know which way to go. If you had a little fold in the paper to start the bead correctly, then it was hard for Amelia to tell if she should turn the crank towards her or away from her to make the color on the paper appear on the outside of the bead. There also needs to be a consistent tension on the paper, to make sure the winding actually forms a bead.
Once the paper is wound to the last 4″ or so, a little glue needs to be applied. The kit comes with a glue packet. I’m gonna be honest, a “packet” of glue scares me. I’m not afraid of glitter, but the sticky mess from a “packet” gives me the shivers. I got out our own gel glue (that we can control) and we put a drop on the end of the sponge applicator. We ran that along the white side on the point of the paper. We used a plastic plate to help us. After the glue, you keep winding until the end.
One other funny thing was the bottom half of the winder. The kit offers this handle. I guess in case you really do not have a plastic soda bottle of any type in your home when you get started.
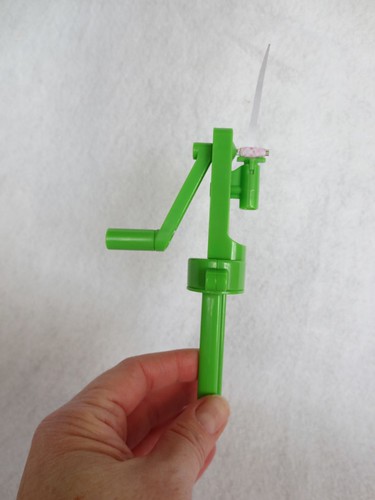
This arrangement actually would not work at all though. You need to use one hand to turn the crank, and one hand to guide and keep the paper straight. The team I was on used all four hands we had and that was when the crank was fixed to the bottle.
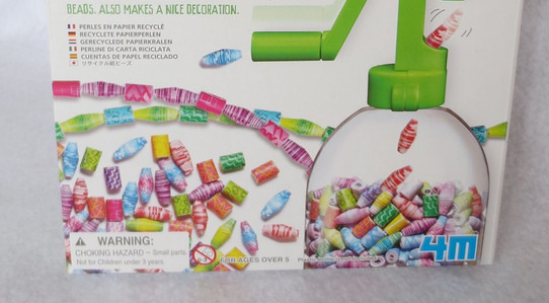
Despite the challenges, we had a good time making beads and she stuck with it for a long time. On the box, the beads are resting in the bottle. In order for them to get there, you have to make them and then put them in the bottle. So that was a little bit funny.
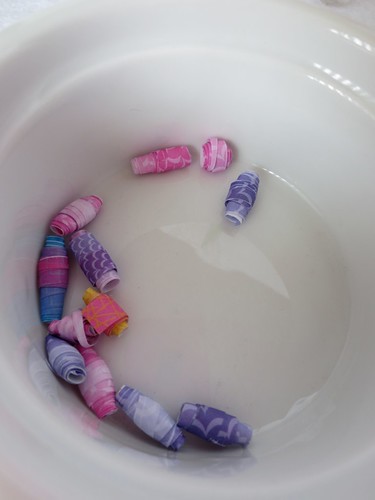
Here are our beads, in a ramekin.
I suspect this kit will be a hit again, as her skills continue to become more and more refined.
*This was a kit I bought. I was not compensated in any way to write about it.
© 2005 – 2014 Kathy Lewinski & Susan Cornish



4 Comments to Recycled Paper Beads Kit