I have seen scarves everywhere lately, from Anthropology to Target. The light summer scarf is all the rage right now and I love them. I took that inspiration and made my own. Here is how.
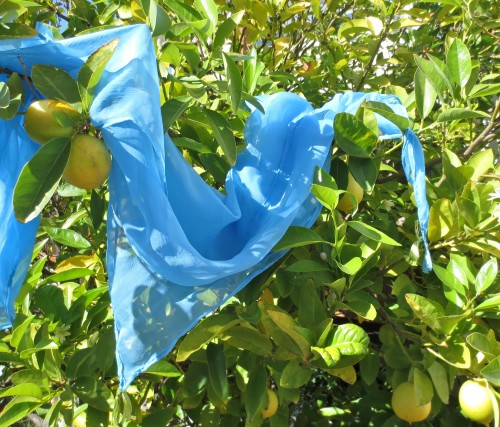
Tasseled Silk Scarf
Supplies:
- silk square (or fabric of your choice) 48 x 48 (or as long as the fabric is wide)
- thread
- coordinating and contrasting embroidery floss
- embroidery needle
Start with your square of silk and make a tight, tiny hem all the way around.
Eva at Uniquity wrote this very helpful tutorial. And while she is a professional, she makes it sound so “do-able”.
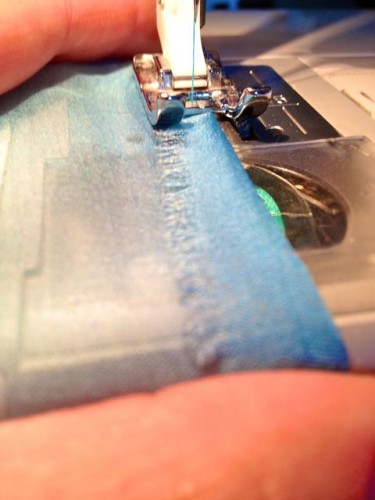
I followed those instructions as closely as I could. And it really worked!
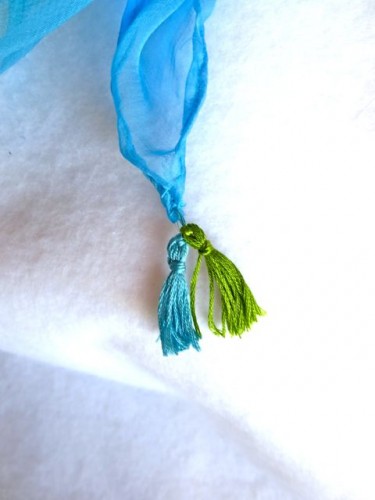
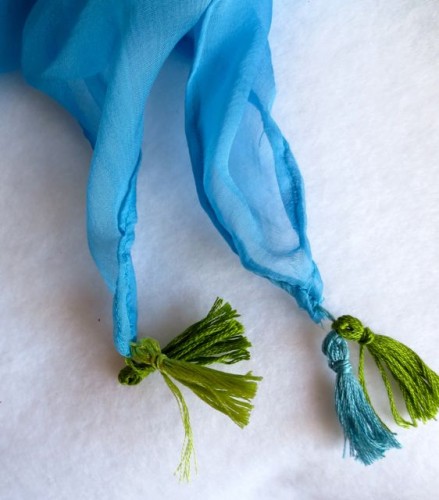
Then I made some tassels to accessorize the corners.
Use the embroidery floss, and a ruler. For consistancy sake, I wrapped 8 times around. (but you can pick if you want a thicker or finer tassel.)
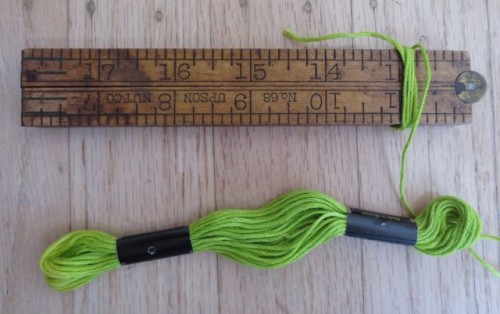
Take a needle, and thread the end of the floss through it. Pull the “wraps” off the ruler, keeping them tight. Then, to hold it tight, take the floss, and cirlce around forming a “head”. Making one more wrap around, run the floss under, forming the beginning of a knot. If we talk about making a “doll” with a head and a skirt, then we can use those terms to describe the pieces of this tassel. Make 8 – 12 tassels (2-3 for each corner) Alternatively, make as many as you want, and line the sides with them. After you make each tassel, leave 8 inches of floss, to attach it to the scarf (or to the tassel next to it.)
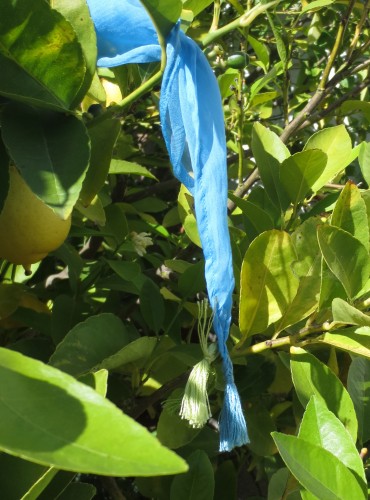
Prepare to put the tassels on the corners. Re-thread the floss into the needle. Follow the path the floss is already making, to ensure that your tying work will not show. Take the needle, and go up to the “head” of the “doll” you just created. Sew the tassel to the scarf around the “head”, and then run the floss down through the “neck” wraps, and then down and let it form one more length of floss in the “skirt”.
Happy Accessorizing!
© 2005 – 2013 Kathy Lewinski & Susan Cornish

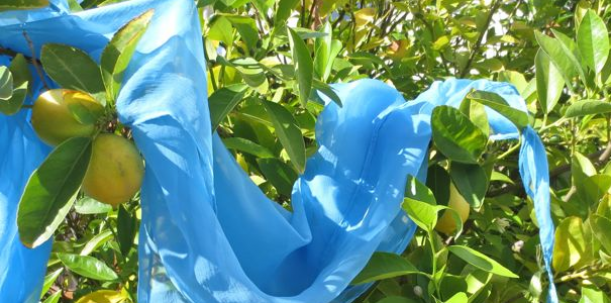


One Comment to Tasseled Blue Silk Scarf