(For the 24 weeks leading up to December 1st, we’ll be making a Christmas ornament. Each one will be traditional to or inspired by a different country.)
This week we are visiting China. Now most people in China don’t celebrate Christmas, but many people still get into the spirit as a time to get-together with friends and relatives. Christians in China celebrate by lighting their houses with beautiful paper lanterns and decorating their Christmas trees, which they call “Trees of Light”. They decorate the trees with paper chains, paper flowers, and paper lanterns.
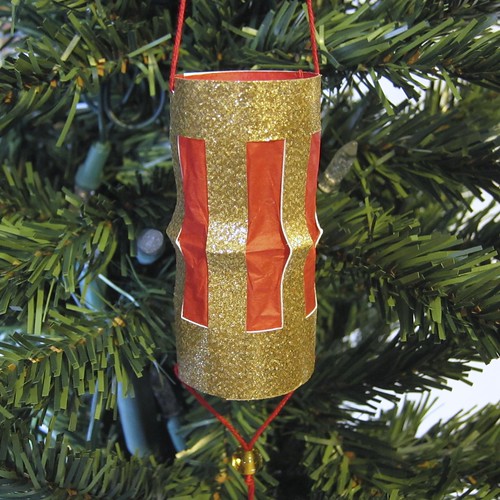
Our paper lantern is made with sparkly gold paper and lined with red tissue paper. A battery operated tea light gives it a beautiful glow. Can you imagine how pretty a tree full of these would be?
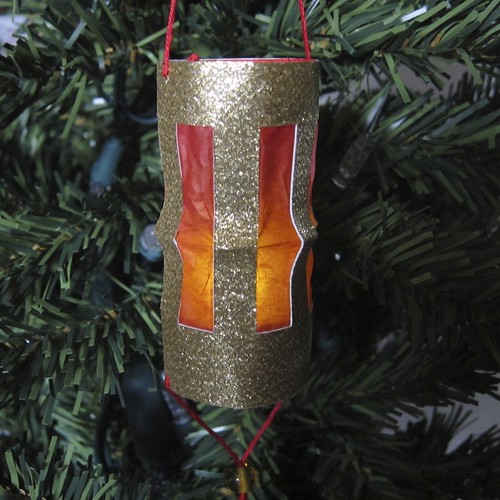
Chinese Lantern Ornament
Supplies:
- gold cardstock
- red tissue paper
- battery operated tea light
- glue such as school or tacky glue
- red embroidery floss
- gold bead (optional)
Tools:
- ruler
- pencil
- exacto knife
- scissors
- hand sewing needle
1. Cut a length of the cardstock the height you want your lantern. Mine was 3 1/8″. Make sure the piece is long enough to wrap around your tealight.
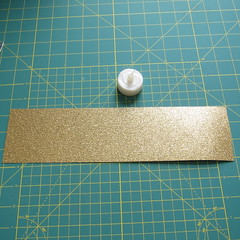
Now wrap it around your tealight and mark were the length with about 1/2″ – 5/8″ overlap. Cut to that length. Mine was 4″.
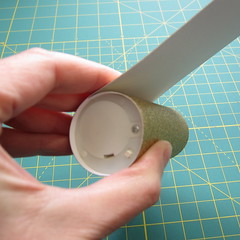
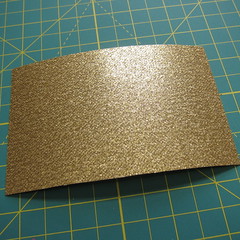
2. On the back of the cardstock use a ruler to mark the areas you are going to cut out. Start by figuring out the top and bottom sections, making sure the bottom is about 1/8″ – 1/4″ taller than your tealight.
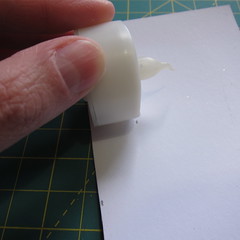
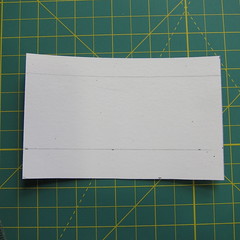
Then mark out evenly spaced rectangles between the top and bottom. Mine were about 6/8″ each.
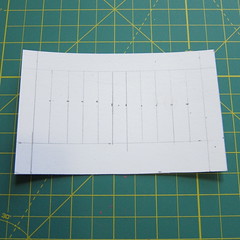
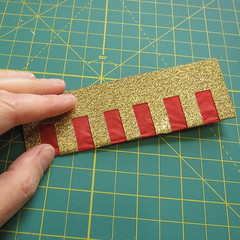
3. Use the exacto knife and ruler to cut out the rectangles.
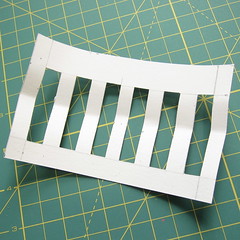
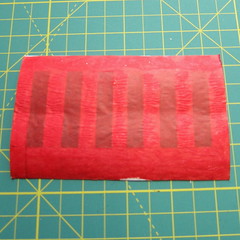
4. Cut out a piece of tissue paper the same size as your cardstock piece. Glue it to the back.
6. Roll into the lantern shape and glue together at the overlap. Make sure your tealight fits in snuggly.
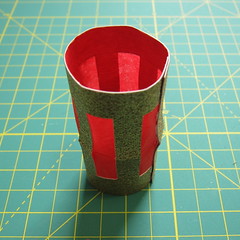
Let dry and push out a little at the middle fold.
7. Use the sewing needle and a length of red floss to create a hanger at the top. Put the floss through the top of the lantern on opposite sides and tie a knot on the inside to hold in place.

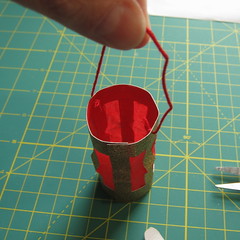
8. Insert the tealight into the bottom of the lantern. Mine was snug enough that it stayed in on its own. If yours is a little loose you could glue it in place or use some double-sided tape.
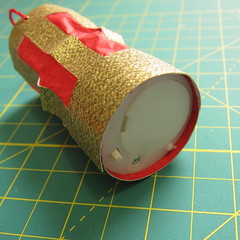
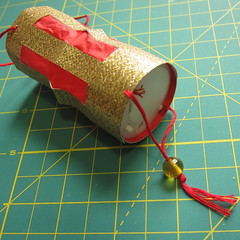
9. If you want to add the bead and tassel at the bottom, push the tealight up about 1/8″ from the bottom. Tie a length of floss on like you did for the hanger. Cut the floss in half and string the bead on both pieces. Tie a knot under the bead. Trim the floss to the desired length.
© 2005 – 2013 Kathy Lewinski & Susan Cornish


