This time of year in Minnesota we can all use a little hint of spring even if we have to make it ourselves.
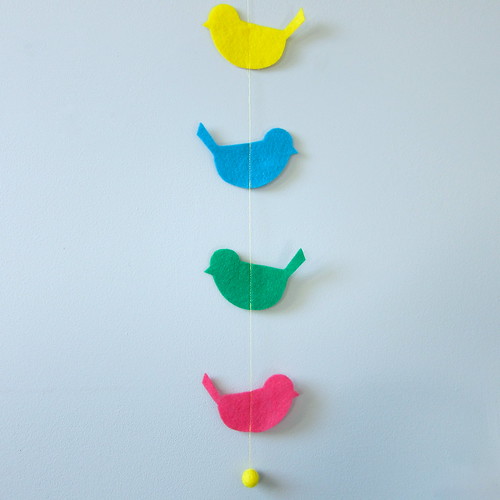
A couple week’s ago I saw I sewn felt bird garland at a local gift shop. I loved the look of it, but, of course, walked away saying I could make that. After picking up some bright felt, it just took a little time in the craft room (sewing the garland on a machine brings it together really quickly) and I had almost an exact copy.
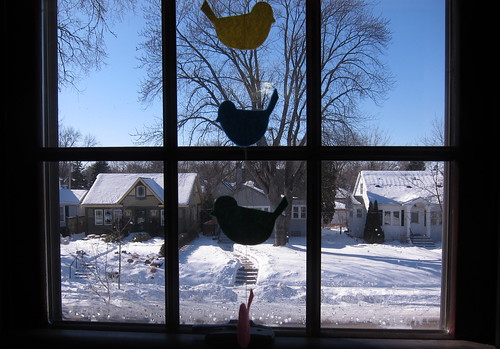
Hanging in front of the window, it brings a touch of spring into the house even though the view beyond is anything but.
Spring Bird Garland
I made this garland to hang in one long string, but you could sew across the birds side-to-side for a horizontal garland instead.
Supplies:
- felt in various colors, look for a felt that is a little on the thicker side than your typical craft felt. I used the felt sold by the yard.
- thread
- bird pattern
- roving or felt ball (optional)
Tools:
- scissors
- glue stick (optional)
- sewing machine
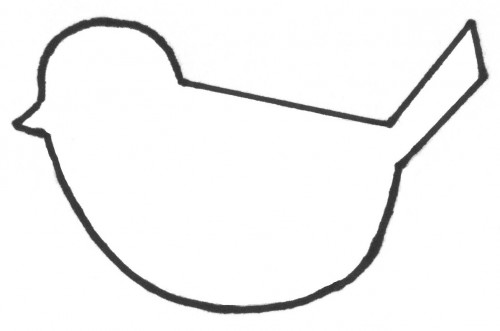
1. Print and cut out the bird pattern. Either use mine, draw one of your own or use one from the internet.
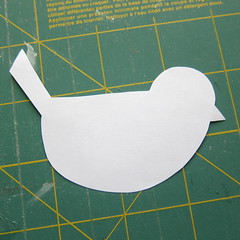
2. Use the pattern to cut birds out of the felt.
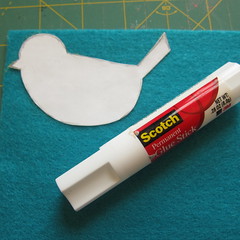
When I’m cutting a smaller pattern out of felt, I like to stick the pattern to the felt with a little glue stick. After I cut around the pattern, it peels right off the felt. I can usually use the same pattern four times (twice on one side and twice on the other).
3. After you have all the birds cut out sew them together. Start with the top bird, back stitch at the top of it to secure the stitching, stitch down to the bottom and back stitch again. Now, lift the needle and presser foot. Pull the bird away with the thread still attached until it is the distance you want between the birds. Make sure you are pulling the same amount of top and bobbin thread. Sew on the next bird, once again back stitching at the top and bottom.
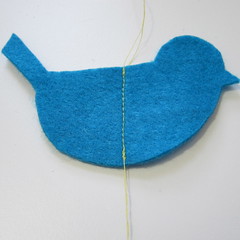
Continue this method until all the birds are sewn on. Leave a tail of thread about six inches long from the bottom of the last bird.
4. This next step is optional, but I think creates a cut end for the garland and helps it hand straight. Use a small store bought felt ball or make one with some roving. You can make one with needle felting or wet felting. You can read about the different ways I’ve use to make them here.
Thread a needle on the tail of thread. Put it through the felt ball. Tie a knot to secure it in place.
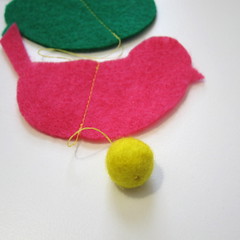
If you chose to skip the felt ball just cut the tail of the thread off after the last bird.
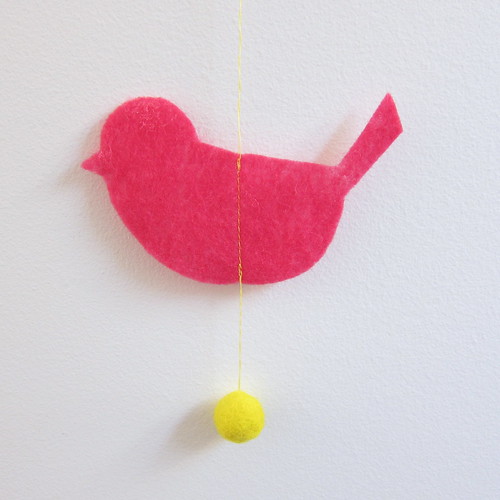
Now hang and bring a little spring into your space!
© 2005 – 2013 Kathy Lewinski & Susan Cornish




I wonder if a little bell (like a jingle bell) would work at the bottom. That way, when you walk past it and the wind makes the garland sway you also get a little sound. Just a thought. Great project. We could use some cheery color here in NYC as well.
Pingback: Project: Spring Bird Garland Tutorial · Felting | CraftGossip.com
I forgot to tell you this morning that I really like this. I should make one- it would look great to have a few hanging in my bay window.
Pingback: 101 Easter and Spring Crafts and DIY Ideas - Susan Tuttle Photography
Pingback: Móbile de passarinhos de feltro para quarto infantil | Dicas de Artesanatos, Reciclagem e Decoração
Pingback: Kids craft2 | Pearltrees