I was wandering around Target the other day and came across these felted heart wreaths and garland in their holiday section.
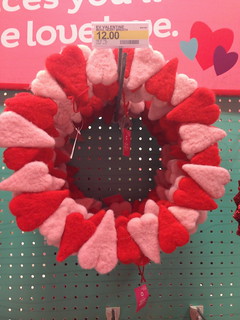

I really like the softer look of the wool felt hearts. Valentine’s Day is still the heart of winter here and the felt has a cozy, fuzzy look. This garland and wreath would be so easy to make on at home either with hearts cut from felted sweaters or needle felted hearts. Hearts cut from regular felt wouldn’t have the thickness and body of felted ones.
Never done any needle felting? It’s really easy, here’s how…
Needle Felted Hearts
- needle felting board or piece of firm foam
- felting needle
- roving or 100% wool yarn (if you are using yarn, you will need to spend some time shredding it)
- heart shaped cookie cutter
- scissors
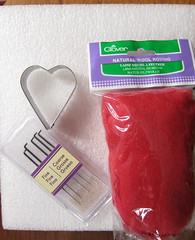
I have found it is easy to find all the supplies at the big craft stores and most knitting stores. You will get a bunch of hearts out of one bag of roving.
1. Place the cookie cutter on your felting board and fill with a piece of roving or shredded wool yarn. Fill it really full. (You can do this without a cookie cutter and just freehand the shape, I just find using a cookie cutter is a super simple way to get the basic shape quickly.)
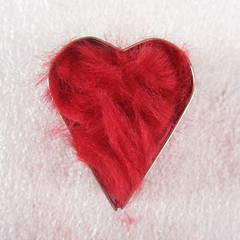
2. Now just start stabbing all around the roving with the needle. (This is a great release if you’ve had a bad day.)
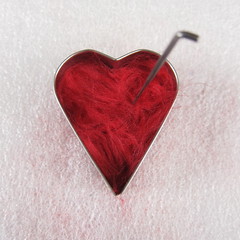
Needle felting needles have barbs on them to catch the fibers and felt them together as you stab. You don’t need to stab really deeply into the foam, just get the barbs through the roving. The more you stab the more felted and thinner the roving will get. Try to keep the needle straight as you felt as they break easily.
I like to take the roving out of the cookie cutter one or two times, flip it over and felt some more. This helps clean up the parts that start sticking to your board.
3. Once the heart is felted relatively flat, remove it from the cookie cutter.
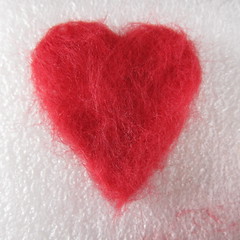
It will probably still be pretty fuzzy. Now, I start using the needle to work on the details and adding more roving to the parts that are too thin. I may even put it back into the cookie cutter and add another layer of roving if I feel the whole thing is too thin. My final heart was about 1/4″ thick.
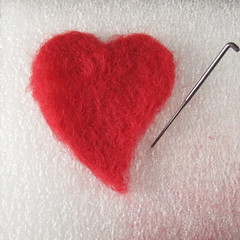
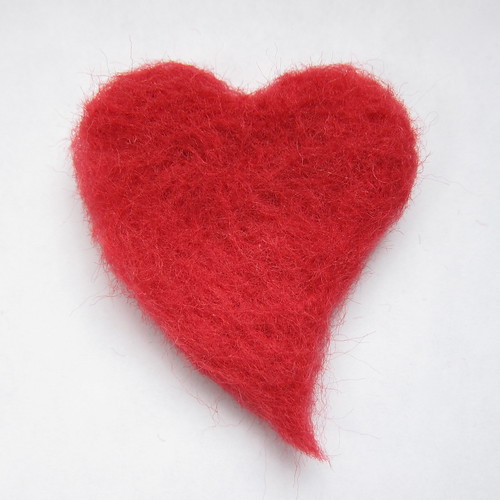
4. Once you have the shape and thickness you want, you might think it is still a little too fuzzy. I find rubbing it lightly between my hands helps a little and I also trim the sides up a bit with scissors. (You can reuse any of the fibers you cut off.)
When I demoed needle felting at Maker Faire years ago, kids were really interesting in it and loved stabbing the roving, watching it felt. The problem is these needles are really sharp, not to mentioned barbed. Using a cookie cutter actually makes it a little safer for them because they are holding the cookie cutter not the roving. You could let your kids do the part in the cookie cutter and then do the detail work yourself.
What would you make with a bunch of felted hearts?
© 2005 – 2013 Kathy Lewinski & Susan Cornish



Sure, now that I sent you all my roving, you show a simple felt craft! I think the cookie cutter idea is really great!
Thank-you so much for taking the time to share this technique.
i love working with felt but wasn’t aware of this particular process.
Pingback: Project: Felted Hearts Tutorial · Felting | CraftGossip.com
Pingback: Needle Felted Hearts tutorial | Felting | CraftGossip.com
Pingback: Needle Felted Hearts tutorial | Making-Money-With-Crafts