We live in San Francisco, near Precita Park. On the cross streets that boarder the park there are some little shops. Three years ago, there was a grungy, smelly “convenience” store that sold spam and lots of beer on one corner. Then they had a fire and the property was vacant for a while. Then, out of the smokey shell arose Precita Park Cafe. They are kid friendly and we are in there all the time. We are just so grateful for this amazing anchor in the neighborhood.
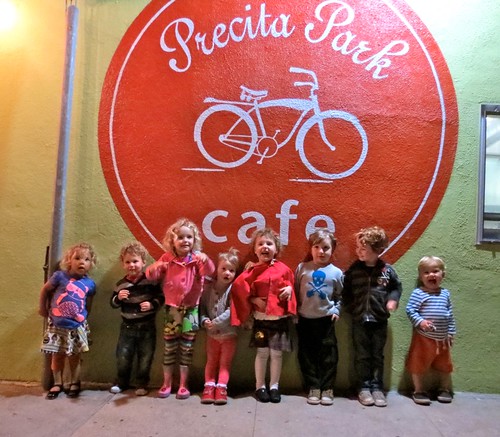
Here is a super sweet photo-op from a dinner with lots of Mama’s and lots of kids!
Last week, they celebrated their First Anniversary. They threw a party, fed us, and had a band. It was a heck of a Wednesday night, I tell you! The owners, Dana and Rachel really know how to lay out a spread. It was really fun to see their success so broadly acknowledged.
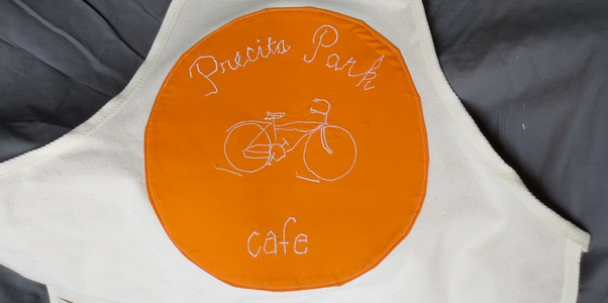
In their honor, I made a little gift. And their logo is orange, so, there was my IC challenge, all sewn up!
Embroidered Apron
Supplies:
- art apron (any apron will do. I used an art apron that is water repellant)
- fabric
- thread
- double sided iron-on interfacing
- temporary fabric marker
- paper
- Sharpie marker
- iron
The first step is to draw what you want to make. I drew it in pencil and then filled in with the Sharpie marker so the lines would show through.
Make sure to start by putting the paper on the apron, where you want the project to appear, so that you are starting with a size that you like, and something that will be the right scale for the apron.
Cut your fabric to the shape you want. Lay it over the paper, and transfer the image that you drew to the fabric with the temporary pen.
Embroider the image.
Iron the embroidered fabric to avoid puckering.
cut out the shape out of your iron-on interfacing.
Iron this onto one side. Peel the paper off. Carefully iron the fabric onto the apron.
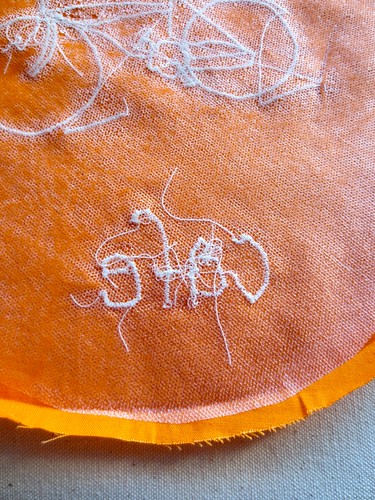
I left a seam allowance, so after I ironed the fabric down,
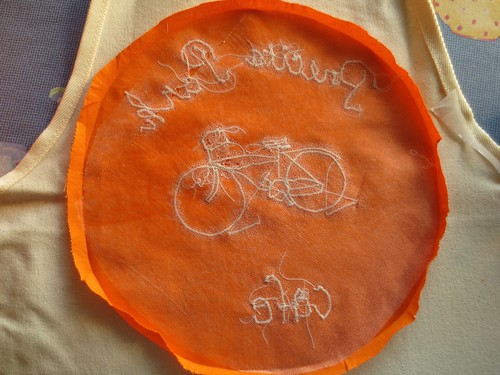
I turned the seam allowance under. And finally, ran a top stitch around the edge of the circle.
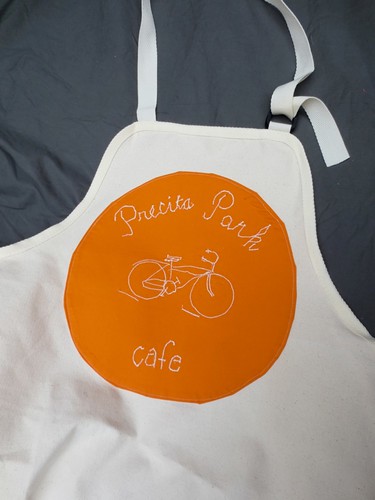
Freehand machine embroidery is hard. I’m happy with the apron overall. But it is a little bit “rustic”.
Challenges to think through:
- If you keep the feed dogs engaged, straight lines are smooth, but curves are hard. Take care not to pucker the fabric as you turn.
- If you lower the feed dogs, smooth curves it is easier to avoid the puckering, but a smooth curve is still tricky.
- If you change the presser foot to a clear, quilter’s free-motion foot, there is not as much contact tension on the fabric, so it is really “free”. The benefit of this foot, is that it allows you to see the pen markings through the foot, so you can anticipate where you are going a little bit better.
- If you leave the metal foot on the machine, there is better contact, and less slipping around, but you cannot see your markings before you are on top of them.
I used my regular metal foot, lowered the feed dogs, and proceeded slowly. That was the best combination for me.
Give it a whirl! And good luck!
© 2005 – 2013 Kathy Lewinski & Susan Cornish



I used to live in SF! Now we are in Oakland. How nice to know we are from the same area! 🙂 I’ve been enjoying the Iron Craft challenges, thank you for hosting!
Vania (what a beautiful name) Thank you for leaving a comment and introducing yourself! I love hearing from our readers! And thanks for you nice comments about IC. We are having a BLAST! And with so many participants this year, you all have really raise “our bar”. Happy Crafting!
What a sweet gift! I bet they loved it!