For this Iron Craft challenge we were asked to create something for any one of the upcoming holidays.
It seems these days I’m giving more and more gift cards as presents (especially as my nephews get older). I figured if I’m going to give cards I might as well make cute ways to give them.
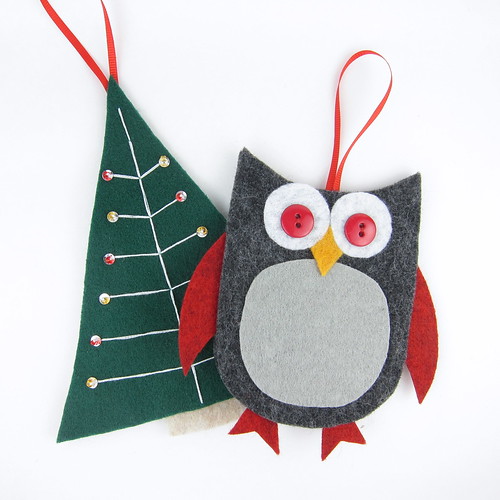
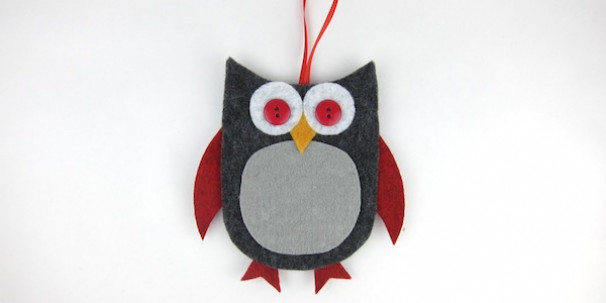
These gift card holders have a pocket on the back for the card and afterwards can be used as a Christmas tree ornament.
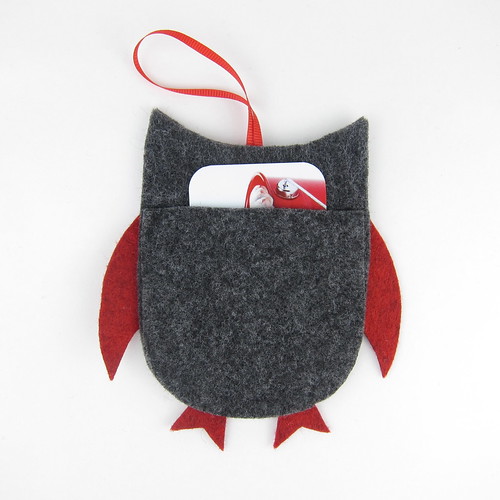
I had so much fun making these. I tried to give them lots of detail while keeping them simple to make, so there are some sewn details, but mainly everything is glued together. Now, I’ve got lots of ideas for other shapes like snowflakes, Christmas balls, and Santas.
Felt Gift Card Holder
Download the Owl Template or the Tree Template
Supplies:
For the Owl:
- felt in dark grey, light grey, white, orange and red
- two 1/2″ red buttons
- red thread
- red ribbon
For the Tree:
- felt in dark green and brown
- white embroidery floss
- silver sequins
- red and gold beads
- red ribbon
Tools:
- scissor
- sewing needle
- glue – tacky, fabric or felt glue
To make the Owl:
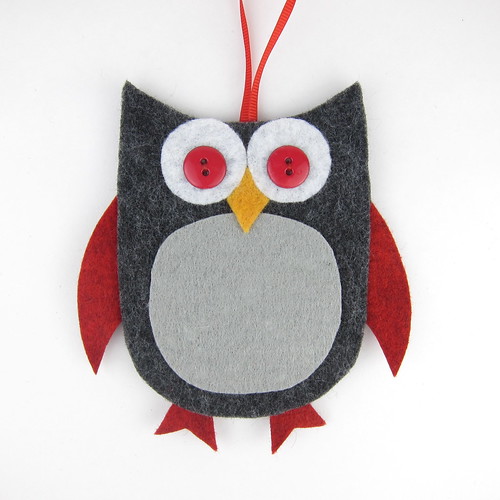
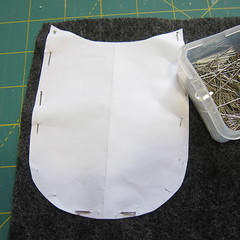
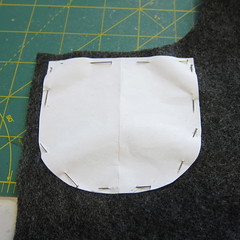
1. Print and cut out the template pieces. Cut two pieces of the body from the dark grey felt. Now, cut the body template at the marked line and cut one of the pocket piece from the same grey felt.
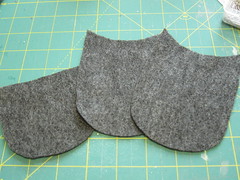
Cut two wings and two feet from the red felt. Cut the beak from orange and the eyes from white. Finally, cut the stomach from the light grey.
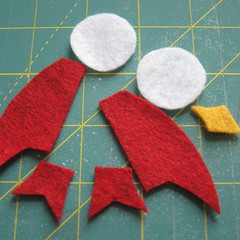
2. Chose one body piece to be your front. On the back of that piece glue the feet and wings in place.
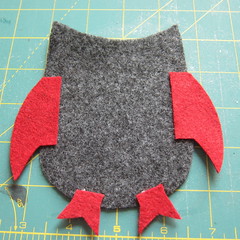
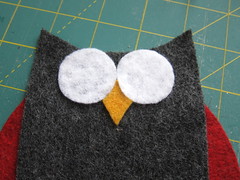
3. Turn over and glue the eyes, stomach and beak in place. The beak should sit a little behind the edge of the eyes and over the stomach.
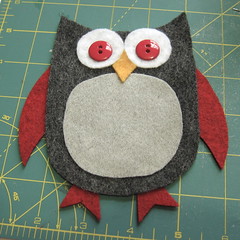
4. With red thread sew the buttons in the white eyes. How you place the buttons can give your owl all sorts of different looks.
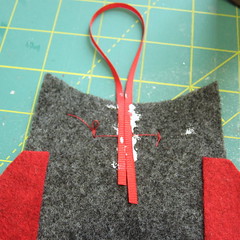
5. Turn the owl front back over. Glue the ends of a piece of red ribbon to the middle of the top of the owl to make a hanging loop. Now glue the other full body piece on the back.
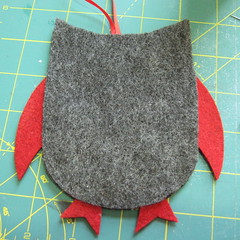
6. Put a good bead of glue around the sides and bottom of the pocket piece. Glue onto the bottom back of the owl.
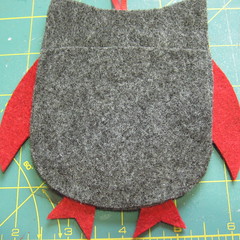
To make the Tree:
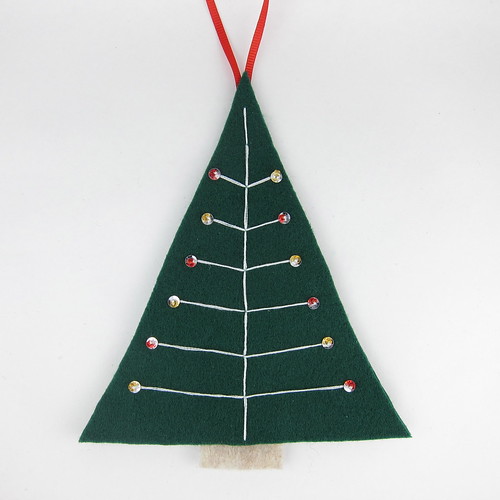
1. Print and cut out the template pieces. Cut two of the tree from the dark green felt. Now, cut the template at the marked line and use the bottom piece to cut the pocket from the same green felt. Cut one trunk piece from the brown felt.
2. Pick one of the tree pieces to be your front piece. Using 3 strands of the embroidery floss stitch a line down the middle of the that tree pieces and then branches off to the sides. I drew a line down the back of the tree to help me get a nice straight stitched line.
3. At the end of each branch thread on a sequin and then a bead on top of the sequin.
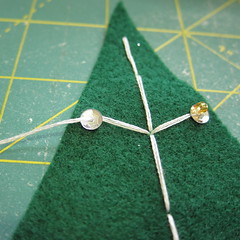
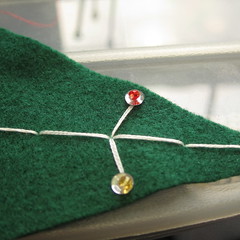
4. Turn the embroidered tree piece over and glue the trunk to the bottom.
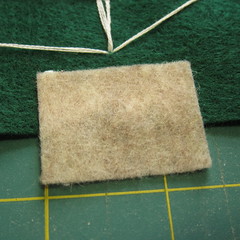
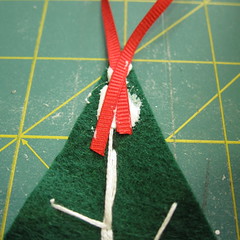
5. Glue the ends of a piece of ribbon to the back of the tree at the top to make a hanging loop. Then, glue the other whole tree piece to the back of the embroidered one.
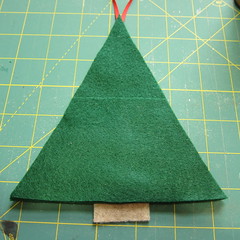
6. Put a bead of glue down the sides and bottom of the pocket piece. Glue to the bottom of the back of the tree.
© 2005 – 2012 Kathy Lewinski & Susan Cornish



These came out so good. Nicely done!
Pingback: Darling Christmas Felt Gift Card Holders · Felting | CraftGossip.com
Pingback: DIY Felt Gift Card Holders for Christmas : To Inspire You
Pingback: Felt Owl Gift Card Holders | Felting | CraftGossip.com
Pingback: DIY Felt Christmas Gift Card Holders - Let's Wrap Stuff