Every Friday for the twenty-four weeks leading up to December 1st, we will be making a handmade Christmas ornament. Follow along and make them all or pick and chose your favorites.
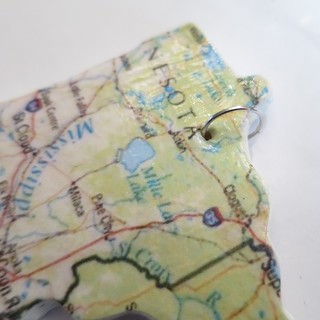
This week’s ornament is a version of something I see at all the craft shows and local arts stores in town, a state map ornament. It’s one of those things I see and always say, “I can make that.”

You can individualize this one in lots of different ways, by changing up the color you paint the sides and back, choosing which part of a map you use highlighting a particular city, or changing up how you finish it. (I did a glossy finish on one and a glitter finish on the other.). If you can’t find a cookie cutter of your state, you could also do this on a shape like a circle or heart and highlight a special city or area.
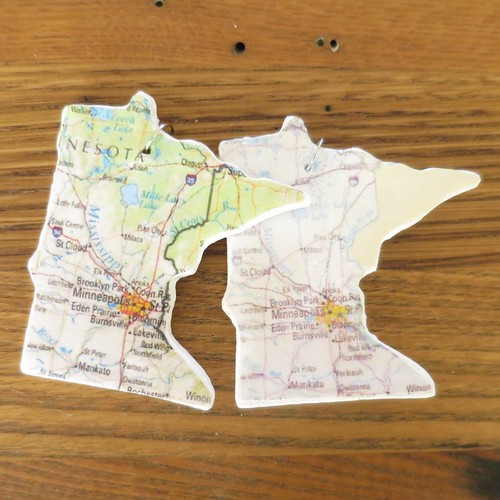
*I didn’t go buy maps to do this project, I just found a few online that I liked. I sized them down, but kept it so Minneapolis was still readable. I didn’t try to size the whole map down to the size of the ornament because that would be too tiny to read anything and the chances of it being the exact shape as the ornament was slim.
**You can use any oven bake or air dry clay you like to make these. I used salt dough because it is so easy to whip up as much as you need with things you have a home. Here is the recipe I used and baking instructions.
State Map Ornament
Supplies:
- salt dough or other clay**
- cookie cutter
- rolling pin
- baking sheet
- oven
- tooth picks
- acrylic paint
- small paintbrushes
- maps*
- pen or pencil
- scissors
- school glue
- Mod Podge gloss or polyurethane
- jump ring
- glitter (optional)
1. Roll out your dough to an even thickness, about 1/8″ is good, and cut out shapes. I roll mine out on a silpad and then just lift that onto the baking sheet. That way I don’t have to move the ornaments around.
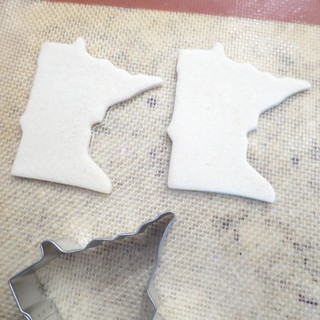
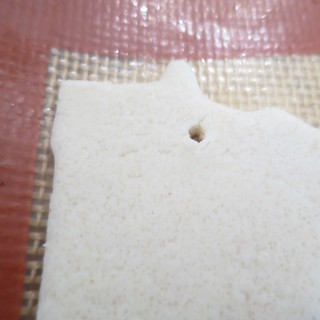
Use a toothpick to make a hole for hanging. (Make sure not to put the hole too low, judge where is it by the size of your jump ring.)
Bake according to the instructions on your dough. I used salt dough baked at 200F for about an two hours, turning the ornaments every half hour or so. I also pricked small holes into bubbles in the ornaments as they were baking to make them go down. This worked sometimes, but I did still end up with a few risen spots. Let the ornaments cool. You can use fine sandpaper on any rough edges.
2. Use the ornament to trace it’s shape on the map, paying attention to what you want on the ornament. You don’t want to use the cookie cutter for this as the finished baked ornament won’t be the exact same size.
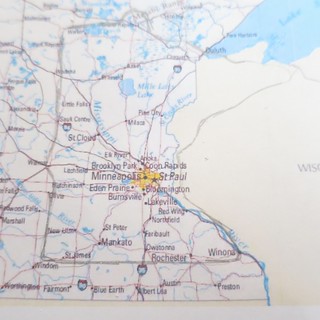
Cut out the shape. Cut inside the line you traced. Trim as needed to fit the front of your ornament. I had to trim a good sixteenth of an inch all around.
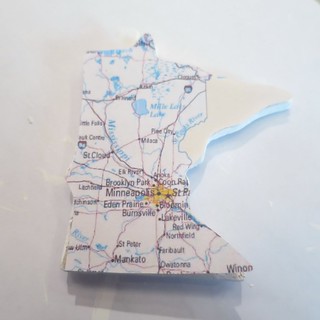
3. Paint the back and sides of the ornament. You will need more than one coat for good coverage. Make sure to paint it in thin coats and let it dry completely before you do the next. If you don’t the paint will crack.

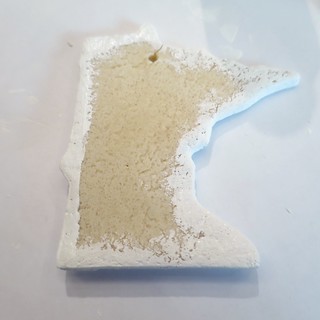
Paint just around the edges of the front. Let dry.
4. Cover the back of the map you cut out with an even layer of school glue. Glue on the front of the ornament. Let dry.
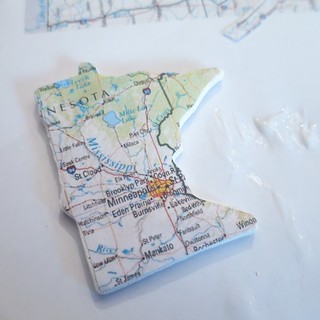
5. Now you have choices in how to finish the ornament. (Make sure to test whatever finish you are going to use on a scrap of map first to make sure it doesn’t make the ink smear.)
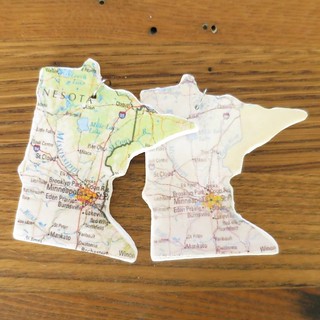
On the darker one above, I gave it two coats of Mod Podge gloss. On the lighter one, I painted on a coat of clear paint with opalescent glitter in it (I could not get the glitter to show up in a photo). Then I added a coat of polyurethane. That one is pretty, but clouds the map a little. Let dry completely.
© 2005 – 2015 Kathy Lewinski & Susan Cornish

