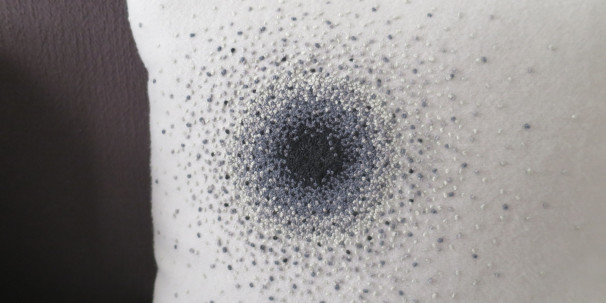
For this challenge we were to make something for our home. I had bought some beautiful grey wool at Faribault Woolen Mills and my husband suggested I use to make an embroidered throw pillow. I had seen some different versions of French knot bursts online and that I thought would be a really cool design on a pillow. Plus, I had yarn in the right shades to do it.
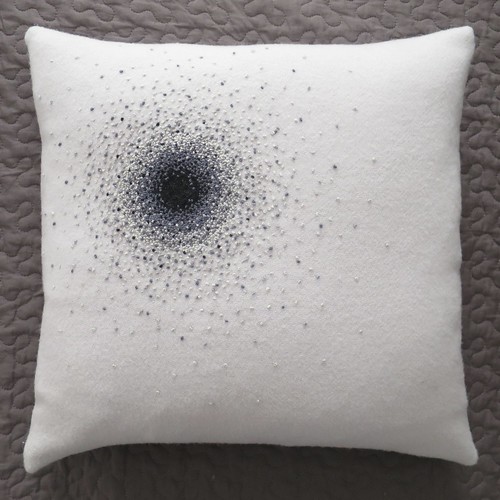
I love the way it turned out, but let me tell you this was a lot of work. I don’t even want to think about how many French knots I made. It also wasn’t as mindless as I thought it would be, I really spent time thinking about how the colors should blend together to get the look I wanted.
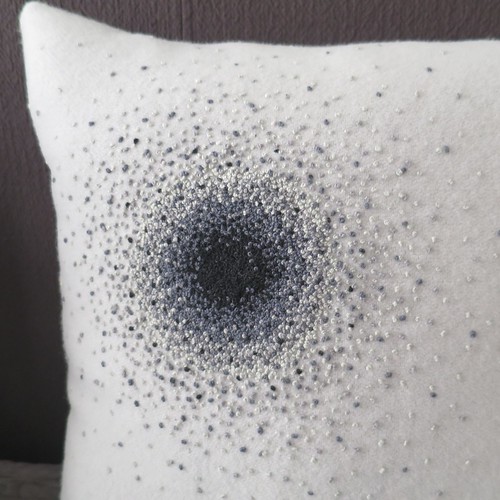
It’s a little tricky to do a tutorial for this, but I took pictures along the way with each color and have some tips on how I did it. (Click on any picture in the tutorial to see it bigger.)
French Knot Burst Pillow
This is a really basic pillow, so I am not going to go into a ton of detail about sewing it together. I’m concentrating here more on the embroidery. Of course, this doesn’t have to be a pillow. You could do a wall hanging or anything that you would want to put a lot of embroidery on.
Supplies:
- fabric – I used a light blanket wool. It was really easy to embroider, but not such an open weave that stitches came right through
- fingering yarn in four colors – I used Knit Picks Palette in Black, Ash, Silver and Finnley Heather. I used yarn to get a bigger knot.
- large eye needle – big enough to thread your yarn through
- scissors
- embroidery hoop (optional) – I didn’t use one, but you might find it useful.
- thread to match fabric
- sewing machine (optioanl)
- hand sewing needle
1. Cut out the two of pieces fabric for your pillow (or whatever you are making). My pillow insert was 19″ square and since I like a well stuffed pillow I cut my fabric also 19″.
2. Decide where you want your burst to be on the front piece of fabric. I wanted mine off center.
A few notes about the French knotting. I did all single knots (one wrap around the needle). Try not to pull the yarn too tightly between knots especially as they get farther apart as the will pucker the fabric. I had a little puckering, but I pressed the back of the piece with a little steam and most of it went away.
Starting with the darkest color, use single French knots to make the center circle of the burst. Getting a good circle can be tricky, so you may want to draw one on your fabric as a guide. Because I didn’t want the lighter color of the fabric to show through, I made the knots close together.
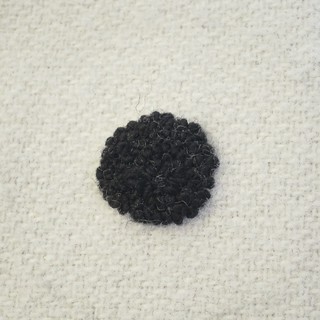
Continue making knots around the circle, but spacing them out farther as you go.
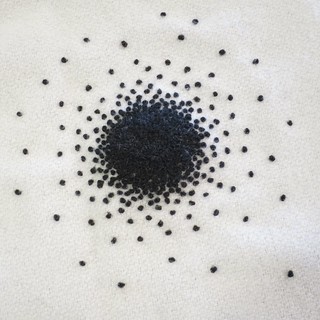
3. Switch to next darkest color. Start filling in the gaps you left in the darker color. As you get farther from the center start leaving spaces farther and farther apart similar to what you did with the other color. Each color should go out farther than the color before it.
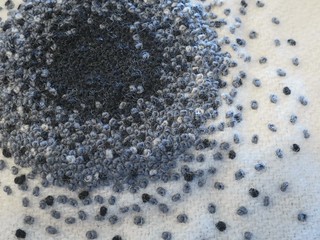
In this picture I had already started with the third color, but you get the idea.
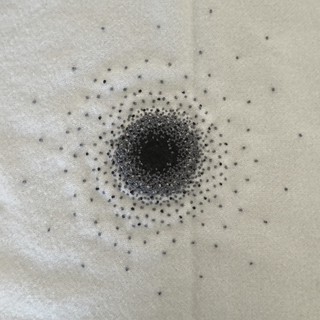
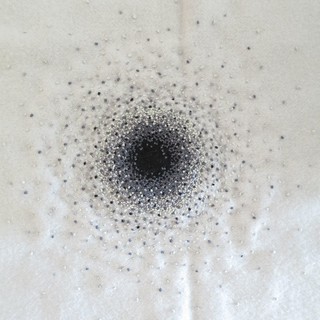
4. Now, use the next lightest color. This time I did not fill in all the spaces between it and the color before. I’m starting to make the circle “burst.”
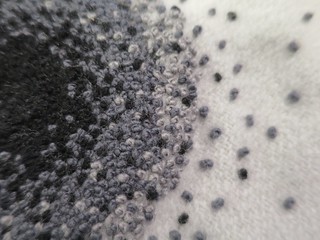
Once again, keep work around the circle making the stitches further apart as you get farther from the center.
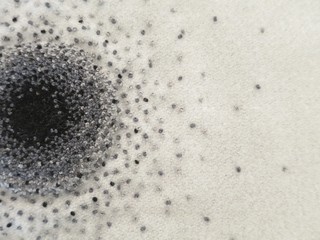
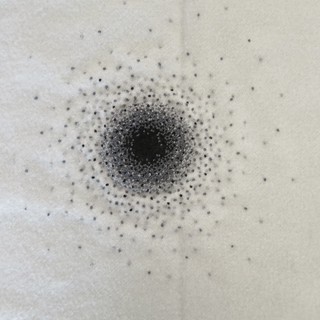
5. Finally, use the lightest color.
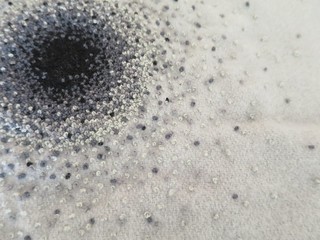
6. Press if needed. Pin the front and back pieces of the pillow together right sides facing. Sew three sides together. I used a 1/4″ seam allowance. Turn right side out. Slip pillow insert in. Hand stitch fourth side shut.
© 2005 – 2015 Kathy Lewinski & Susan Cornish




Pingback: Brodera mera franska knutar | broderamera