For this Iron Craft challenge we are embracing the holidays. I chose to do a Christmas wreath made of white felt leaves inspired by one I saw at West Elm. The West Elm version is beautiful and $59. They used thick felt leaves wired onto a wire frame covered in the same felt.
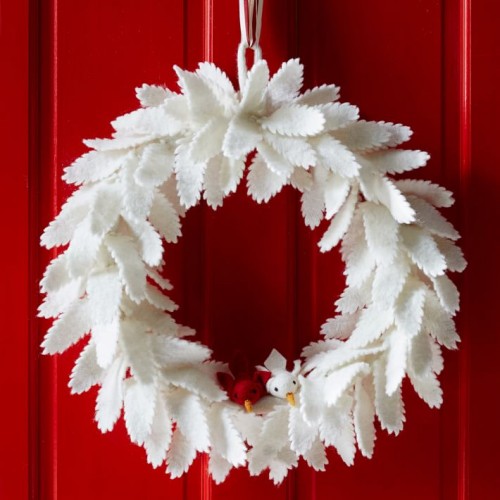
I figured I could make something that gives a similar feel for a lot less. I paid about $5 for the wreath form, 1/4 yard of felt with a coupon cost $2.50 and the berries were $1. I already had the glue and scissors, so my wreath ended up costing about $8.50.

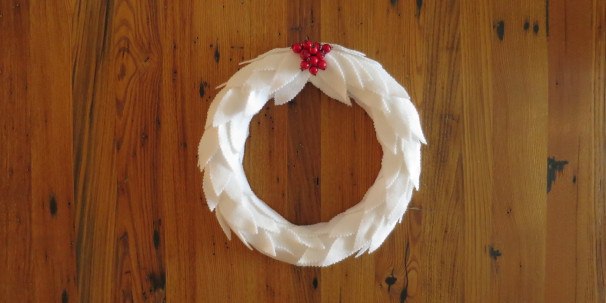
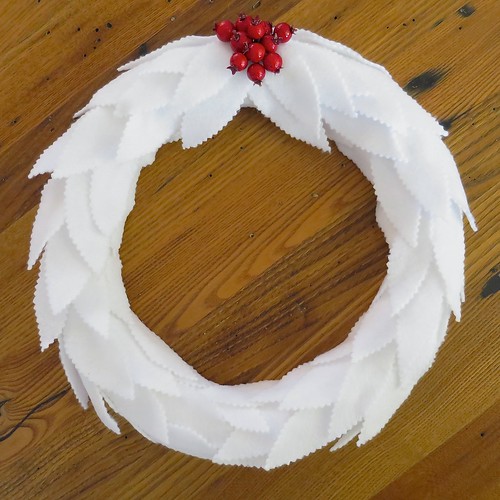
Because I used a styrofoam wreath form, my leaves are a little more contained than the original inspiration. Also I opted out on the birds (which I really didn’t care for) and added some berries to mine for color. I have to say I really love my version. I think the all white wreath is really beautiful with just that pop of red. It’ll go perfect with my Scandinavian Christmas decorations.
Felt Leaf Wreath
- white felt (I bought the felt by the yard that is a little heaver than the small craft sheets)
- card stock or construction paper, to make pattern
- scissors
- pencil
- pinking shears
- white styrofoam wreath form, mine was 12″ and round. (I wanted a flat back so I cut it in half with a serrated knife.)
- styrofoam glue (I use Hold the Foam)
- fake berries, pinecones, small christmas balls or other decorative items for the top of the wreath (optional)
1. Draw a basic leaf pattern just slightly bigger than you want on the cardstock and cut it up. This will be your pattern. My leaves were approximately 1 1/4″ wide at the center and 3 3/4″ tall.
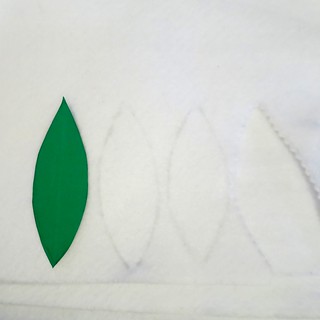
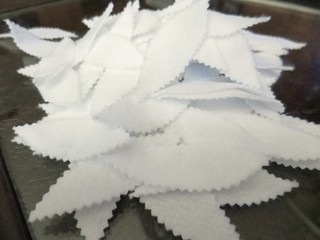
2. Use the pattern you made and a pencil to draw leaves of the white felt. Use the pinking shears to cut them out, just inside the lines. I used 73 leaves on my wreath and only covered the front.
3. Mark the center bottom and top of your wreath.
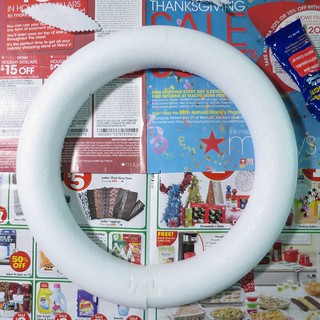
Start at the bottom center gluing on leaves, working both directions towards the top center. I put a line of glue on just one half of the leaf to glue it down, this would be the half facing the end I am working up to.

I found it best to glue the leaves on the inside and outside edge first and then do the front. Overlap the leaves to cover all the styrofoam.
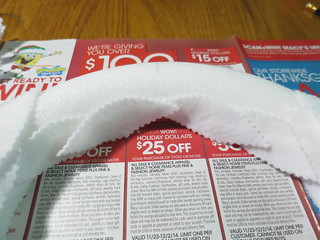
Have the final leaves meet with their glued ends at the center top.

You want the end of each leaf to be able to stick out a little for texture, but go back and glue down any places you think are falling too far off the wreath form. You can also insert extra leaves if places need filling in.
4. Add small Christmas balls or berries to the top center of the wreath, if you wish.
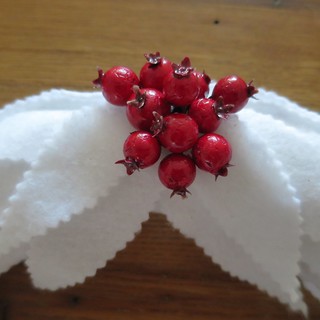
I added a sprig of fake berries by poking a hole through the styrofoam in between the top center leaves and pushing the stem through. I wanted it to be fuller, so I also glued in a few more extra berries.
I have my wreath sitting on the mantle, so it doesn’t need a way to hang, but you could add a wire or hook to the back. Also I left the back just white styrofoam, but am thinking of going back and covering it in felt.
© 2005 – 2014 Kathy Lewinski & Susan Cornish




Pingback: 【お家でクリスマス】シックなクリスマスデコレーションアイディア5DIY HUNT
Pingback: DIY Christmas Wreaths | a life well consumed
Pingback: DIY Christmas Wreaths | A Life Well Consumed | A Vancouver Based Lifestyle, Beauty & Travel Blog
Pingback: 7 Most Beautiful Felt Wreaths That Easy To Make And Affordable For Everyone | decoratrend.com