(For the 24 weeks leading up to December 1st, we’ll be making a Christmas ornament, giving you enough to fill an advent calendar.)
For this week’s ornament, I just happened to be looking a a blank peg doll and thought it looked like a penguin.
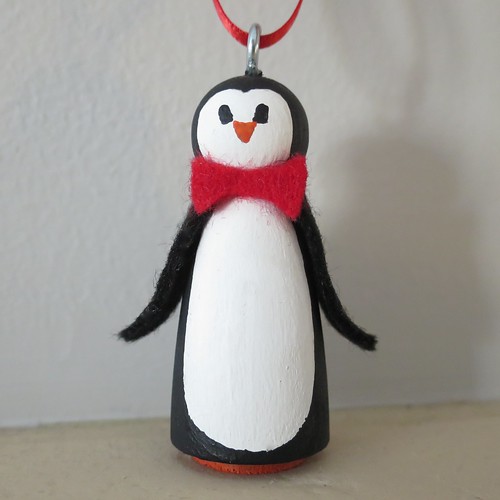
This little guy takes a bit of a steady hand for the painting and cutting out the little bow tie, but the end result is really cute. He looks like he could just waddle right along.
Doll Peg Penguin Ornament
Supplies:
- doll peg
- pencil
- acrylic paint in white, black and orange
- small paintbrushes
- black felt
- scissors
- glue
- small eye screw
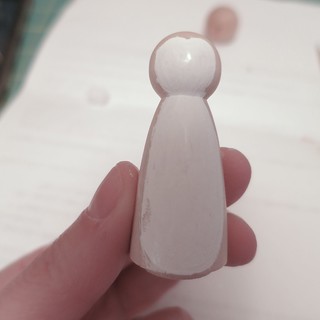
1. Paint the face and front of the penguin body white as shown below. I drew the shape on first with a pencil. Let dry.
2. Paint the rest of the penguin black.
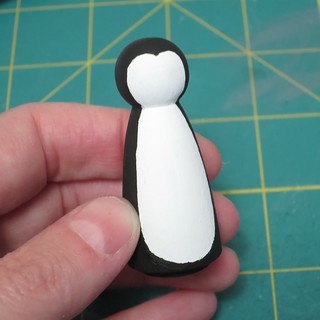
After I finished the whole thing I decided to paint the bottom orange to represent flippers, but that is optional.
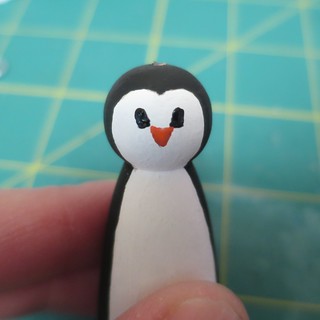
3. Paint on eyes and a beak. I find a toothpick works well for this type of small painting.
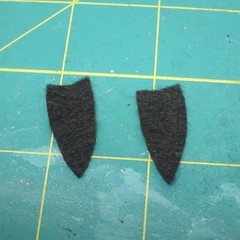
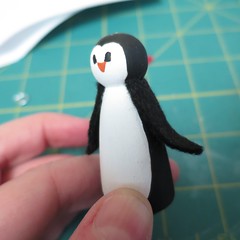
4. Cut two wings about 1″ long and 1/2″ wide. Give them a little curve at the top to fit under the head. Glue into place on either side of the penguin.
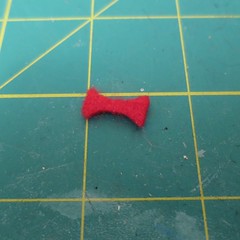
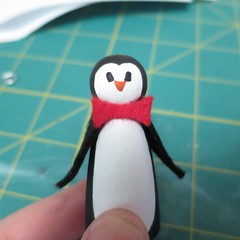
5. Cut a small bow tie shape from red felt or other fabric that won’t fray. Glue under the penguin’s face.
6. Screw the eye screw into the top of the head. Touch up paint if necessary.
© 2005 – 2014 Kathy Lewinski & Susan Cornish


2 Comments to Advent Calendar Project ’14 – Week 15