(For the 24 weeks leading up to December 1st, we’ll be making a Christmas ornament. Each one will be traditional to or inspired by a different country.)
It may be June, but it’s time to kick off our Advent Calendar Project for 2013! The first country we are visiting for our global themed ornament inspirations is Mexico.
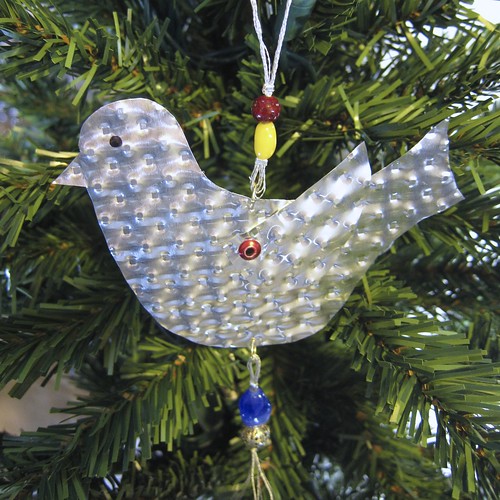
Christmas trees were originally imported into Mexico for the expatriate community, but have since become more popular with the Mexican population, either placed with more traditional nativity scenes or in some other location. Mexican Christmas ornaments and decorations are mostly hand created by folk artists in painted tin, clay wrought iron and hand blown glass.
For our ornament, we are creating a simple tin bird from a disposable baking sheet and dressing it up with beads. I kept my plain, but you could also go even more traditional and paint the tin. I love the way this ornaments sparkles and catches the light.
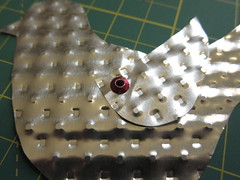
Note: I found the eyelets and eyelet tool I used to attach the wing in the scrapbooking section of the craft store. It was a kit that came with lots of different color eyelets.
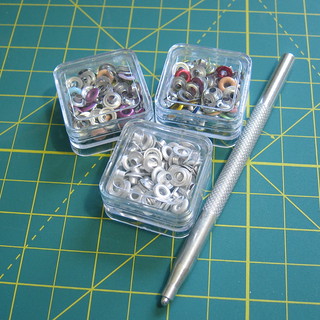
All it takes to attach the eyelet other than the tool is a hammer. You need to do this on a hard surface like concrete. You’ll want to cushion between the bird and the concrete with a towel.
Mexican Tin Bird Ornament
Supplies:
- disposable baking pan (one with a pattern on the tin catches the light even better)
- eyelet
- 4 beads (make sure the beads have holes big enough for the floss to go through)
- silver floss
- 2 jump rings
Tools:
- glue stick
- scissors (don’t use your good fabric scissors for this)
- scotch tape (optional)
- eyelet attachment tool
- sharpie
- needle
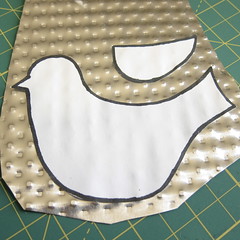
1. Cut pieces from pans – Download and print the Tin Bird Template. Cut the bird and wing patterns out. Coat the back of the pattern pieces with glue stick and stick to the baking pan. Cut out. Remove pattern pieces.
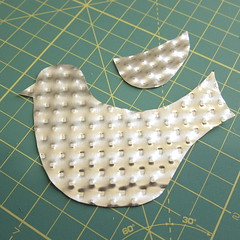
2. Attach wing to body – Use a piece of scotch tape doubled over to stick the wing where you want it placed on the body of the bird. Use the tip of a pair of small scissors or knife to make a hole through the wing and body just big enough to fit the eyelet.
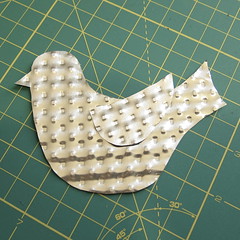
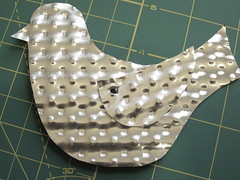
Secure the eyelet according to the directions on your eyelet tool.
3. Attach beads – Use a pin to make small holes in the top and bottom of your bird. Test the best spot to make sure it’ll hang straight. Put a jump ring through each hole.
Cut a piece of the silver floss about 10 inches long. Fold it in half. Put the folded end through a crimp bead. Crimp the bead in place about 1/2″ down.
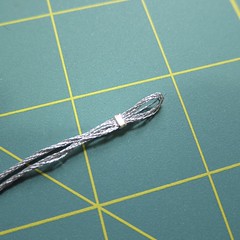
String two beads on the floss. Tie the floss in a knot. Cut the floss leaving a tassel any length you desire. Open the jump ring at the bottom of the bird, insert the loop of the floss through it then close the jump ring.
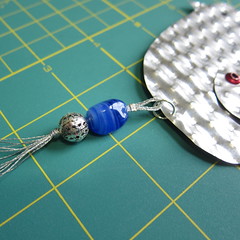
Cut another piece of floss about 12″ long. Fold in half and create a 1/2″ loop with a crimp bead like you did above. String two beads on the floss. Add another crimp bead on top of the beads and crimp into place. Put the small loop into the jump ring on the top of the bird.
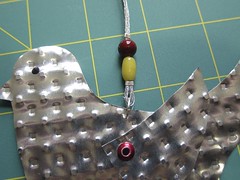
Tie the ends of the floss together 2″ – 3″ above the beads to create a hanging loop.
4. Draw on an eye with a Sharpie.
Now go ahead put a bird on it…your Christmas tree that is.
© 2005 – 2013 Kathy Lewinski & Susan Cornish


One Comment to Advent Calendar Project ’13 – Week 1