(Every week until December 1st we will be making a small Christmas ornament that can be used in our Pocket Advent Calendar. Join us in making all 24 or just pick and choose your favorites.)
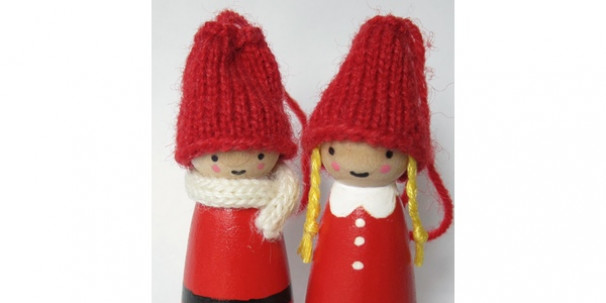
This week’s ornaments are an adorable little pair that bring back memories of some of my childhood ornaments.
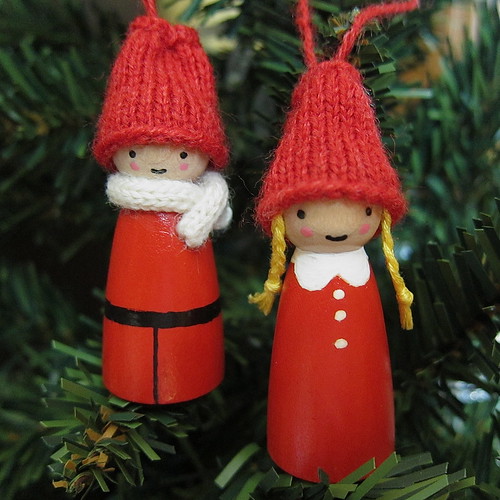
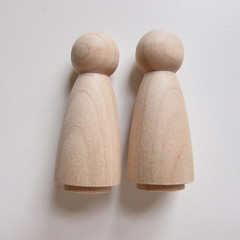
Growing up my brother, sister and I each had something similar that I think my grandparents got them for us in Sweden. Then this last year I bought each of my nephews one of their own while I was in Stockholm. When I saw the wooden doll pins at Joanns the other day, I knew I wanted to try making my own version.
All it takes to make these little guys up is a steady hand with a paintbrush and a little bit of easy knitting. If you aren’t a knitter you can make the hat and scarf from felt instead (though knit it more traditional). The girl can easily be personalized for any little girls in your life by changing the color of her braids. I enjoyed making them so much, I wish I had more nieces and nephews.
Little Snow People Ornaments
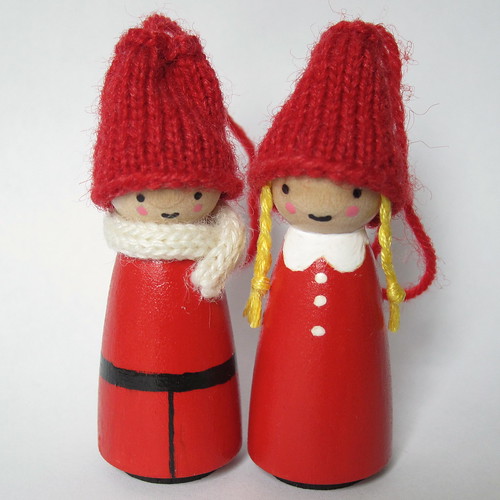
(click any picture to see it larger)
Supplies:
- acrylic paint in black, red, white and pink
- small paint brushed
- toothpick (optional)
- polyurethane
- sock weight yarn in red and white (or felt if you don’t want to knit the hat and scarf)
- size 00 knitting needles (or size needed to get gauge)
- tapestry needle
- glue such as Tacky Glue
- yellow (or brown or black) embroidery floss
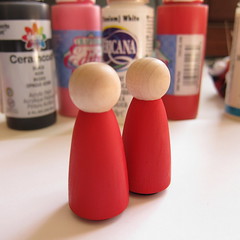
1. If your doll has a base paint it black. Then paint the body red. Be carful not to get red on the face and make sure to get the underside.

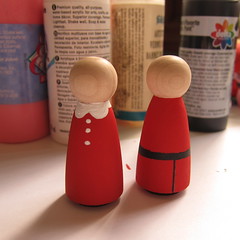
2. Paint on the details. For the boy, add a belt and a pant leg split in black. For the girl, add a white peter pan collar and buttons.
3. Knit the hats and scarf

Hat:
Gauge: 12 stitches and 15 rows in an inch
With the red, cast on 22 stitches. Either work in the round by knitting each row or flat in stockinette until 1″ long. Bind off leaving a 10″ tail. If knit flat sew into a tube. Use the bind off tail to do a row of straight stitches just under the bind off row. Pull tight. Put the tail into the middle of the hat and pull up through the center of where you just tightened. Put the tail back into the center again creating a hanging loop at the top of the hat. Tie off inside the hat. Weave in cast on tail. Make two hats.
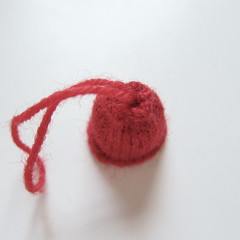
You can also make a hat out of felt by cutting a 1 3/4″ x 1″ rectangle. Sew into a tube that is 1″ high.
Scarf:
With the white, cast on 4 stitches. Work an i-cord for 2 1/2 inches. Bind off. Weave in ends.
You can also use a piece of white felt or ribbon as a scarf.
4. Put the hat on the doll where you will want it and lightly draw on the face with a pencil. Remove hat and paint on face details. I found the tip of my knitting needle or a toothpick works perfect for this. Let dry.

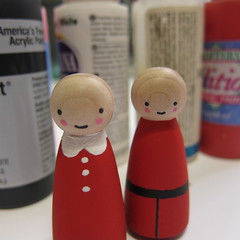
Give the whole doll a coat or two of polyurethane and let dry completely.
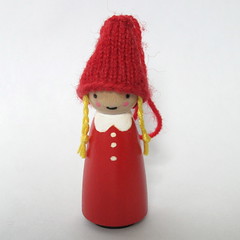
5. To finish the boy, glue the hat in place. Glue the scarf around the neck. I find a small brush is handy to clean up any excess glue.
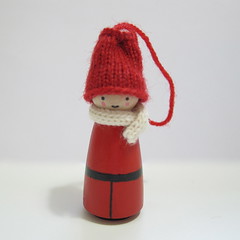
6. To finish the girl, take three pieces of embroidery floss and tie together with a knot. Braid for about 1 inch. Tie a knot at the end. I like to put a little glue on the knot at the end so it won’t come undone over time. Make two braids.
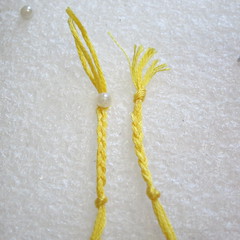
Glue the braids to either side of the head just below the first knot. Make sure to get glue under and over the braid. Let dry. Cut the knots off the top of the head.
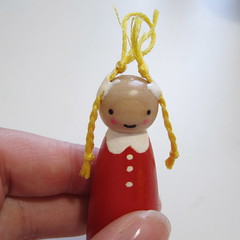
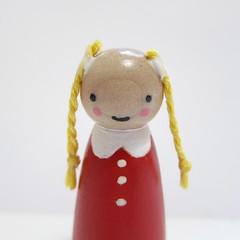
Glue hat on over the top of the braids.
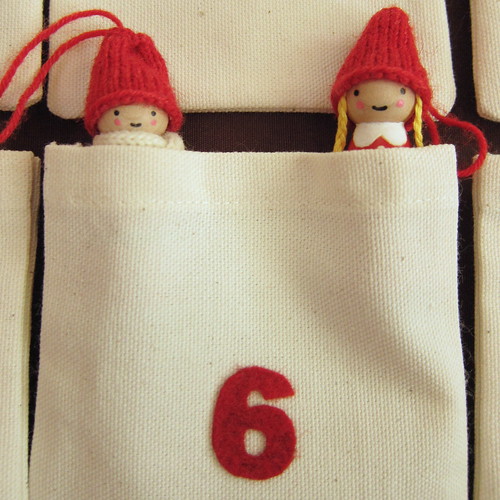
You can fit a whole family of them in one day of the pocket advent calendar.
© 2005 – 2012 Kathy Lewinski & Susan Cornish




7 Comments to Advent Calendar Project – Week 6