For Iron Craft challenge #9, we were asked to think inside the box, creating something from a box or creating our own box. I struggled with this one much more than I thought I would. I had a few ideas, but none of them were really calling me to sit down and make them. Then suddenly the very last day, an idea struck me.
I have a lot of shoeboxes hanging around and hoped to use one of them. I thought they would be good to organize something, but what? Well, how about this mess.
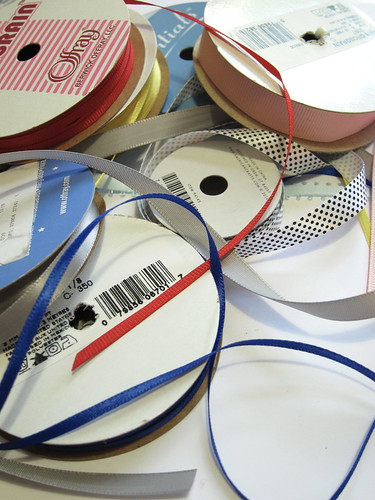
It seems like I have spools of ribbon all over my craft room, on my desk, in cupboards, spilling out of drawers. A shoebox was the perfect size to make an organizer for them and I even had all the supplies on hand.
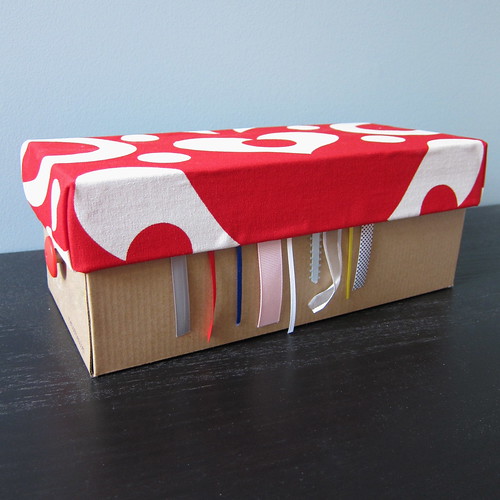
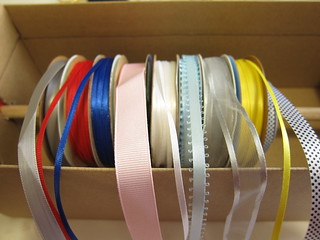
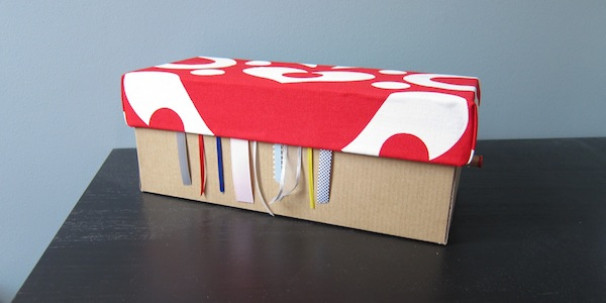
This was a really quick project, but it’ll make a difference in my efforts to clean up my crafting space. Basically, slots are created in the shoebox for a dowel that holds the spools of ribbon. Colorful buttons help keep the dowel from easily sliding out of the slots. The ends of the ribbons hang out from under the lid of the box making them easily accessible while not unwinding everywhere.
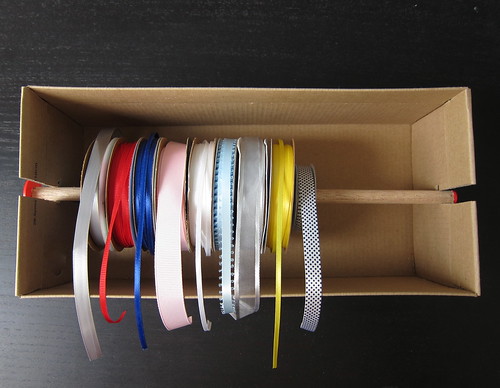
The box I had just happened to be very plain, so I didn’t have a lot of words and logos to hide in order to make it pretty. I covered just the lid with a little scrap fabric I had on hand. The fabric made the lid fit a little tighter, and that helps hold the ribbon in a little more securely. You can, of course, decorate your box anyway you want, fabric, wrapping paper, a collage, paint, or even rhinestones if you need a little bling in your life.
Shoebox Ribbon Organizer
Supplies:
- shoebox
- 3/8″ diameter dowel about 1/2 -1″ longer than your shoebox (my dowel was the exact size I needed. You may need to cut your’s to size with a hand saw.)
- pen or pencil
- scissors
- exacto knife (optional)
- one each 1″ and 3/8″ button
- glue
- items to decorate your box such as fabric, wrapping paper or paint (optional)
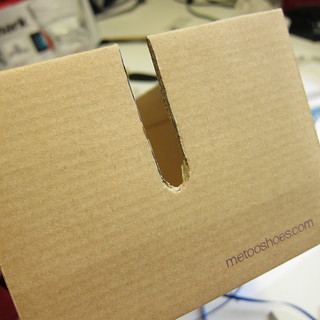
1. Mark the middle of the short sides of the shoebox. Trace around the dowel so its middle is in the middle mark on the box. Then draw straight lines up to the top as shown below, creating a slit for the dowel to slide in and out of.
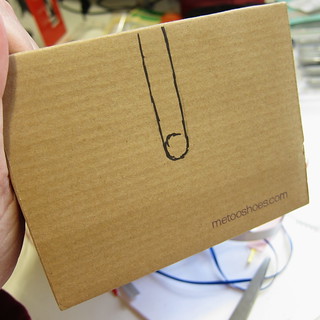
2. Cut out the slits you just drew on both sides of the box. An exacto knife makes it easier to do the rounded part.
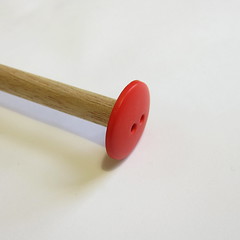
3. Glue the buttons to either side of the dowel.
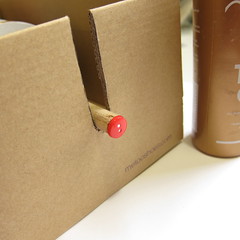
4. Slide the rolls of ribbon on the dowel. Sometimes the hole in the ribbon spool is hidden by a sticker, just cut through it. Make sure the spools aren’t too tight on the dowel, you want the spools to spin easily. If they are too tight you can use your scissors to widen the hole on the spools a little.
5. Now decorate your box to your heart’s desire.
There you have it, a simple solution for storing your ribbon that is also a great way to reuse a box that might have just ended up in the trash.
If you make a shoebox ribbon organizer we’d love to see it in our Flickr group.
© 2005 – 2012 Kathy Lewinski & Susan Cornish



Pingback: The Best DIY Ribbon Organizer: A Shoebox! - The Fun Times Guide to Stamping and Scrapbooking
Pingback: Shoebox Crafts - 5 Things - Bob Vila
Pingback: 18 Useful Shoe Box DIY's For The Kids And The Home
Pingback: 12 Ways To Upcycle Shoeboxes Into Organizational Wonders - Earth911.com
Pingback: 12 Ways To Upcycle Shoe Boxes - Earth911.com
Pingback: 11 Ways To Upcycle Shoeboxes | Earth 911
Pingback: 11 maneiras de melhorar as caixas de sapatos | Blog Ambiental
Pingback: 11 Ways To Upcycle Shoeboxes | Earth 911 – TheLife247
Pingback: 11 Ways To Upcycle Shoeboxes