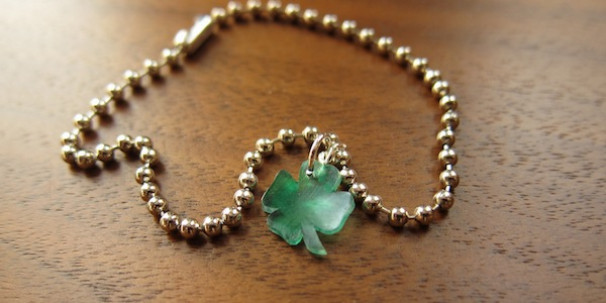
Can’t we all use extra luck somedays? A four leaf clover is said to bring luck, but they can be hard to find. So I took matters into my own hands and now I have a little luck with me all the time with this charm bracelet.
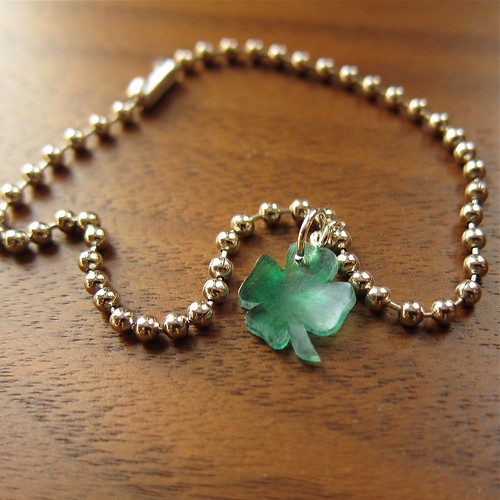
I made this bracelet based on this one Matt gave me for Christmas.
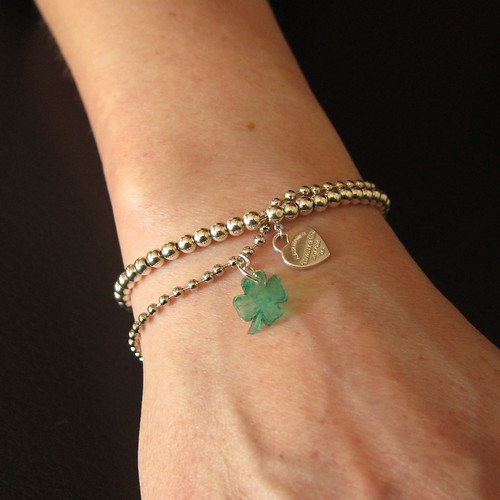
I love the simple style of just one charm on a bracelet. Plus how cute is this for St. Patrick’s Day?
A Little Luck Charm Bracelet
This bracelet is really easy to put together and all the supplies are readily available at most craft stores. I think it would be fun to make with kids too, let them draw up charms for you.
Supplies:
- clear shrink plastic (shrinky dink)
- green permanent marker
- small scissors
- 1/8″ hole punch or exacto knife
- ball link bracelet
- small pliers
- small jump ring (smaller than the balls on the bracelet)
- slightly larger jump ring
Freehand or trace a four leaf clover on the shrinky dink plastic using the permanent marker. I tried did a bunch of sized and found the 1″ gave me the best size after shrinking.
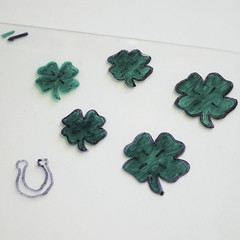
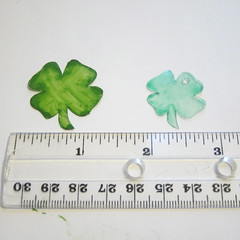
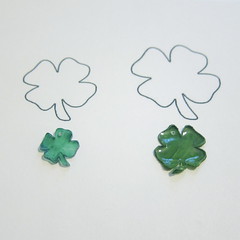
After some experimentation with color, I found you want to have it much lighter than my initial tries. Even though they looked green before shrinking, they turned practically black after.
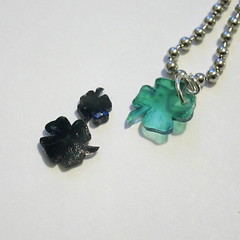
The small clovers in the above picture were the green ones in the first picture above. The one on the bracelet is the 1″ clover in the second picture. I found I got the best color by wiping the ink off right after coloring. I kept coloring and wiping until I liked the effect. I found this was easier to do if I cut the clover out before coloring it in.
I also tried using water-based acrylic paint. I liked the color I got from it, but the finished piece was very matte on one side. I’m afraid it would scratch off easily without some sort of sealer.
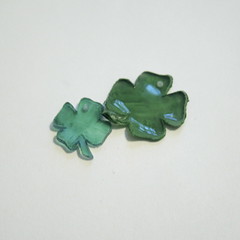
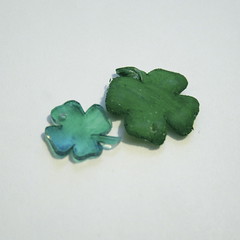
After your clover is colored and cut out, put a hole in it. The hole will shrink with the clover, so don’t make it too small, 1/8th inch gave me a hole just big enough for my jump rings. I didn’t have a hole punch that size, so I just poked an exacto knife through and kept turning it until it carved out a big enough hole.
Bake your clover according to the directions. Mine took about 2 minutes at 300 F. They curled up quite a bit, so I turned them over, put them back in the oven an gently pressed the edges down.
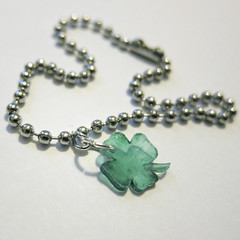
Then it’s just a matter of putting your charm on the bracelet. Using the small pliers, I attached the small jump ring to the middle of the bracelet between two balls. I wanted a ring that was smaller than the balls so it would stay in one place on the chain. Then I just put the charm in the bigger jump ring and attached it to the smaller one.
Voila, a little luck to wear on your wrist.
© 2005 – 2012 Kathy Lewinski & Susan Cornish



Great project. I still have not delved into Shrinky Dink or clay because I might like it too much. With my compulsive nature, I would have to buy every color, all new supplies, etc. I would much rather follow along people like you and live vicariously through your play. Another well done project.
Very cool! Shrinky dinks are so much fun. 🙂
this is the cutest thing!
Super cute! I love that it is such a quick project.
Pingback: St. Patrick’s Day Inspiration
Pingback: Top 10 DIY Charming Bracelets
Pingback: 11 DIY Pinch Proof Accessories for St. Patrick's Day / Fizzy Pops
Pingback: Stacy’s Top Picks DIY Charming Bracelets | Stacy's Club