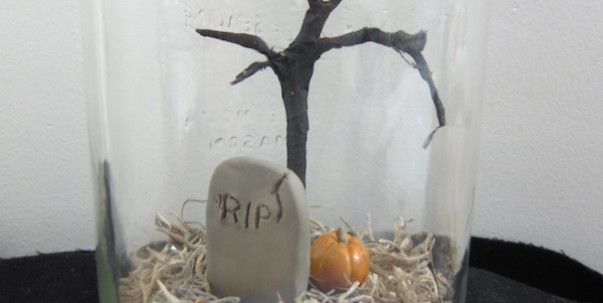
This week for Iron Craft we were to create something using bottles or jars. I’d been playing with making creepy trees for Halloween terrariums and thought a mason jar would make for a great vessel.
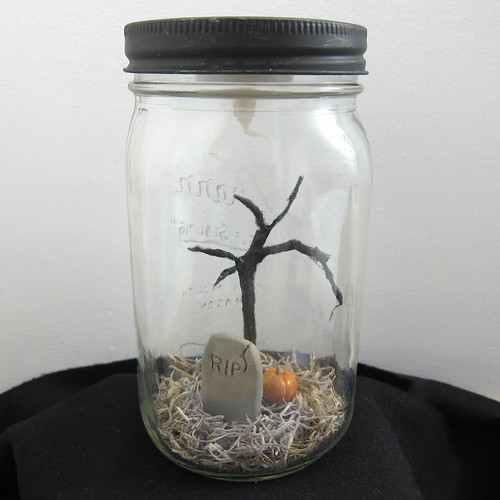
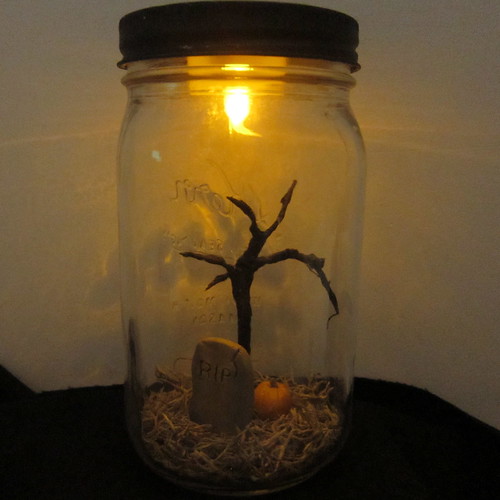
I’m kind of in love with how this turned out. To make it even spookier I added a flickering light to make it really show up at night.
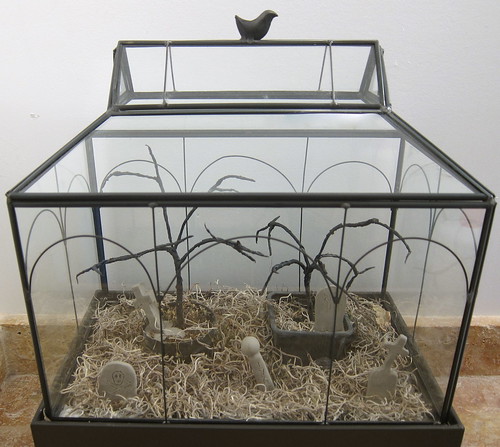
I like it so much, I made a bigger one in terrarium that I had killed all the plants in.
Here’s how I made it…
(Because the instructions to make the creepy trees are a little long, so I put them in separate post.)
Supplies:
- mason jar with a lid and screw top (I used a quart size) or other glass container
- black paint (optional)
- grey clay, such as fimo or scultpy
- orange paint (optional)
- paint brush
- spanish moss
- scissors
- glue, I used super glue and tacky glue
- creepy tree (instructions in this post)
- battery powered tea light
- tape
- helpful items: pliers, knitting needle, chopstick, tweezers, skewer
Leave the lid and screw top to the jar silver or paint them black like I did. I use black acrylic paint which rubs off a little every time I touch it. 🙁
Use the clay to make tombstones and small pumpkins. I used a skewer to make the lines on the pumpkin and write things on the tombstones. Since Thing 1 over at A Mom and 2 Things is so good with sculpting clay he helped me make some of my tombstones. I was doing more than one terrarium, so we made lots of different shapes. He even put my and Matt’s names on them!
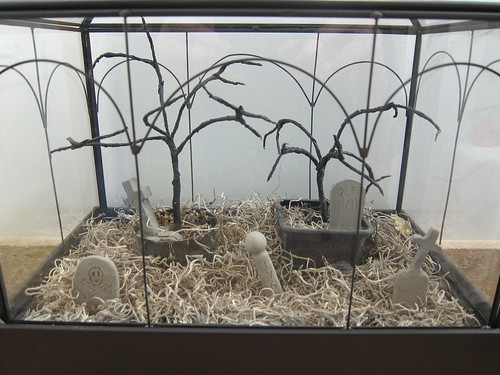
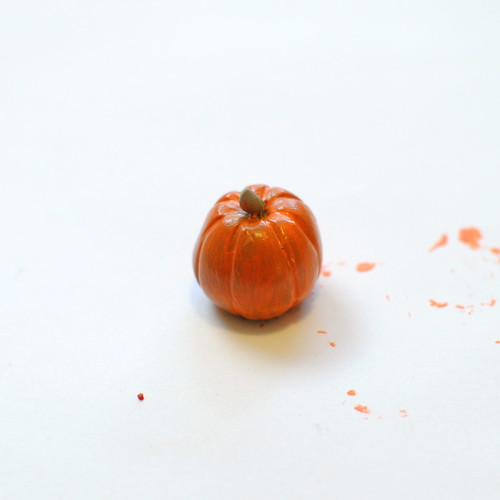
Bake your clay items according to the directions on the clay and let them cool. If you made a pumpkins, paint them orange. I kept the orange a little light for more of an antique look.
Now comes the tricky part if you are using a jar, putting everything in. This is where things like pliers and knitting needles can help.
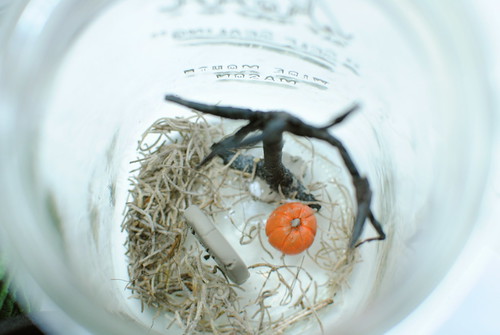
Pliers and tweezers help place things in and knitting needle type things help push things around. I started by gluing the tombstone in using super glue. Then I placed the tree. The trees are coated with floral tape and super glue would not hold them down, so I used tacky glue here. Next I added the pumpkin.
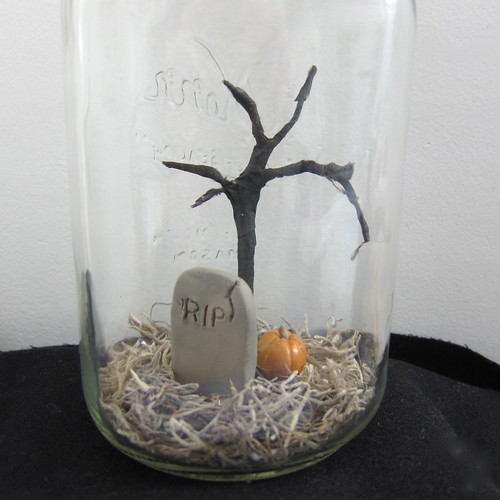
Finally, I added the brown Spanish moss (Matt thought it looked like decaying things). In a small terrarium, it is best cut the moss up into small pieces otherwise it really sticks up.
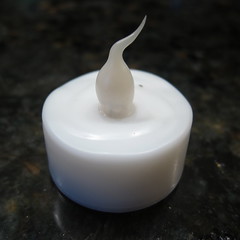
Tape the battery powdered tea light to the inside of the jar lid. You’ll need to be able to take it off in order to get to the on and off switch.
© 2005 – 2011 Kathy Lewinski & Susan Cornish



Nice idea. I love how you could use this like the candles people put in their windows at Christmas to decorate the house.
What a great project. I mentioned in another post that Halloween has never really been my holiday so I am so entranced by your family’s joy of decorating for Halloween. Regardless, this is a beautiful project. Well done.
These turned out great. I might need to make one.
What a brilliant idea! I’ve been wanting to join your challenges for some time, but have been way too busy. However, I do get some great ideas to tuck away. Thanks!
They look awesome!
Pingback: DIY Graveyard Mini Terrariums For Halloween | Shelterness
I LOVE this! I have wanted a live terrerium, but I’m sure I could make this one. Thanks for the great idea!
Pingback: Running out of time? Last minute Halloween decorations to die for! - Thoughts for Smiling
Pingback: Seven Halloween Mason Jar DIY’s | Holistic Cultivation
Pingback: Seven Halloween Mason Jar DIY’s | WV Preppers
Pingback: Mason Jar Ideas for the Halloween | Little Fingers
Pingback: 15 DIY Mason Jar Ideas for Halloween
Pingback: Halloween project time! | thegoodthingscomin
Pingback: Spooky Upcycles: Halloween Repurposing Projects | Sadie Seasongoods
Pingback: 20+ Halloween Mason Jar Crafts which are really easy and seriously creepy - Vogueitude
Pingback: DIY Graveyard Mini Terrariums For Halloween – Decor İdeas