Oh I love seeing the peeps other people are making. They look so cute in the different yarns.
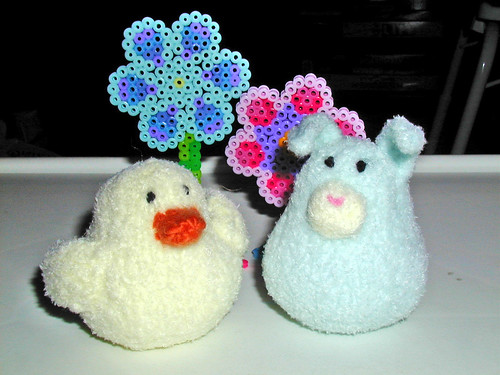
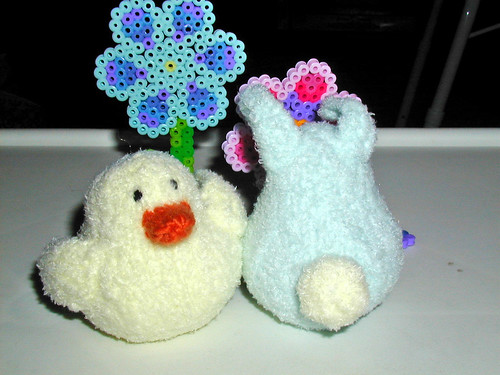
Jen sent pictures of her peep & a rabbit she made from the same pattern with some additions
here’s the cute little tail
Here’s her instructions for making the duckling into a rabbit. (I’ve also added it to the original pattern post so you can print it all out at once if you’d like)
How to turn a duckling into a bunny
Bunny Muzzle:
With a color that contrasts with the body color, CO 6 stitches. Divide among three dpns.
Row 1: kfb all stitches (12 stitches)
Row 2: k
Row 3: kfb, k1, repeat to end (18 stitches)
Row 4: k
Row 5: ssk, k1, repeat to end (12 stitches)
Row 6: k
Row 7 ssk all stitches (6 stitches)
Break yarn leaving a 6 inch tail. Thread the tail through the stitches on the needle and pull tight. Flatten the muzzle into a puffy circle, and bring the tail through the center to the back and tie a small knot.
With pink yarn, stitch a small “v” for a nose. Sew the muzzle onto the bunny’s face.
Bunny Tail:
Knit as for the muzzle, except before drawing the final stitches tight, stuff the piece lightly. Draw the yarn tight, tie a small knot, then stitch through the puff. Sew the tail onto the bunny’s back end.
Bunny Ears (Make 2):
With same color yarn as body, CO 10 stitches.
Row 1: k5, wrap the next stitch (yarn forward, slip next stitch purlwise, yarn back, slip stitch back to left hand needle). Turn your work.
Row 2: k to end of row
Row 3: k all stitches
Row 4: bind off.
Stitch the ears to either side of the top of the bunny’s head. You’ll find the knitting naturally curves in one direction or the other. You can point the ears in different directions, or both the same way, or whatever gives your bunny the personality and individuality you like.
She also suggests a way to make a comb for the chicks head…
Chick Comb:
With same yarn as for beak (a smooth worsted weight), CO 2 stitches
Row 1: k1, kfb (3 stitches)
Row 2: ssk, k1 (2 stitches)
Rows 3, 5, 7: Repeat Row 1http://www2.blogger.com/img/gl.link.gif
Rows 4, 6: Repeat Row 2
Row 8: bind off
You now have a small, narrow strip of garter stitch, with tiny points on one edge. Sew this on top of the chick’s head, running from front to back, with the points facing up.
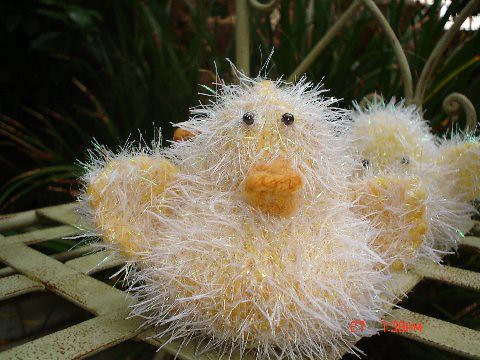
Gail sent in this picture of her cute fuzzy duckling
She has lots of other pictures in her flickr set including an amazing knit wedding cake.
© 2005 – 2011 Kathy Lewinski & Susan Cornish


Oh, Gail’s ducky is just too cute!
Too cute!