For this challenge our prompt was G is for…. Well, G is for girls, sweater girls!
When I was in Iceland in December, my friend Lori found this artist, Heavenly Hosts, who carved these sweet little girls and boys in Lopi sweaters.
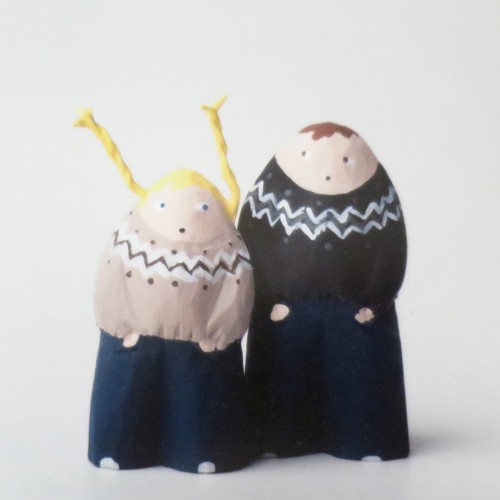
We searched out the studio only to find out everything was sold out because it was three weeks until Christmas. Those little dolls have been stuck in my head. I thought about using them as an inspiration for painting up peg dolls. Then I though, “Why paint? I can knit up tiny, tiny sweaters.”
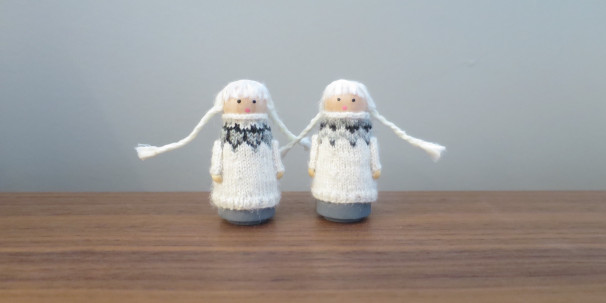
So, here is my version of the little Icelandic sweater girl.
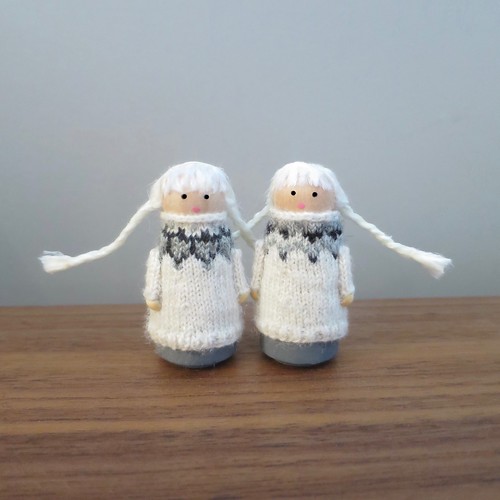
I wrote the pattern for the little sweater for a specific peg (pin) doll. It is Darice 9104-90 2″ Wood Doll Pin. You can get them at most craft stores and the site I linked to sells them for $0.87 for two.
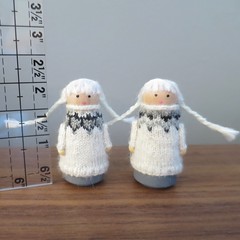
Sweater Girl Peg Dolls
This is a project for someone who likes making little thing. The knitting is very tiny.
Supplies:
- 2″ wooden peg doll
- lace weight yarn in three colors, you just need scraps. I used Knit Picks Gloss, some random mohair and some crochet thread.
- four size 0000 double pointed needles or size needed to get gauge
- scissors
- tapestry needle
- acrylic paint, I used grey, pink and black
- small paintbrush
- toothpicks (optional)
- hair color yarn or embroidery thread. I used Caron Simply Soft.
- tacky glue
- 6mm wooden bead
- utility knife
- small eye screw (if you want to make this into an ornament)
1. Knit up the sweater of your choice. Here is the pattern along with three different charts, Sweater Girl Pattern
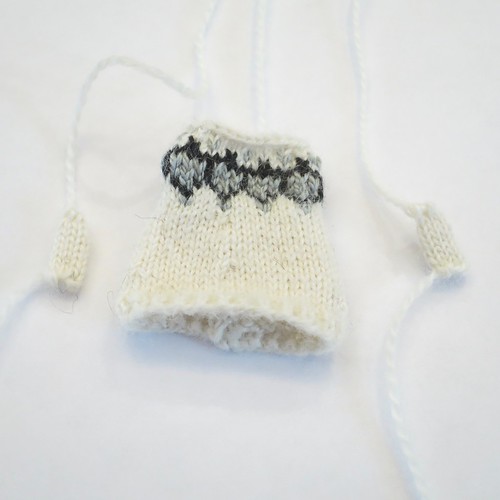
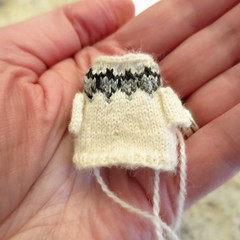
Try the sweater on your doll. Use the tails on the sleeves to put them in place on either side. Take the sweater off and tie those tails off on the inside. The sleeves will not be very secure, but you just want to hold them in place until you glue them down. Trim the tails except for the bind off tail at the neck.
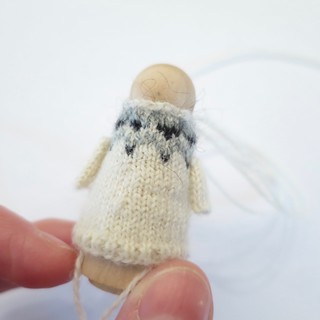
(You can see I really need to trim the mohair!)
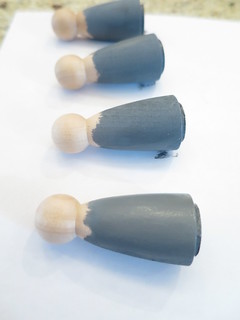
2. Paint base of the peg doll. Let dry.
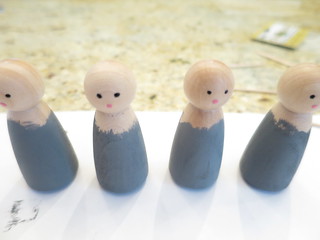
3. Paint on the mouth and eyes. I find a toothpick is the easiest way to do this. Let dry completely.
4. Put the sweater back on. Use the bind off tail to tighten the neck is needed and pull the tail inside. Glue the sweater in place.
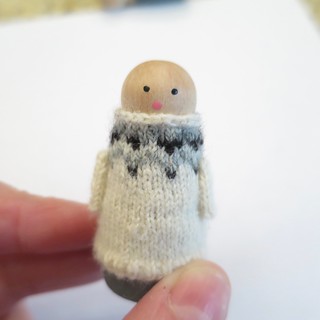
Glue down the sleeve.
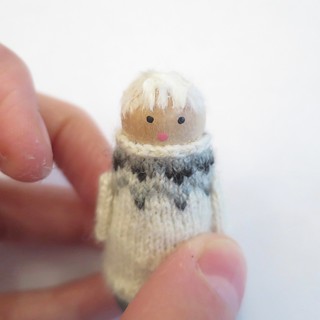
5. Add the hair. I used pieces of yarn that I untwisted into strands. Start with small pieces and glue on bangs. I find a toothpick helps move and separate strands.
Now cut a bunch of pieces of yarn about 5″ long and untwist them into strands. Glue on to create the long hair. I experimented with different way but the best was to just glue the pieces with the center on the top of the head working my way back until the head was full. Make sure the pieces are close together.
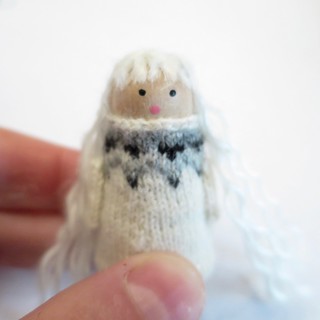
Braid the strands on either side of the head. I had 8 strands on each side, so I braided bunches of 3, 3, and 2. Glue the braid together as you go. This will keep it together and make the braid stick out when finished.
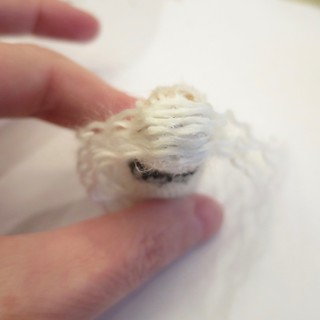
Use another strand of yarn to tie the end of the braid shut. Put a little glue on the knot to hold it. Trim the ends of the braids.
6. Use the utility knife to cut the wooden bead into quarters. I found it cut really easily and I could actually even do it with scissors.
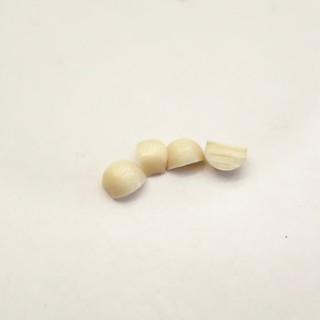
Glue a quarter at the bottom of each sleeve.
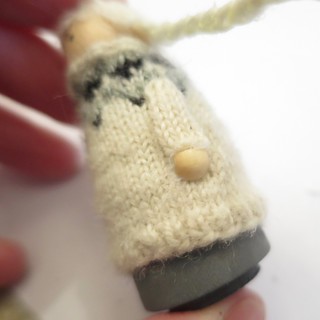
7. If you want to make this into an ornament, screw a screw eye into the top of the head.
© 2005 – 2016 Kathy Lewinski & Susan Cornish



8 Comments to Iron Craft ’16 Challenge #3 – Sweater Girls