Every Friday for the twenty-four weeks leading up to December 1st, we will be making a handmade Christmas ornament. Follow along and make them all or pick and chose your favorites.
This week’s ornament was inspired by a birdhouse my in-laws made for an Iron Craft challenge.
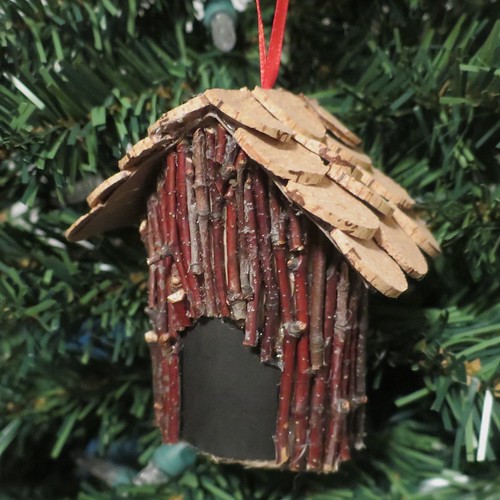
They made their’s from one of the small wooden birdhouse you can find at most craft stores, but I wanted it to be a little smaller for a Christmas ornament. While looking around the house for a good base I came across the perfect thing, empty toilet paper rolls.
Toilet paper rolls might seem a little flimsy for this but once you hot glue on the cork and twigs it is pretty solid. If you are worried about it getting crushed you could stuff it with some scrap paper. Oh and speaking of glue, I started this project using tacky glue and the was not the right thing. You need a glue that sticks right away which makes hot glue the perfect choice.
Birdhouse Ornament
Supplies:
- two toilet paper tubes
- scissors
- ruler
- wine bottle cork (you want a real cork not a plastic one)
- sharp serrated knife
- hot glue gun and glue
- 8 – 10″ of 1/8″ ribbon
- large sewing needle
- black acrylic paint
- small paintbrush
- jute twine
- small twigs
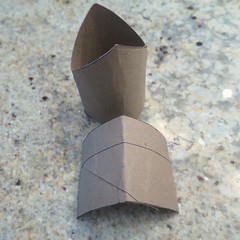
1. Cut the pieces for the house from the toilet paper tubes – Cut the top to the first tube so that it comes to a point. You want the sides of the triangle to be about 1.25″ long. Trim the round part to a height you like.
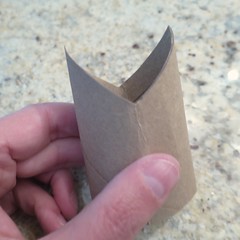
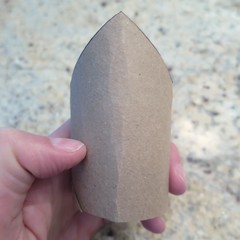
Open the second tube. Cut a rectangle to use as the roof, you want it to hang off the front, back and sides of the house.
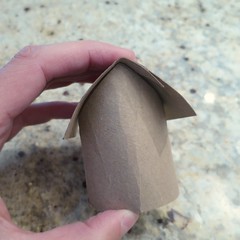
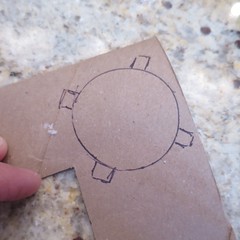
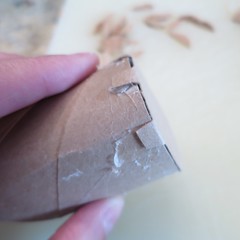
Then trace a circle the size of the toilet paper tube to use as the base. Add some tabs around the sides of the circle. I found the more tabs the better (so I added more after the picture below), but keep an area open for the “door” of the birdhouse.
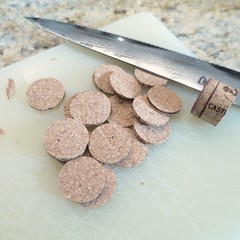
2. Make the roof – Using the serrated knife, carefully cut the cork into very thin slices. I needed 12 to cover my roof and got 13 from my cork.
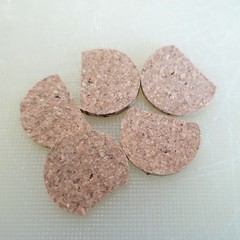
Trim about 1/4 off the edge of each circle. This will make them overlap better.
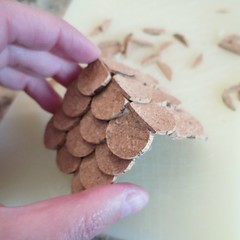
Fold the cardboard roof piece in half. Glue the cork pieces on to the roof like shingles starting at the bottom edges and working towards the middle. Have the straight edges of each side meet in the middle still allowing the roof to fold.
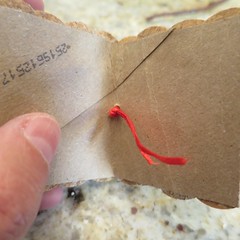
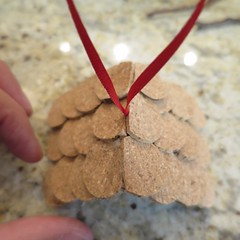
Once the roof is dry, use the large needle to make a hole in the center of the roof fold and then pull the ends of the ribbon through that hole (also with the needle). Tie the ends into a knot.
3. Glue the base to the house using the tabs. I found it was easiest to glue them to the outside. You’ll be covering them with twigs anyway.
4. Paint an arched door on the house with the black paint. It doesn’t have to be perfect since the twigs will be around the edge.
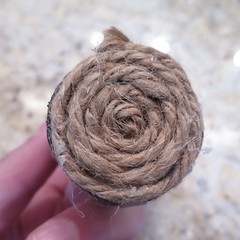
5. Starting in the middle of the base, glue the jute in a spiral to cover it.
6. Cover the house with twigs leaving the “door” uncovered – I started with thicker twigs and then filled in gaps with smaller ones.
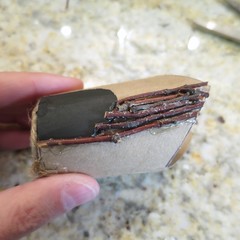
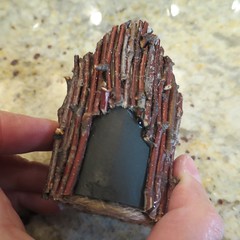
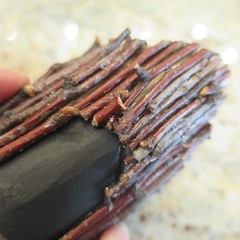
I would put each twig so its base was at the bottom of the house and then trim the top after it was glued on. It is best to cut each twig as you go.
7. Glue on roof. You may need to press down a bit to get a snug fit.
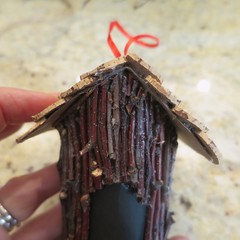
Being able to see a little of the cardboard on the underside of the roof doesn’t bother me at all since the color blends right in. If it bothers you trying gluing a little floral moss or scraps of cork to cover it up.
If you have lots of hot glue strings you can use a hair dryer to get rid of them.
© 2005 – 2015 Kathy Lewinski & Susan Cornish


Pingback: 100 Unique Homemade Christmas Ornaments