For this Iron Craft challenge we were to make a project inspired by something we were fans of. I’m a fan of a lot of things, but struggled with something I wanted to make based on them. In the end, Doctor Who won out because I had left it to the last minute and this seemed like the project I was most likely to get done on time.
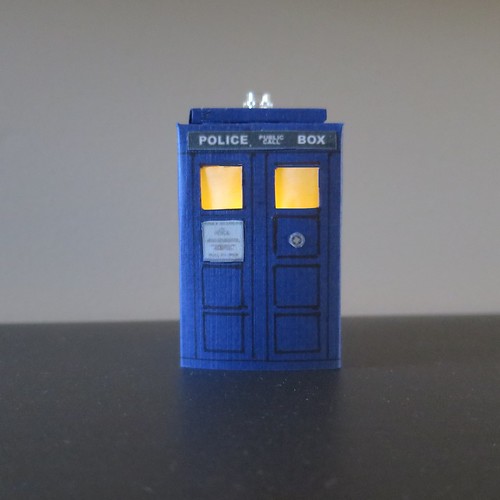
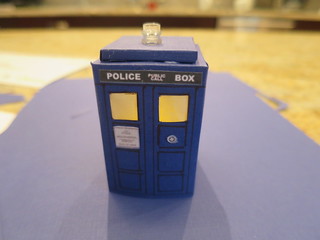
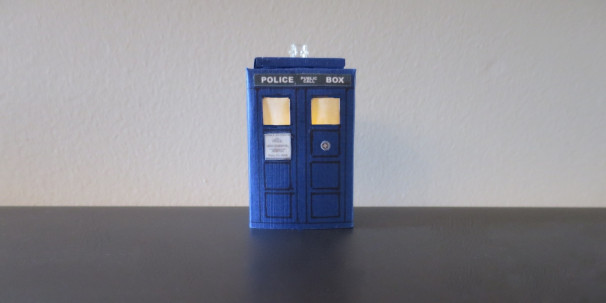
This is my tiny tardis nightlight. How tiny? It is 1.5 inches wide and 2.25 inches tall.
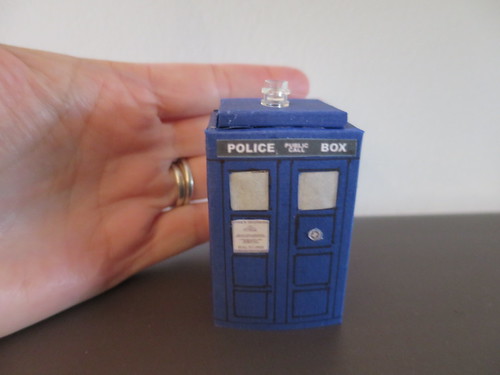
I think of it as something little Amelia Pond would have had on her nightstand while she waited for her Raggedy Doctor to come back. (Yes, I am a big geek.)
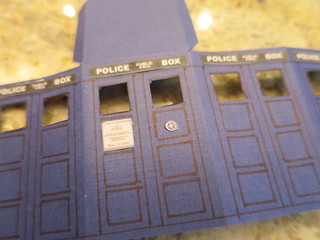
I think it came out really cute, but when I look at the close up pictures I know I could have done a better job with the cutting of the windows and drawing of some of the details. In person, they don’t bother me as much. Also, I know that the windows should be broken up into six panes, but I didn’t like how that looked, so I just left them open.
Tiny Tardis Nightlight
I’m going to show you guys how I did this, but really if I was to do it again I would make it a lot easier on myself and print out one of the Tardis patterns online, like this one, and just cut out the windows to add the paper and maybe add the Legos to the top. Because it was Iron Craft, I wanted to do it all on my own, plus I had bought the pretty blue paper….
Supplies:
- tardis blue scrapbooking paper (the thicker stuff)
- ruler (I also found a square handy.)
- thin black marker
- scissors
- bone folder or something with a thin, blunt pointed end to score the folds (I used the eye end of a tapestry needle.)
- exacto knife
- parchment paper
- tacky glue
- white paper
- two clear Lego single dots
- battery operated tea light
1. Figure out how big you want your tardis. Mine needed to fit around the tea light, so I wanted it to be a 1.5″ square. The height needs to be 1.5 times the width, so mine was 2.25″ tall. Draw a rectangle on the blue paper that is equal to the four sides of your tardis, mine was 6″ long and 2.25″ tall. Mark where the fold for each side will be. On one side draw on a tab to glue the tardis shut. On the top of one side add a square that will the top, so for mine a 1.5″ square. Put tabs on the three open sides. Cut it out and you will have this.
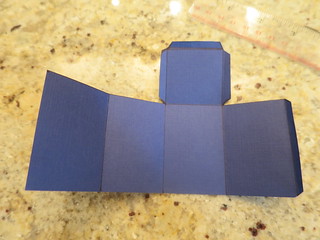
Score all the fold line using the bone folder or your blunt pointed object.
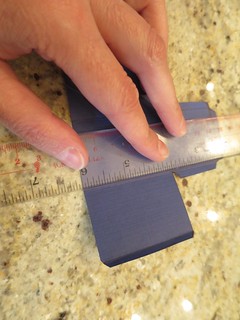
Cut a hole in the top square to let light through to the top.
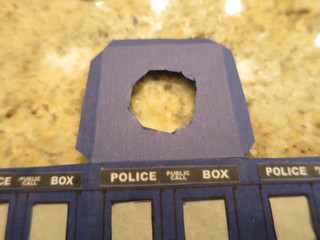
2. Draw on the details with a ruler and thin black marker. I practiced on the back of one side first to get my spacing right. You can add as little or as much detail as you want.
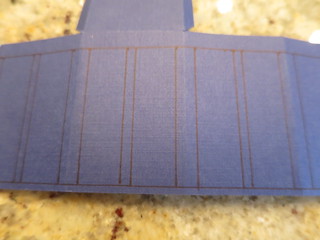
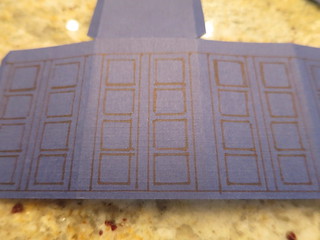
3. Carefully cut out the windows with an exacto knife. The actual tardis has six panes in each window, but as my windows are only 1cm square I was not going to try to cut that.
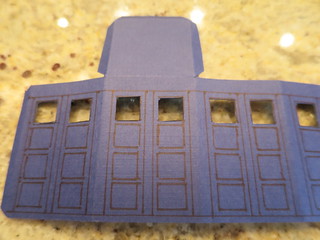
Cut pieces of parchment paper to fit behind the windows and glue in place.
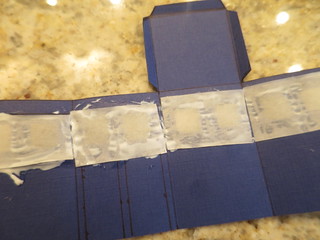
You can draw panes on the windows if you like, but I thought they looked messy.
4. I found images of the tardis signage online, saved the to the right size and printed them out on white paper. Then I cut them and glued them in place.
5. Make the top square for the tardis, but drawing square the is slight smaller than the base square. For me that was about 1″. Then draw a square around that the height you want the top to be up, for me that was 1/8″ (actually, I drew 1/4″ but that looked too high so I changed it). Then add tabs to each side that will allow you to glue it on. It’ll look like this.
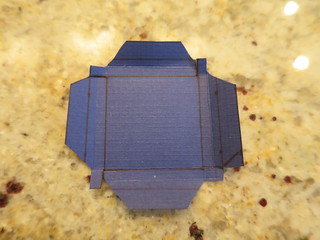
Score your fold line. (Remember my lines are off.)
Add a hole in the middle just big enough to fit the dot of a Lego.
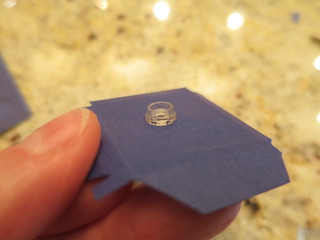
Insert one dot and then put another on top of it.
6. Fold all your pieces and glue together using the tabs. Glue the top one the base.
Let dry.
Set it on top of the tea light to use.
I’m thinking I might add a bottom to this with a little notch to turn the light on and off. Then it could be a Christmas tree ornament!
© 2005 – 2015 Kathy Lewinski & Susan Cornish



4 Comments to Iron Craft ’15 Challenge 12 – Tiny Tardis Nightlight