Since everyone is in such a rush this time of year the Iron Crafters were challenged to do a project that could be completed in an hour. I thought about it for awhile and then realized I’d had a project on my list for awhile that would be perfect.
I knit a lot with tiny sock needles, the ones that are size 1 and smaller. Normally, I keep my needles in a needle storage roll, but when I travel I like to just bring what I need. This is how I have been carrying around these small needles.
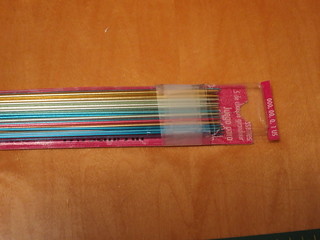
Yup, in their original box, held together with tape. Now the flap has fallen off the back, so it doesn’t even hold the needles in. What I wanted was a small, easily packed case just for these needles.
One tricky thing about this project was that these needles are sharp and tend to poke through most fabrics. I looked through my stash and found a scrap of upholstery suede that passed the test. The nice thing is it wasn’t too bulky to make it heard to sew.
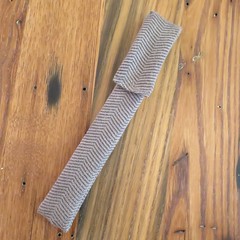
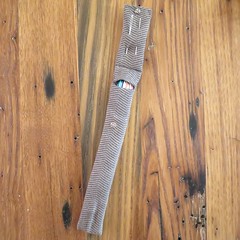
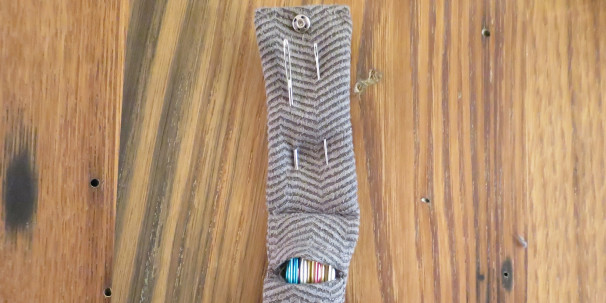
While making the case, I decided I also wanted to use it to carry a sewing/tapestry needle of two with me as well. (Usually, I just throw them in my bits and bobs bag never to be found again until I stab myself.) So, I added a flap to the top which doubly secures the knitting needles and acts as sewing needle storage.
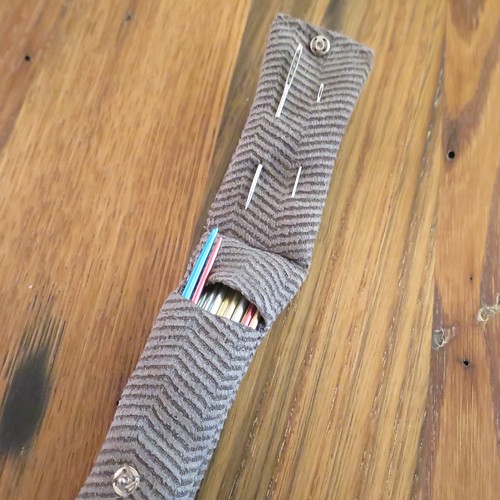
Sock Knitting Needle Case
My finished case is about 8″ x 1 1/4″ (not including flap) and easily holds twenty of my 7″ sock knitting needles (4 each of sizes 000 – 2).
Use a fabric for this project that the tiny sharp needles won’t pierce easily, I used an upholstery suede.
Supplies:
- 15″ x 1.75″ piece of fabric
- 6″ x 1.75″ piece of fabric (optional)
- pins
- matching thread
- sewing machine
- hand sewing needle (optional)
- small snap (optional)
Use a scant 1/4″ seam allowance for this project.
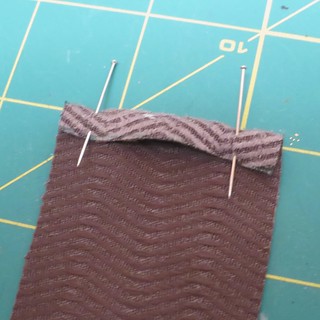
1. Fold the short ends of the longer piece of fabric, wrong sides facing, 1/4″. Sew down.
2. Now you are going to sew that piece of fabric into tube with a slit in the top for inserting the needles.
Fold one end towards the right side 1/2″. Sew the sides down.
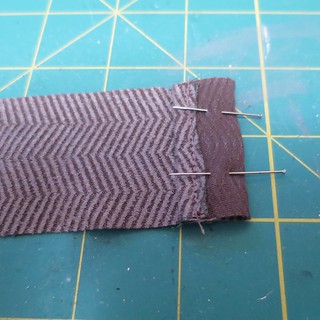
Now fold the other end toward the right side to meet the edge of the side you just did. I had them meet, but if I did this again I would leave about a 1/8″ gap just to make it a little longer and easier to fold the top back. Sew the two sides of that end.
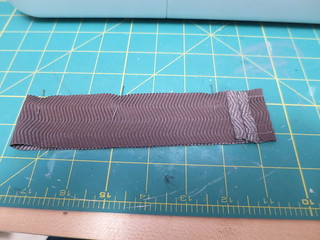
Turn right side out. Use something like a knitting needle to push out the corners.
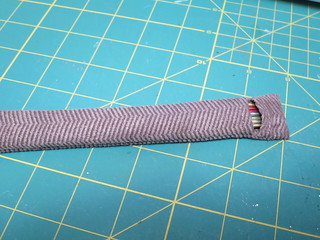
You now have a simple holder that will keep your needles from falling out. I wanted to add an extra flap that I could keep tapestry needles on.
3. Fold smaller strip of fabric in half right sides together. Sew the two longer sides.
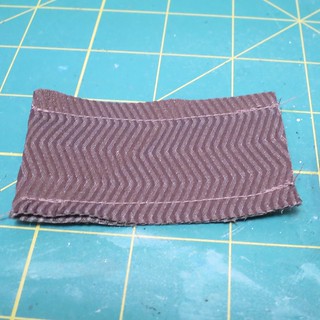
Turn right side out. Top stitch along the closed short end.
4. Fold the edges of the open end in 1/4″. Hand sew onto the top of the tub you made in step 2.
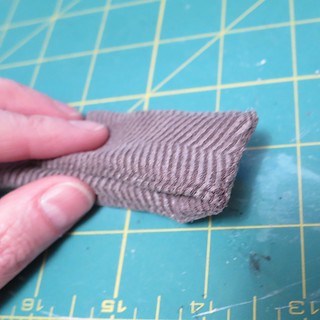
5. Sew one end of the snap onto the bottom of the flap facing the tube.
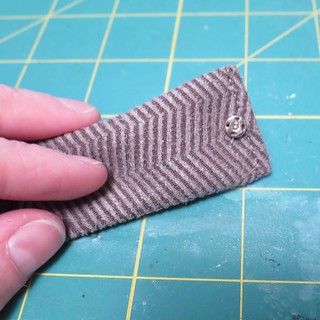
Mark on the tube where the other side of the snap should go. (Do this with your needles inside since they change the shape slightly.) Sew the other end of the snap on.
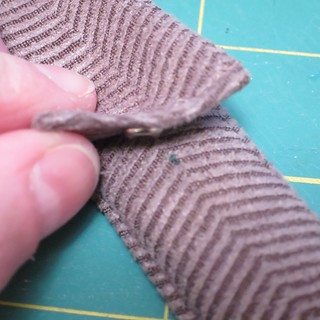
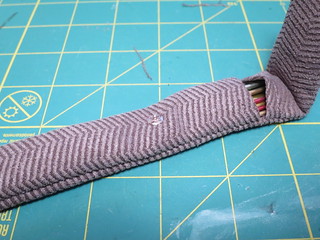
Now easily take those skinny needles wherever you go.



Pingback: Sock Craft Ideas