For this Iron Craft challenge we were asked to finish a UFO, an unfinished object. I have quite a few to chose from, but decided to finally finished the felt hexagon wall art I started back in…what was it? April? March? I think I didn’t finish because I was afraid to start gluing things down.
So, you may remember I was inspired but some felt hexagon wall art at Room and Board.
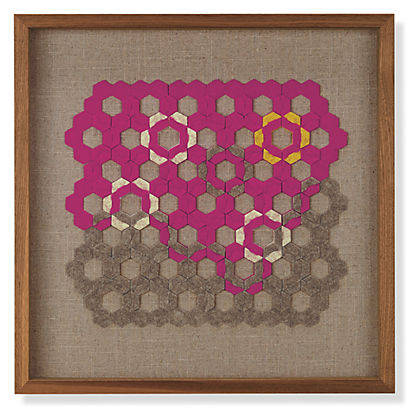
I really liked the idea of it, but wanted a different color palette (and didn’t want to pay $450 each). Here was my final result.
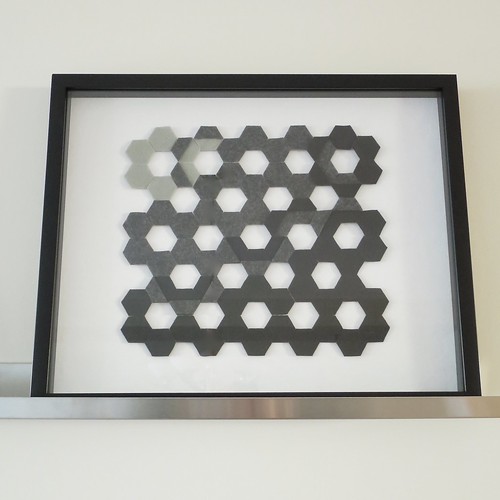
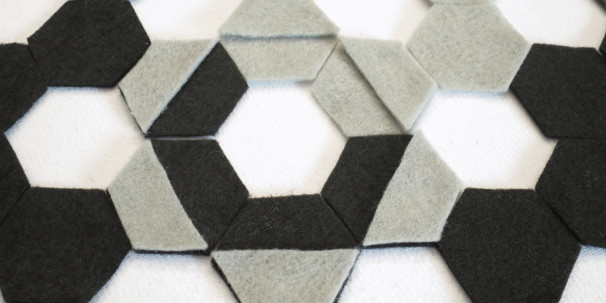
This is actually one of a pair that will go over our bed. Each is in a 20″ x 18″ frame. You can’t really tell from the pictures, but the hexagons are slightly raised from the backing thanks to little squares of craft foam. That and the layered half hexagons give it some texture. Here are the two different designs.
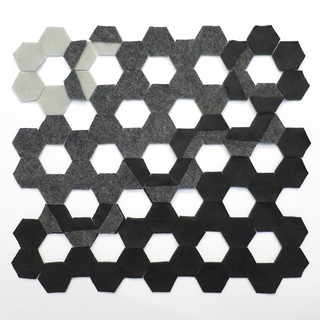
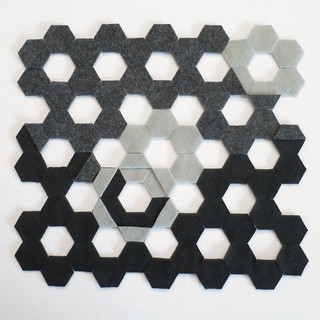
I’m so glad I finally finished these because I really like them. My color palette is much more retrained then the ones at the store, but it really fit in nicely with our decor.
Felt Hexagon Wall Art
Supplies:
- felt in various colors (try to find something a little thicker than cheap craft felt)
- hexagon pattern
- scissors
- backing fabric (enough to cover the pack of your frame)
- iron
- shadow box frame (or a frame with a little depth in it)
- 3M77 or other spray mount
- craft glue
- sheet of craft foam, mine was about 1/8″ thick
- glue that will hold foam, I used E6000
- scotch tape
1. Use a hexagon pattern to cut hexagons the same size out of your felt – I made my pattern on the computer and printed it on cardstock. I experimented with different sizes and ended up liking ones with a 3/4″ side best. I used glue stick to hold the pattern to the felt, cut the hexagon out and then removed the pattern to use again.
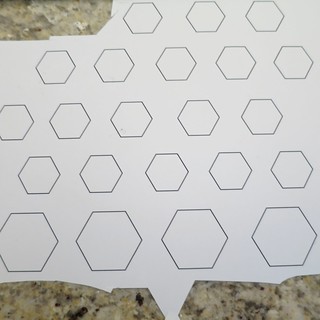
I needed 65 whole hexagons for each piece. I then cut out some extras which I cut in half.
2. Cover the back of your frame with your background fabric – Cut out a piece of fabric the exact size as the backing. Iron it if needed. Spray the backing of the frame with spray mount. Carefully, put the fabric on the backing, smoothing out any wrinkles.
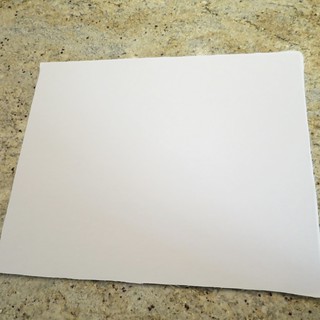
The raw edges will be hidden under the frame.
3. Lay out your design – Do a quick layout to measure the height and width of the finished design. Then do a layout centered on the backing of how you want your final design. I found it easiest to start with the bottom row at the center, because you can start as high up as you need and at the center point.
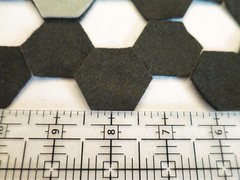
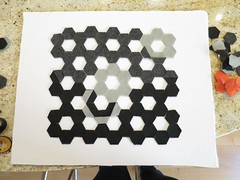
Layer on any half hexagons at this point too.
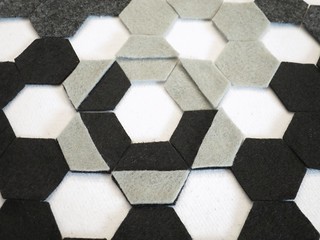
I took a photo of my design at this point, so I could refer to it if needed while gluing it together. Leave the design on the backing.
5. Glue the half hexagons onto the full ones – I just used a dot of tacky glue in the center of the halves. Put each hexagon back in place once the half is glued on.
4. Cut the craft foam into squares that are smaller than your hexagons – You’ll need as many as you have full hexagons.
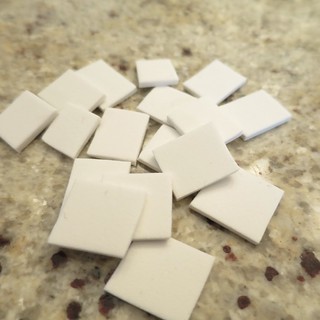
5. Glue the hexagons in place – Put a dap of glue on a piece of craft foam and attach it to the back of a hexagon. Now put glue on the other side of the craft foam and glue into place.
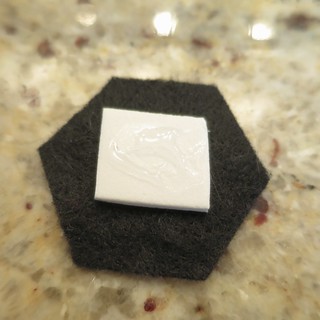
This is where I used the E6000. It didn’t bleed through the felt and I had time to move things around a bit while putting them in place. Let dry.
6. Clean up finished piece – I had a lot of felt fuzz on my white backing, but it was easy to clean up with a little scotch tape.
7. Frame and hang.
© 2005 – 2014 Kathy Lewinski & Susan Cornish



4 Comments to Iron Craft ’14 Challenge #19 – Felt Hexagon Wall Art