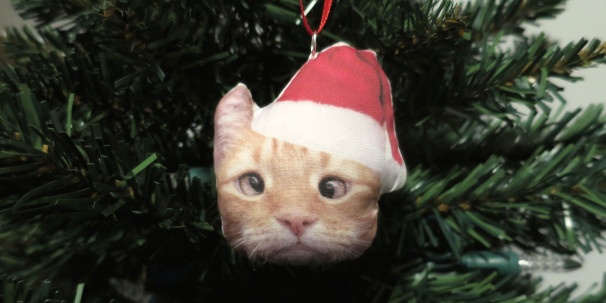
For this challenge we had to do something that started with the letter “c”. I decided I wanted to make Christmas ornaments of my friend’s cat, Jarvis P Weasley. My original thought was to make shrinky dink versions, but I struggled with the inkjet shrink dinks and ended up with just rolls of plastic. So that left me with plan B, little softee ornaments.
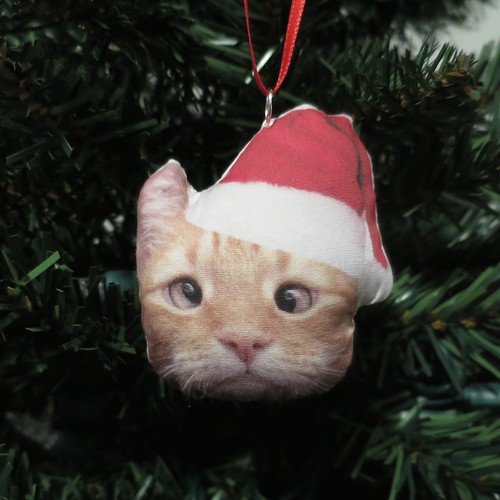
I think the idea is really cute and would make great gifts for people with pets. Of course, it doesn’t just have to be cats, or animals for that matter, you could do dogs, babies, whatever. My execution could be a little better in the sewing, next time I think I’ll try sewing it by hand and getting right up to then edge of the picture. Also I’ll do a black back instead of a mirror image, then I won’t have to worry about them lining up.
Stuffed Cat Christmas Ornament
- digital photo of cat (or dog or baby or whatever)
- photo editing software (I used Acorn)
- inkjet fabric sheets (I used this one)
- inkjet printer
- pencil
- scissors
- thread
- sewing machine (optional)
- stuffing
- hand sewing needle
- jump ring
1. Find a picture you want to use. I found it best to go with something without a lot of edge detail like a face. Use the photo editing software to erase everything but what you want on your ornament. You can also add things to the image, I added a Christmas hat to mine. Make the image the size you want the ornament, mine was 3″ across. If you want the ornament to be two sided, make a mirror copy of the image.
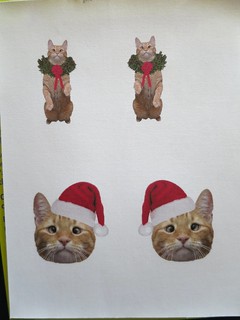
2. Print your images out on the inkjet fabric sheets. You want to set your printer to print at a high quality and slow speed for the best results. Do not touch the printed fabric until dry, 10 – 15 minutes.
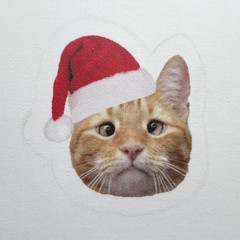
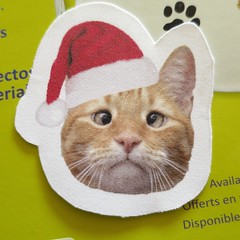
3. Use a pencil to draw a cut line around one of your images. I went with about 1/4″ all the way around. Cut it out. Use it as a pattern to cut out the second image. (I took the paper backing off first, then you could slightly see the other image through the fabric to line them up.) (For a blank back, use your first image as a pattern on blank fabric and you don’t have to worry about lining up images.)
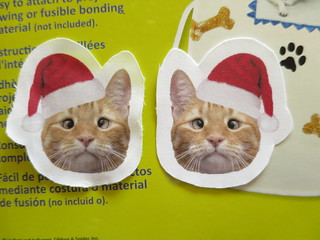
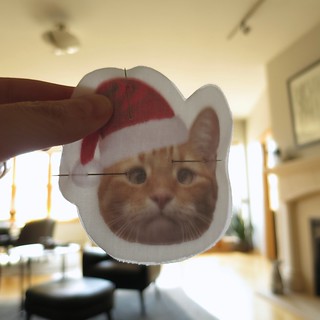
4. Remove the paper from the back of both images. Place the two images right sides together and line them up. If you hold them in front of a light or window you can see through them enough to tell if they are lined up correctly. Pin in place. Sew around the edge leaving about a 1 1/2″ opening for turning and stuffing. I used a seam allowance of just under 1/4″ which left a little white around the edge of the image.
5. Clip points and curves. Turn the ornament right side out and stuff, working the stuffing into all the details. (I used the end of a small paintbrush to help pushing filling into the ear.) Hand sew the opening shut.
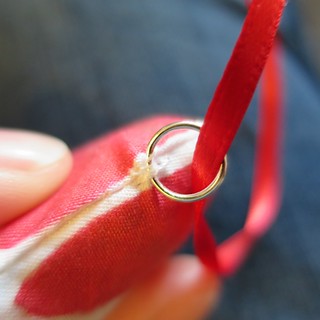
6. Sew a jump ring to the top of the ornament for hanging.
© 2005 – 2014 Kathy Lewinski & Susan Cornish



3 Comments to Iron Craft ’14 Challenge #18 – Stuffed Cat Christmas Ornament