For this Iron Craft challenge we were asked to create something that could be entered into a competition at the state fair. We were given the competition guides for the MN State Fair as our guide. I decided to do the new Christmas Ornament Contest. (Actually, I would have entered in this competition if I had known about it more than a week ahead of time. Next year I need to read the guides better!) Here are the guidelines…
“The Chippewa National Forest has been selected to provide the 2014 US Capitol Christmas Tree to Washinton, D.C. this year! A tree will be selected from the Forest, and will eventually end up on the front lawn of the US Capitol Building. We will send 10,000 ornaments along the way to decorate the tree – these will be made by local school children and community groups. We are looking for Minnesota artists interested in creating a one-of-a-kind ornament representing the Capitol Christmas Tree from Minnesota.
Ornaments must be 3-Dimensional, less than 12” high and weigh less than 1/2 pound and highlight one
or more of the design elements in the 2014 Chippewa National Forest logo. These include:
● A Spruce or Balsam Fir tree
● Bald Eagle
● Ojibwe floral beadwork design
● Minnesota and/or Chippewa National themes, including lakes/river, heritage, ecosystems.”
I ended up making two ornaments…
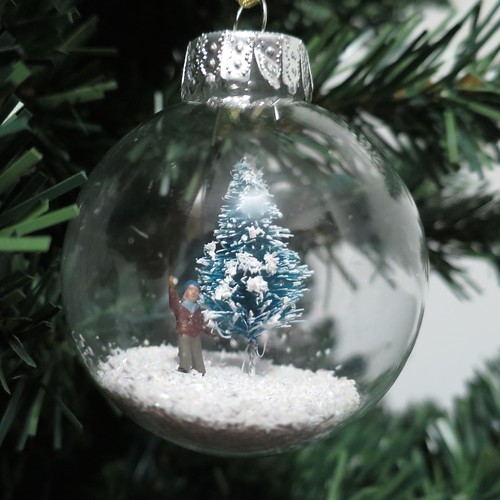
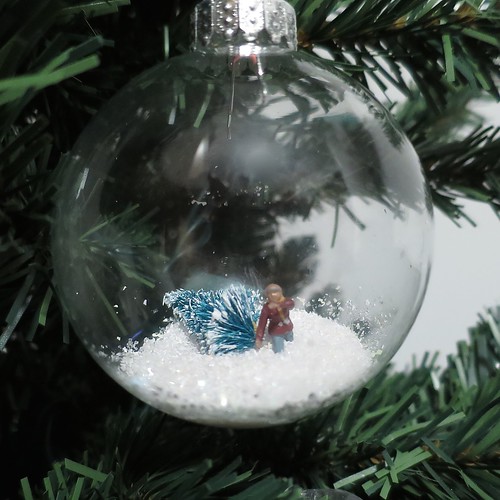
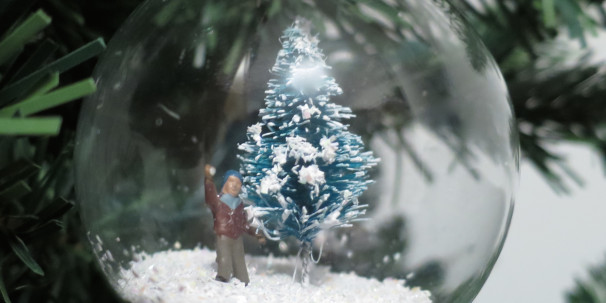
I was going with a Minnesota heritage theme of going out into the woods and finding the perfect Christmas tree. I used plain Christmas balls and turned them into snow globe type scenes.
“Finding the Tree” Ornaments
Supplies:
- clear glass or plastic Christmas ball (I used a medium and a large one)
- small bottle brush trees, I needed three for my two ornaments (on one I only used the base)
- tweezers, long and thin enough to fit in the Christmas ball
- tacky or other thick glue
- scissors or wire cutters
- figurines for train sets (I used HO scale and they all fit through the opening in the Christmas balls.)
- white glitter
- small paintbrush (optional)
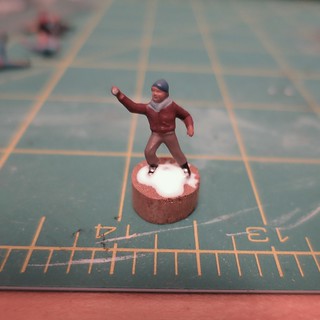
1. Cut the base off two of the trees. Chose the figures for each ornament and glue them to the bases. Let dry.
2. Put a dab of glue on the bottom the tree still on a base. Use the tweezers to place it in one of the balls. Let dry. It helps to stand the ornament in something to keep it upright.
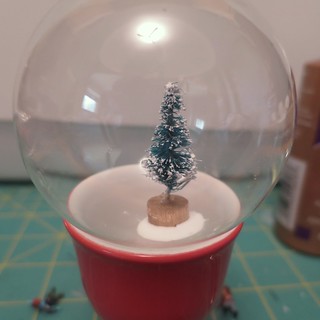
3. Once the figure for the standing tree ball is dry, put a dab of glue on the bottom of the base. Use the tweezers to place him in the ball. Let dry.
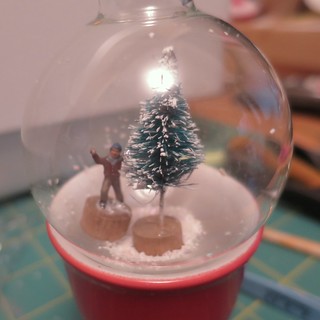
4. Do the same thing with the second figure in the second ball.
5. Pour white glitter into both balls covering the bases.
6. Add a tree without a base to the second ball. I tucked the stem under his arm to make it look like he was dragging the tree. I took a bit of work with the tweezers and a paintbrush to get it just right.
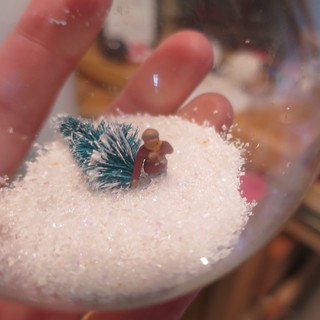
A small paintbrush can help remove excess glitter from the sides.
© 2005 – 2014 Kathy Lewinski & Susan Cornish



7 Comments to Iron Craft Challenge #17 – “Finding the Tree” Ornaments