For this challenge we were asked to embellish something. My inspiration came from this pair of embroidered sneakers that Susi sent me the link to. The discussion was whether it was hand or machine embroidered and whether it was done before or after the shoes were made (conclusions: by hand and after). And finally, we agreed that we should try it. The idea has been lingering with me ever since and here is the result.
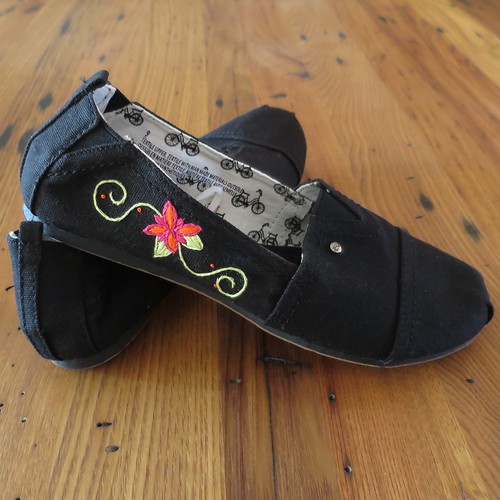
I didn’t want to spend a lot on the shoes, because truthfully, I wasn’t sure how they were going to turn out, so I went with a pair of Tom’s knock-offs from Target. My concern was whether the stitching would be hard to get neat and just look messy and amateurish. I didn’t want to end up with something I would never wear. Luckily, my fears were wrong, because I love the way these look and they’ve already been out and about.
Tips for Embroidering Shoes
1. The shoes – Look for canvas shoes that are soft or pliable. You want to easily be able to get a needle through them. Shoes similar to Converses, Toms, or Keds are perfect.
2. The needle – Use a sharp needle with a long eye that you can fit multiple strands of embroidery floss through.
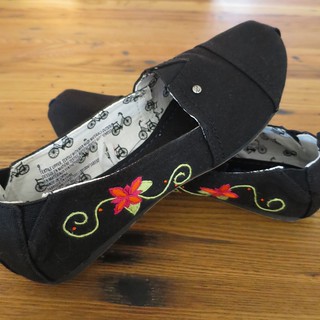
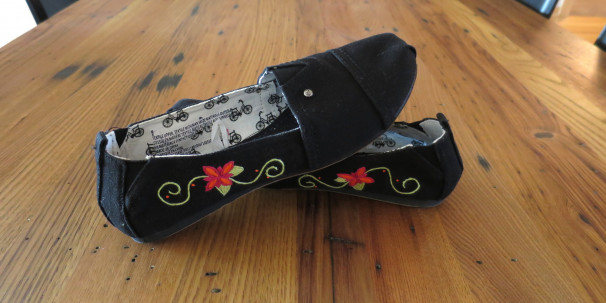
3. The floss – I used 4 strands of floss for the flower, 3 for the tendrils and leaves and 2 for the french knots. (If you are wondering, I used DMC 600, 608 and 472.)
4. The pattern – I did a rough sketch of my pattern on paper before stitching it on. A dressmakers pencil is perfect for drawing the design you want to stitch on your shoes. A blue pencil will show up on dark and light canvas. It does rub off as you work, so I ended up drawing a little section on at a time as I went.
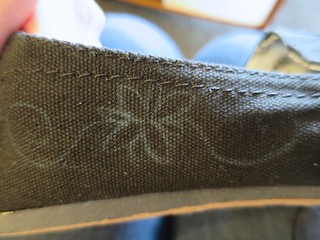
Think about how the shoe fits when deciding where to place the pattern. You don’t want it to be a place that rubs and could irritate your feet, especially if they are shoes you will wear without socks. I would avoid the toe and heel. Also think about where it will be easiest for you to get your hand in and out while stitching.
5. The stitches – I kept to simple stitches, split stitch for outlines and tendrils, straight stitches for filling in and a few double french knots.
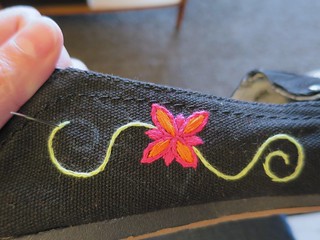
It seemed easiest to do simple stitches, especially when I was trying to get into some tighter areas.
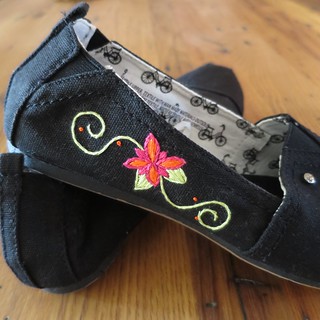
6. Knots – I didn’t want a bunch of big knots inside the shoes to rub against my feet. I started each color with one small knot and ended it by weaving into the back of the stitches. I barely feel it when the shoes are on.
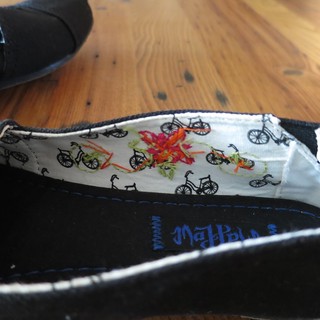
7. Don’t worry about perfection – These will be on your feet and most people will not see them up close. One imperfect stitch will blend into the final product. Even though I did the same design on both shoes, I did not worry about them being exactly the same.
© 2005 – 2014 Kathy Lewinski & Susan Cornish



4 Comments to Iron Craft ’14 Challenge #15 – Embroidered Shoes