I have been designing and sewing the Evil Queen costume for our school’s production of Snow White. Previously, I showed you how I made the cape and the dress. Now onto the tippy top.
You want a knit crown? I am all over it.
You want a flat gold crown… Uhm… That proved to be little tougher.
Evil Queen Crown
As a pattern, I used a paper crown from a Disney Princess lunch that we went to recently. (Oh, we are livin’ the good life here.)
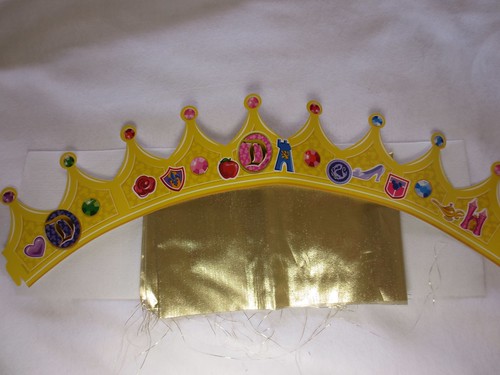
The curve of the crown itself makes the points lean out a little bit away from the head. And that was a great start.
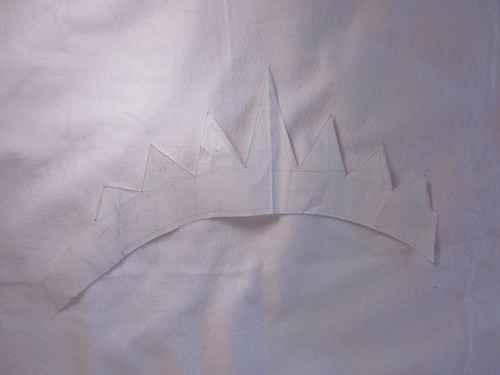
I cut a paper model following the curve of our original, and changing the shape and dimensions of the spikes.
I tried to make a crown out of Lame.
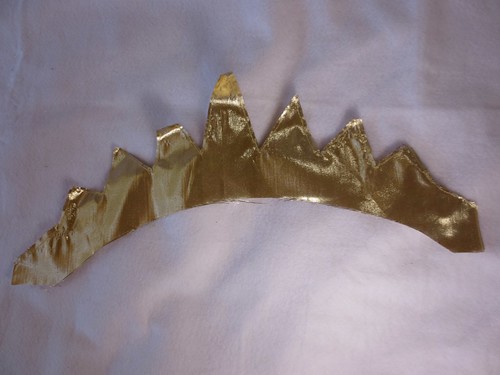
This was rough. It will only work with the very sharpest needle otherwise it makes pulls and puckers. It needs BIG seam allowances and with the points, there is no room for massive seam allowances. Lame is a fine foil woven into a nylon mesh. It’s a slippery, shifty beggar.
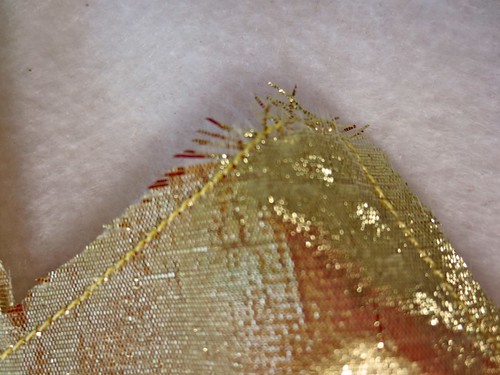
Here is what happens when you try to clip the corners and get a nice point. No good.
I started ALL over. My next stab was using some thick rich yellow gold satin and some kind of foil knit stuff for the trim. I made the trim by sewing a 2″ strip in half (right sides out). It was like a covered cord, but without the cord.
I sewed the layers of satin and a trim of the foil fabric together by hand first. Then ran the machine over it.
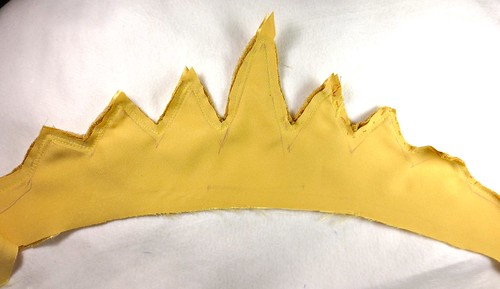
Then I clipped the corners and trimmed the seam allowances to allow for sharper points.
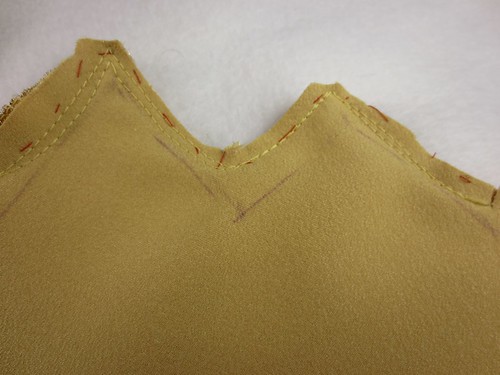
I turned the whole operation around inside out and ironed it. Then I stuck the double sided iron on interfacing in, and carefully ironed one side down. (With the layers, the shifting satin and the crazy trim all in the mix, I didn’t push my luck by trying to iron two sides down.)
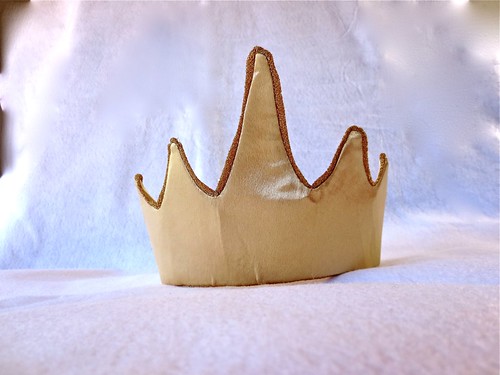
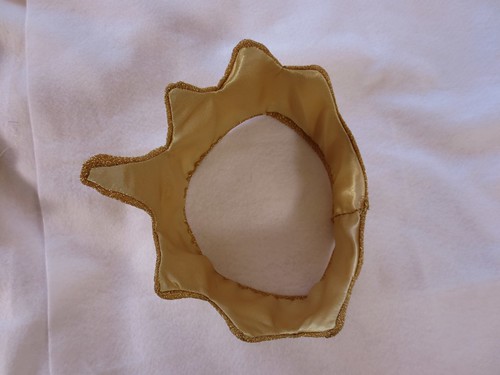
From the top, you can see the angle of the crown better.
The original wicked queen wore a full hood on her head that covered her ears and came down to a dramatic widow’s peak in the front.
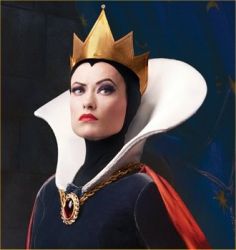
(Here is Olivia Wilde dressed as the Evil Queen)
We both felt that having your whole head under velvet would be uncomfortable on stage. For drama sake, I made a head band style piece that gave us the widow’s peak and yet offered the comfort and versatility of a bare head.
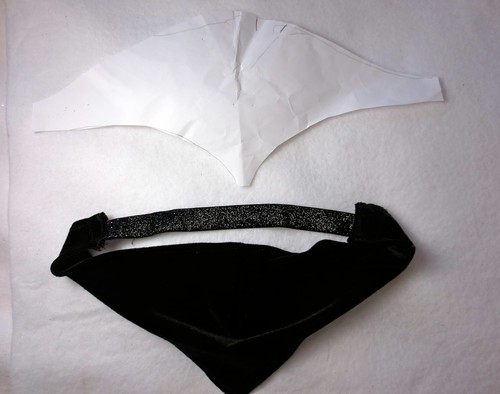
I created a template by cutting the shape I wanted out of paper. I flattened it against my head and made a pinch in the paper so it would curve. Then I cut the shape itself out of black velvet. Using the template, I sewed one dart in the forehead. Essentially you are making the front of a beanie. I wanted it to almost stay in place without holding it. I turned under as little as possible (about 1/4″) and sewed all around. Then I measured the Queen’s head, and added the elastic at the back. It’s black sparkling elastic, of course.
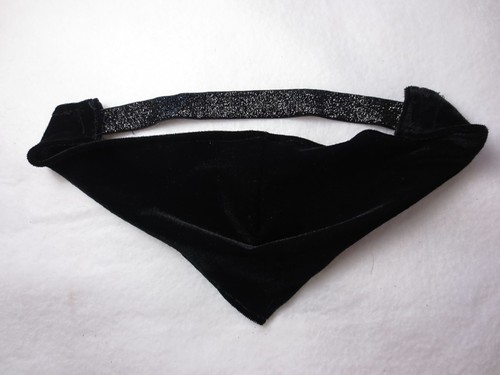
There were a lot of false starts with this crown. I didn’t feel like I nailed it. But once I showed it to the queen, she liked it. This was a case of letting good be good enough. Once I got some distance on it (I am talking 6 feet away) it was better. I was so caught up in perfection that I lost sight of the finished product for a moment. Then, when she came out on stage, it was striking. Build “time to step away” into your deadline. And as my dear father would remind me “Don’t let the perfect be the enemy of the good”.
© 2005 – 2014 Kathy Lewinski & Susan Cornish

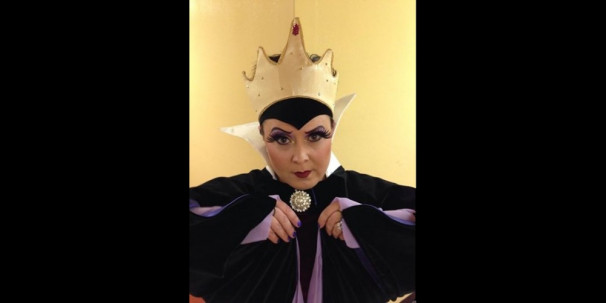


Pingback: evil queen crown – ERRVR
Pingback: 19 DIY Evil Queen Costume Ideas To Recreate The Cruel Look ⋆ Hello Sewing