With a 5-year old in the house, it is no surprise that we are big Disney fans. As we ride the Frozen wave over here, there is a new Disney Fairies movie on the horizon: The Pirate Fairy is due out on Blu-ray and Digital HD April 1st. In honor of that event, we did a project that reaffirmed our love of all the fairy movies so far. Here I give you our fairy terrarium (done two ways).
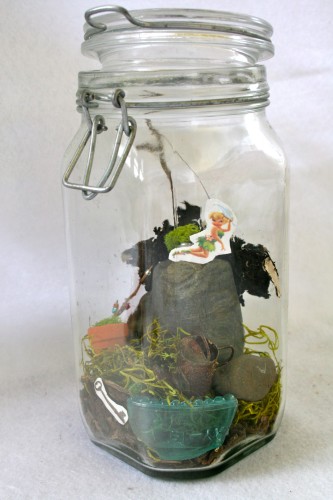
Fairy Terrarium:
Gather all your supplies that you want to start with. This will evolve, but if you set out the path, you can add to it as you go along. Here are some of the things we used, but you can really gather anything you find in your yard as well as garden, craft and dollar stores. 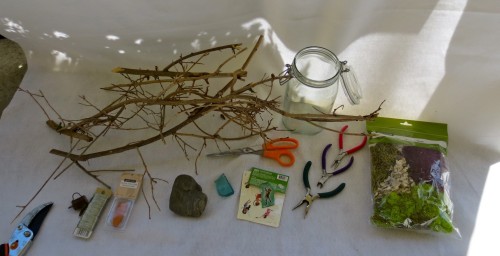
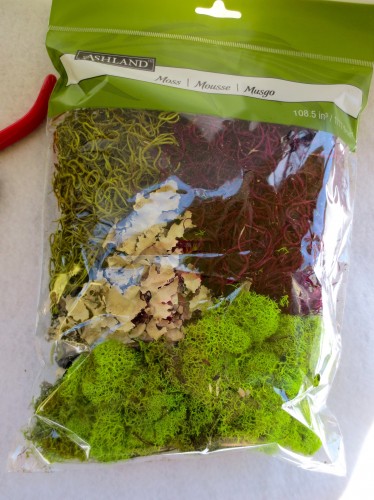
- a bag of moss (purchased)
- beading pliers and tools
- Tinkerbell tattoo pack (!) (purchased for $1.00)
- big (not sharp) craft scissors
- a big wide mouth mason jar or other vessel in which to create your terrarium
- a piece of beach glass
- a rock
- mini terra cotta pots (purchased for $1.00)
- very thin floral wire (purchased)
- a miniature watering can
- a collection of twigs
- garden clippers. (Later, my whole bead supply tray was raided as well.)
I got this package of moss, just because it spoke to me. It said, “this is what a terrarium is supposed to have.” So it came home with me.
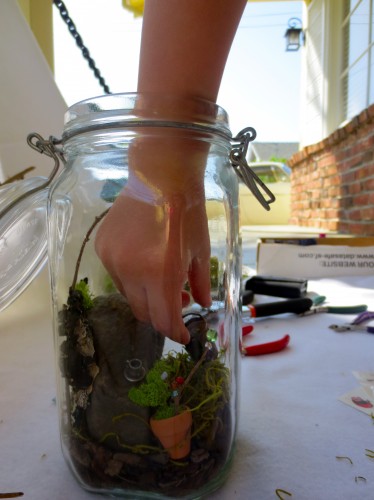
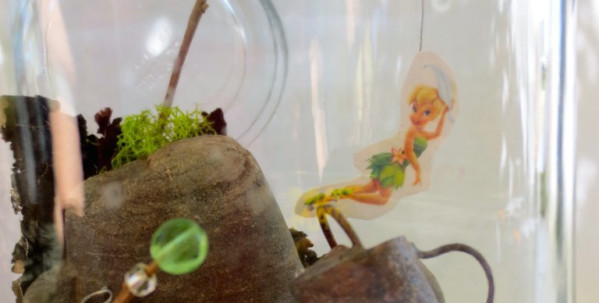
For our mason jar terrarium, we started with a fine layer of bark (from the front garden). Then we set in the big rock. We cut out the fairies from the sheets. (Because they were tattoos, they come with a paper back and a thin plastic sheet on top. I left the plastic in place and it did manage to stay put. So the flying fairies worked out well.) 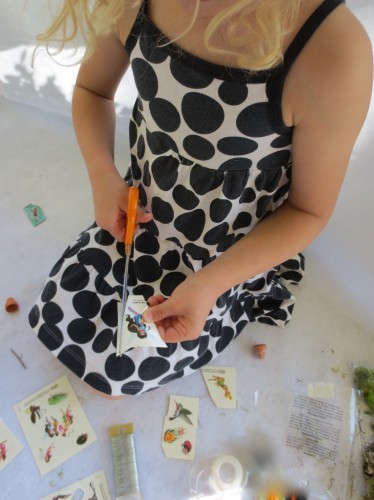
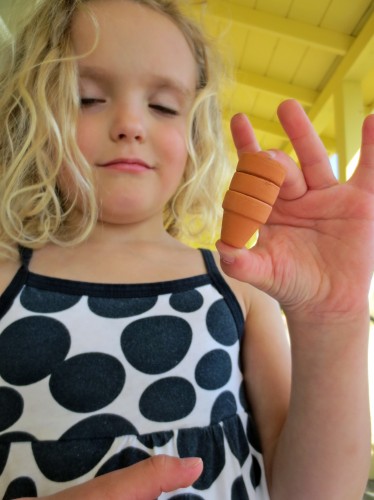
The mini pots were such a hit.
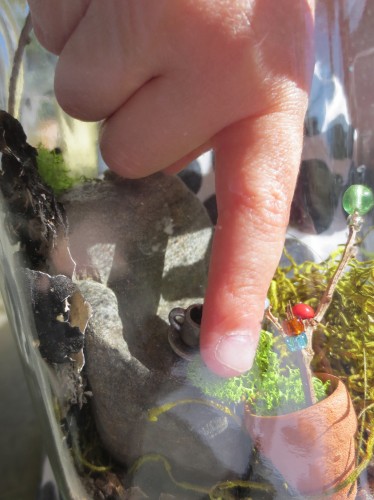
We found a super small branch and put beads on the branches. We added sharp green sponge moss and made a tiny bead tree.
One of the tattoos in the set was a key. Tink was always finding stuff, so that went into the bottom. It is hidden to be found later.
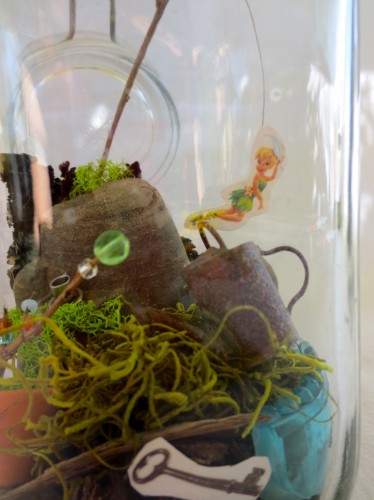
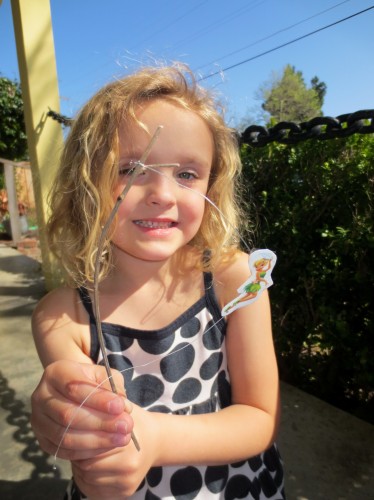
I have had the mini watering can for ages. It sits on the window sill normally, but for this project, anything small scale in our house was fair game. Tinkerbell was cut out, she was tied to the end of a bent stick and scotch taped to a very thin wire.
The jar is a work in progress. She would get things and put them in.
When I suggested that perhaps we were done, she enthusiastically said that we needed to do another one. I agreed, “Sure, maybe we will do another one some time.” She disappeared for a little while and when she returned, she had a big 9×13 glass pyrex dish!
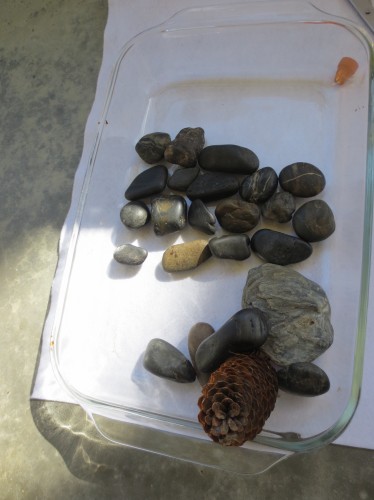
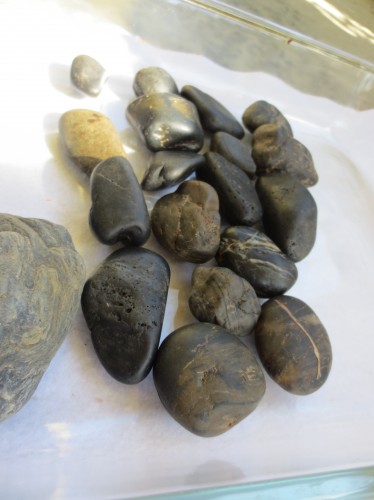
I laughed out loud. Oh, my sweet little craft partner! How impressive was that? Consider if you will, that if I asked my husband to please bring a glass pyrex out to us, he would not know where they were. But my little daughter knew what she wanted, went right to them (and they are stored low down), and brought one out. She was having no part of “maybe, sometime…” She meant business! Well, I was not going to squash that, so the we set to work. The second “terrarium” was really entirely hers. This is the “rock river.” “Mom, we need a bridge over the rock river. It needs to have a handle too.”
So I worked on a bridge, with a handle. No joke. This dish was all for Silver Mist.
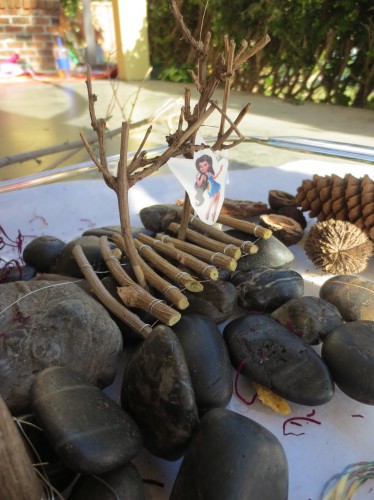
Here she is crossing the bridge. (!!)
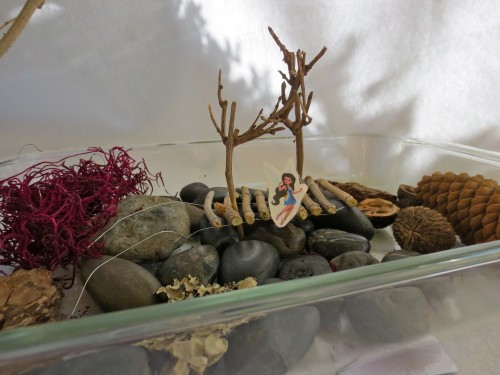
Amelia added the moss, pine cone, black walnuts, and other things from the yard.
**This post was sponsored by BlogHer and the new Disney move The Pirate Fairy. We were compensated to do a fairy themed project, but were not told what to do or say in any other way.
© 2005 – 2014 Kathy Lewinski & Susan Cornish



One Comment to Project: Fairy Terrarium