Some of you may think that I create the Iron Craft challenges based on something I already know I want to make. The truth is, typically I have no idea what I am going to make for the challenge. Take this challenge, String Theory, the idea came to me for the challenge when I did the string art for challenge #4, but I couldn’t do that same project again. I tossed around some ideas and then ran across a picture on Pinterest of some crocheted bowls. I knew I had to try them.
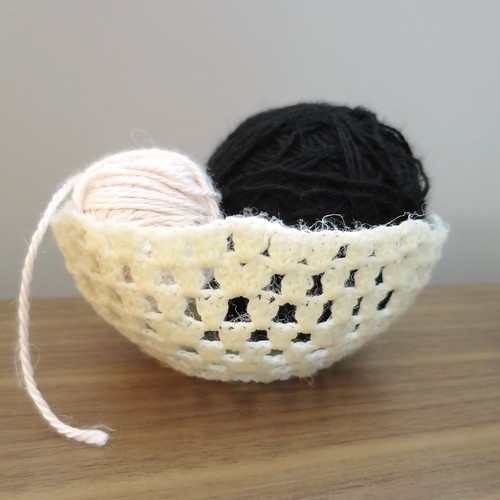
I went to the original post on the Dutch site Saartje. The project certainly looked easy enough and her resulting bowls (or baskets) were really great. The only thing was, she used sugar water to stiffen the crocheted circles into bowls. This kind of skeeved me out. I was imagining bugs and the bowls getting sticky when it’s warm. I thought why not just use a fabric stiffener.
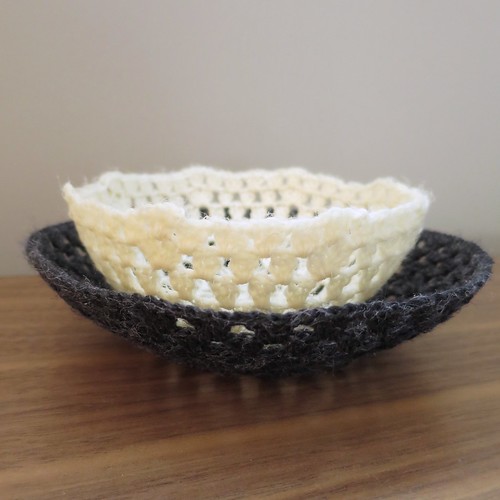
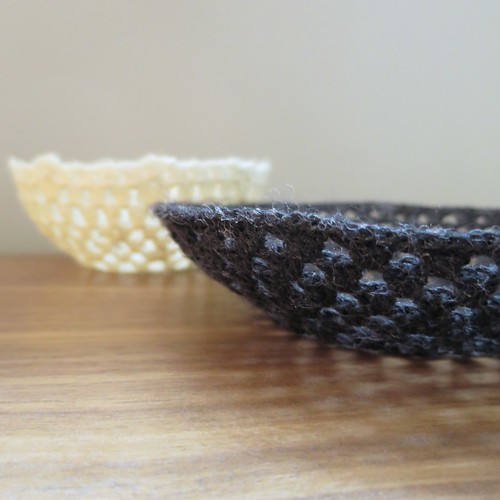
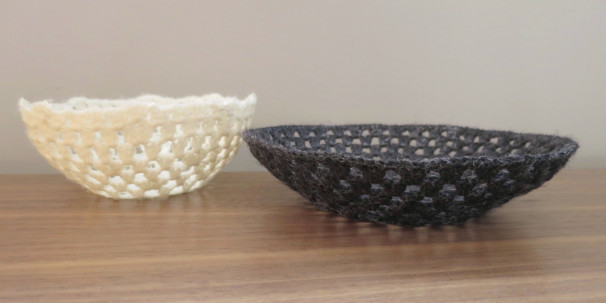
The stiffener worked great other than leaving a little shiny residue inside the bowls, but I figured out a way to clean it up as you’ll see in the tutorial. It does darken the color of the yarn slightly, especially the lighter color. The resulting bowls are very lacy and delicate looking though they hold their shape really well.
This is definitely a project I want to try again. I didn’t get my rims perfectly straight and I think that is something I can approve on. I also want to experiment with the shape of the original crocheted piece, so the bowls can be made with straighter sides.
Crocheted Bowls
Supplies:
- yarn – I used fingering weight, but you can get much bigger bowls quicker by using thicker yarn and a bigger hook
- appropriate crochet hook for yarn – I used a D 3mm hook
- tapestry needle
- scissors
- bowl – this is going to work best with a bowl that is ball shaped compared to one that has very straight sides
- plastic wrap
- plate
- Stiffy or other liquid fabric stiffener
- soft toothbrush or other brush (optional)
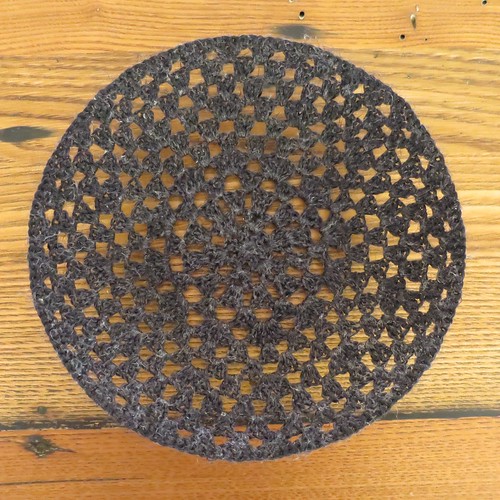
1. Crochet a granny circle. For my off-white bowl I just winged it, but for the grey bowl I used this pattern. Make the circle as big as you need to create the size bowl you want.
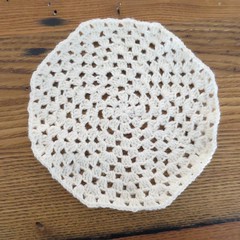
2. Find the correct size bowl to fit your circle over. Keep in mind you can stretch the circle a bit. Cover bowl with plastic wrap. The plastic wrap allows you to get the bowl off the bowl, otherwise it will just be stuck on.
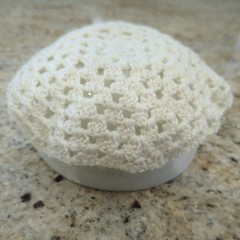

3. Saturate the circle with the liquid stiffener. I found this was easiest to do on a plate. You want it soaked through, but not dripping. Really make sure the whole thing is saturated, especially the edges.
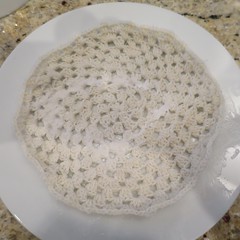
4. Place the crochet piece over your bowl and work into the correct shape paying special attention to keeping the circle centered and getting what will be the rim straight. I had a hard time with the rim. On the of-white circle, I knew my edge wasn’t straight, I tried to give it a little scallop shape all the way around. On the grey bowl, I really focused on getting a nice straight edge on the crocheted circle and then getting it straight on the bowl to shape. Still it isn’t perfect. Next time I’ll use a ruler.

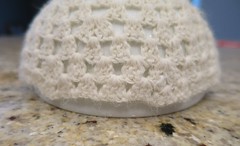
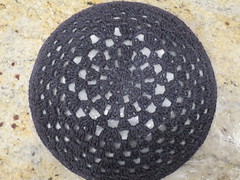
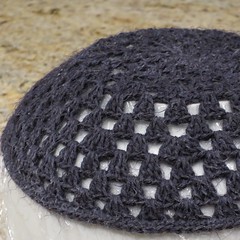
5. Be patient and let it dry. Mine were solid after sitting overnight.
6. Carefully pull off the bowl using the plastic wrap to help you.
7. Clean up any residue left by the stiffener. You can see here on the grey bowl especially, the the stiffener left some shiny glue residue on the inside of the bowl.

I found that a soft toothbrush was prefect for getting most of it off.
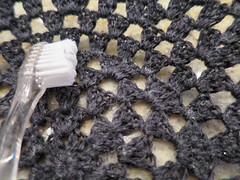
Display in a place that lets the light shine through and enjoy.
© 2005 – 2014 Kathy Lewinski & Susan Cornish



Pingback: Crochet Your Springtime Table | Crochet | CraftGossip.com
Pingback: Link Love for Best Crochet Patterns, Ideas and News — Crochet Concupiscence
Pingback: Best 2014 Crochet Patterns for the Home — Crochet Concupiscence
Pingback: Latest Crochet Patterns For Handbags, Dresses & More - Diy & Craft
Pingback: 10 Free Crochet Circle Patterns - DIY & Crafts