We are in the height of holiday madness for Iron Craft this challenge. I just happened to see the perfect idea in the latest issue of Martha Stewart Living, paper trees. The trees in the magazine were made using a circle edge punch which is $36 for the starter kit and then another $20 for the cartridge. I thought they’d look cute made with paper snowflakes instead. I think my version turned out so darling!
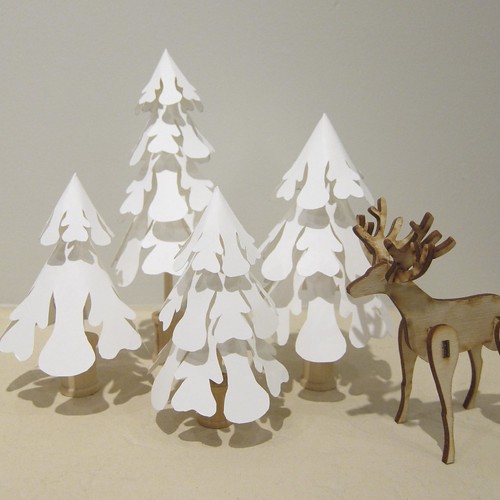
It took a little hit or miss for me to figure out how to get these to look right. I tried just making snowflakes with paper, but there wasn’t a good way to get out the creases in the paper. So instead, I used one of my snowflakes to create a pattern of a half snowflake (because you only need half to make a cone) that I could use over and over again. I also switched to cardstock to help the trees hold their shape better. I’ve created a pattern you can print out of my half snowflake in four sizes, 3″ – 6″. With those four sizes you can create all different shapes and heights of trees. Print them on colored or sparkle paper for even more different looks.
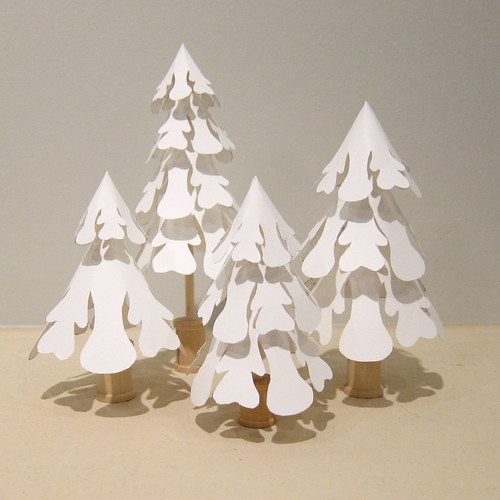
I made the stands easily using wooden spools and dowels from the wooden crafts department at Michael’s. I bought the spools in two sizes for the different size trees. The same size dowel worked for both. You could also use empty spools you have around, just make sure to get the right sized dowel for them. I kept mine natural wood, but you could paint them all sorts of colors.
Paper Snowflake Trees
Supplies:
- Cardstock
- Tape
- Wooden spools, I used 5/8″ x 3/4″ and 3/4″ x 1″ sizes
- 3/16″ wooden dowel (or size to fit in the holes on your spools
- Hot glue
Tools:
- Printer (if using my template)
- Paper scissors
- Hot glue gun
1. Download and print out the snowflake template on cardstock. One page is enough to make one four layer tree.
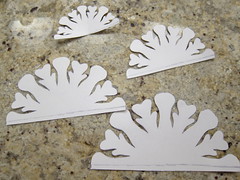
2. Cut out the half snowflakes. I have added an extra piece on the straight side for overlapping. I found it looked neatest if I found the middle and cut off half the overlap band. Fold that band in.
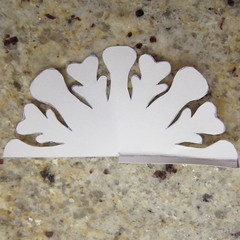
3. Bend the half snowflakes into cones and tape together on the inside.
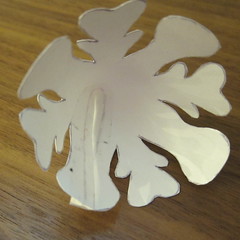
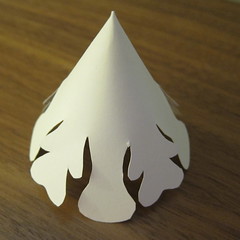
Don’t worry too much about the tips of the cones being perfect because you will be cutting them off, EXCEPT for the smallest one of the tree.
4. Layout the cones the distance you will have them on the tree. Measure that length. The length plus the height of the spool and the amount of trunk you want will be the length of dowel you need to cut. My dowel was skinny enough to cut easily with scissors, you may need to use a saw for thicker trunks.
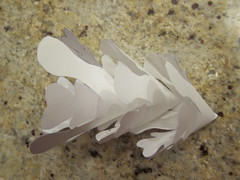
Insert the dowel into the hole in the spool. Mine stuck in firmly, but if yours is a little loose glue it in place.
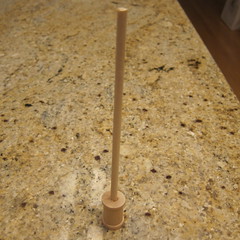
5. Snip the tip off the cones that will be the lower layers of your trees just big enough to fit snugly on the dowel. Mark where you want your layers, add a bead of hot glue and glue the layers in place one by one. I put glue on before I slide the layers on for the final time and then on top after they were in place.
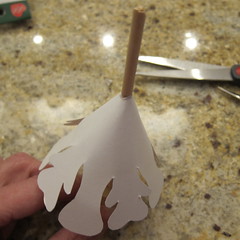
For the top of the tree, put a good amount of glue inside the tip of the smallest cone and place on the top of the dowel.

Use two, three or four cones for different size and shape trees. I did one that is all four, one that is 3″ – 5″, one that is 4″ – 6″ and on the uses a 3″ cone and a 6″ cone.
Make yourself a whole forest!
© 2005 – 2013 Kathy Lewinski & Susan Cornish




Pingback: How to Make Paper Snowflakes
Pingback: Create an Internationally Inspired News Years Party - Russia - TINSELBOX
Pingback: 24+ DIYs on How to Make a Paper Christmas Tree | Guide Patterns
Pingback: Craft: 24+ DIYs on How to Make a Paper Christmas Tree – CrochetingHearts.org
Pingback: Around the World New Years Eve - Delightful Homeschooling