For this Iron Craft challenge we were asked to create something for Halloween…
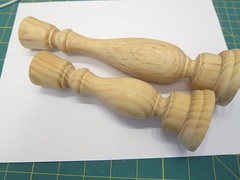
Halloween is such a great time to shop at the Dollar Store for craft and decoration supplies. C’mon, last year I found plastic human organs! One of the things I picked up some plastic snakes this year with the idea of turning them into creepy candleholders. With a couple cheap, unfinished wooden candleholders from Michael’s, I had the exact look I pictured in my head.
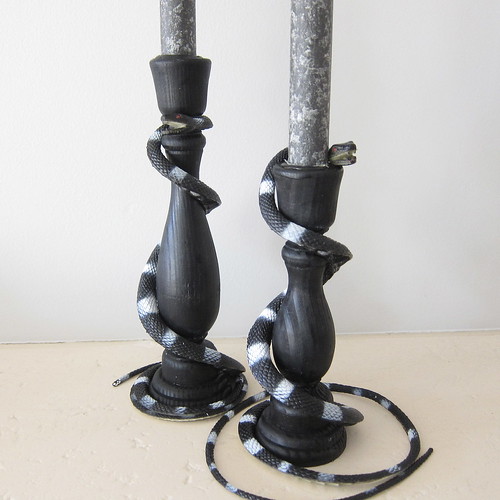
These are high impact, but easy, easy, easy to make! The only thing I really struggled with was the snakes (and it wasn’t much of a struggle). The ones I bought were a pretty stiff plastic. They were still bendable, but I had hoped to find something even more rubbery. I could not find any other plastic snakes than these, so I went with it. Because the snakes were stiffer, getting them to bend they way I wanted around the candleholders and stay in place was tricky. The only thing that would work is super glue (Ok, that doesn’t sound that tricky, but I tried tacky glue, silicone, even nailing the snakes before I went out and bought super glue.) Once I found the right glue, it was just a matter of holding the snake in place while it dried to have it wrapped the way I wanted.
Snake Candleholders
- wooden candleholders you can paint black or black candleholders (I used wooden candleholders and know the snakes glued to them, I can not guarantee how the glue will work on other things like glass, metal or ceramic.)
- black acrylic paint
- plastic snakes, one per candleholder (I went with black snakes but you can chose any color)
- acrylic paint to match the snake body if the underside is unpainted
Tools:
- paintbrush
- super glue (I prefer the gel type)
1. Paint the candleholders black. Let dry. It may take a couple coats to get a good solid coverage.

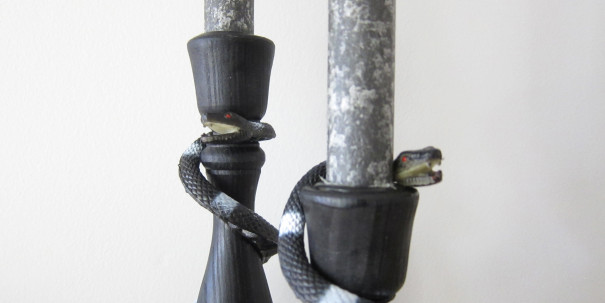
2. Start at the top of the candleholder and with the head of the snake and glue into place. You will have to hold it in place until it sticks solidly. I found the snake would not stick to the painted metal where the candle would sit, but it easily stuck to the painted wood. Then wrap the snake around gluing as you go. You can go as loosely or tightly as you want.
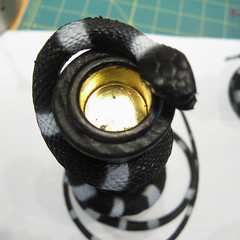
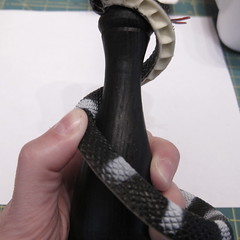
My snakes were very long for my candleholders, so I had a lot of extra snake at the bottom. On one candleholder, I glue the snake tightly around almost creating a base. On the second one, I left the tail loose to curl naturally away from the candleholder or drape over the mantel edge.
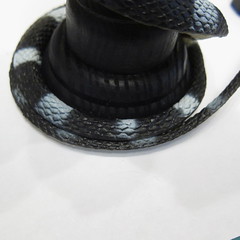
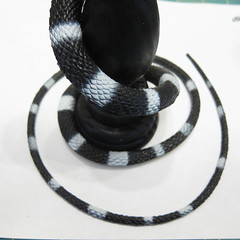
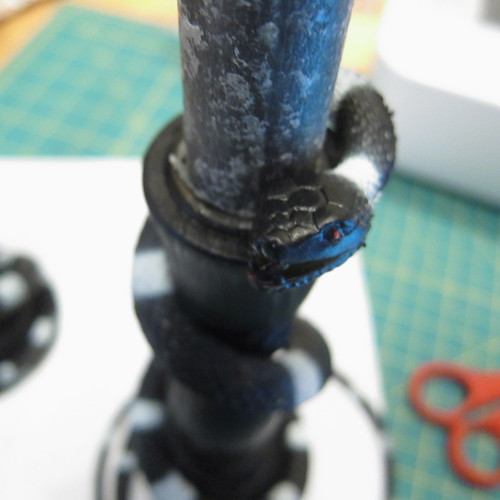
3. If your snakes are like my dollar store version, they may not be painted on the bottom. Paint any unpainted part that shows a color to match the top.
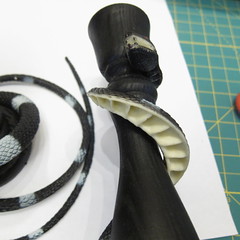
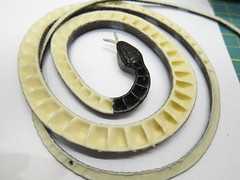
I didn’t paint them until they were glued on the candleholders, but I tested the paint first on a small section to make sure it would stick. This really shows how the bottom of my snakes wasn’t painted. Painting them black made a huge difference in the finished look.
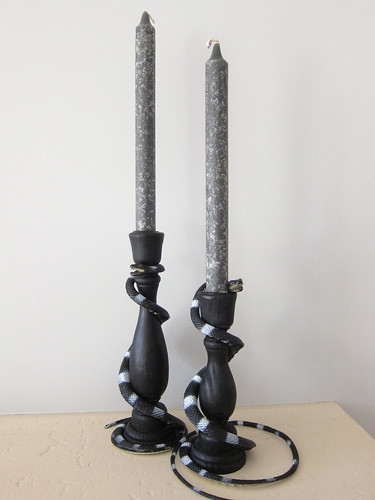
Add candles and you have a great creepy addition your Halloween tabletop or mantel. I used a candle that almost looks like grey concrete, because I could not find black tapers anywhere! Seriously, it’s Halloween, where are the black candles?!
© 2005 – 2013 Kathy Lewinski & Susan Cornish




Pingback: October Craft: Halloween diy parte 2 | Inspire We Trust
Pingback: {getting inspired} the perfect spooky setting | jentertaining
Pingback: A Few More Fun And Easy DIY Projects For Halloween
Pingback: How To Make Cement Candle Holders - I Love DIY
Pingback: 17 Cool DIY Halloween Candles And Candleholders
Pingback: DIY Halloween Snake Candle Holder Decorations – Candle Making