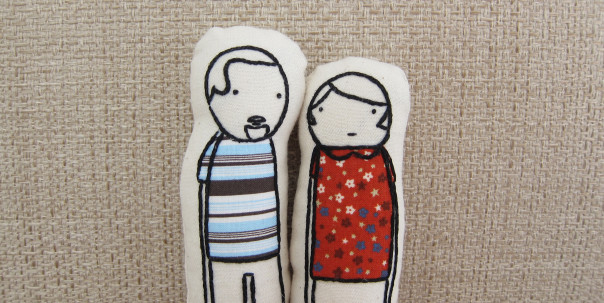
When I was in Ireland recently, I saw these cute little embroidered people pillows/dolls in a gift shop in Dublin. I loved the idea of them and thought I could make more personalized ones for Matt and I. With this week’s Iron Craft needle challenge I thought it would be a good time to try them. So, here’s little Matt and Kat.
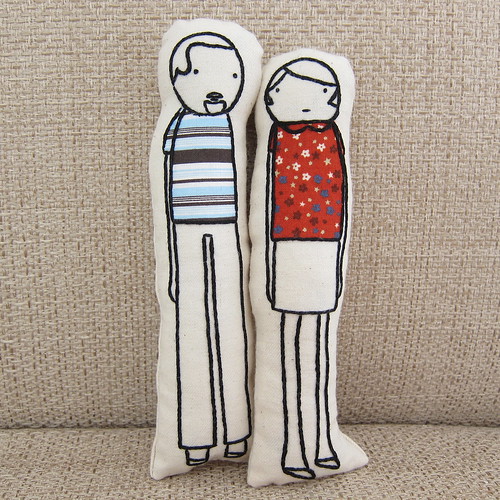
I can’t take credit for the little drawings. I’m ok at drawing, but it takes me a while to get things the way I want and with everything else going on right now, time was of the essence to get these done. So, I used the people from these pillows from Garnet Hill to create my designs. (I don’t think they are available anymore.)
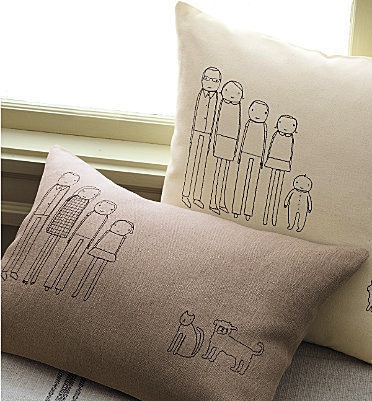
I tweaked the hair and added a beard and moustache to Matt’s. Then I added a pop of color with the appliqué for the shirts.
Really these were a breeze to make and I did them completely without a sewing machine (it’s packed to move). I think they are going to add fun little conversation pieces to our new place.
Little Us Pillow Dolls
My dolls are 7″ and 6 1/2″ tall and about 4″ around. You can do them as big as you want just make sure to get big enough pieces of fabric.
Supplies:
- 12″ x 12″ square of fabric per pillow, I used an unbleached utility fabric
- scrap patterned fabric, quilting scraps are perfect though you could also use actual pieces of old clothing too
- fusible web
- black embroidery floss
- thread to match main fabric
- stuffing
Tools:
- dressmakers tracing paper
- ball point pen
- scissors
- iron
- embroidery hoop
- embroidery needle
- pencil (optional)
- hand sewing needle
- sewing machine (optional)
1. Draw out your pattern and then transfer it to your base fabric using the dressmakers tracing paper. I use a ball point pen on a hard surface to get a nice crisp dark line.
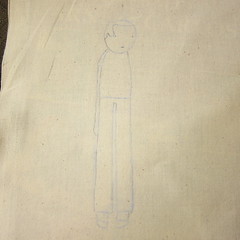
2. Using the same method trace the piece you are going to appliqué onto the patterned fabric. Cut that piece out of the fabric. Then cut a matching piece of fusible webbing.
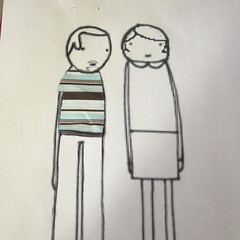
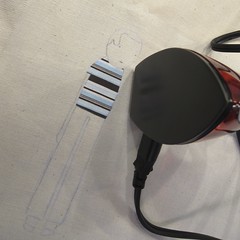
Iron the patterned piece onto the base fabric where it fits in your pattern.
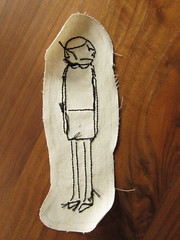
3. Embroider your design. I used three strands of black floss and a basic split stitch. Embroidery right along the edge of the appliqués. For the moustache and beard I used a backstitch.
4. Cut out the front of your dolls leaving a border around the embroider and a seam allowance. For my dolls I used a 1/2″ border and a 1/4″ seam allowance. I drew this on the back so I could have a line to follow while sewing it together.
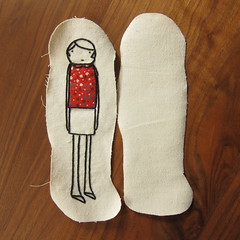
Cut out an identical shaped piece from the base fabric.
5. Put the pieces together with right sides facing each other. Sew together leaving the bottom of the doll open. You can sew with a machine or by hand. I did it by hand in a backstitch. Clip curves if you want. Turn the doll inside out and stuff. Sew the bottom together with a blind stich.
© 2005 – 2013 Kathy Lewinski & Susan Cornish





Pingback: Little Us Pillow Dolls DIY Sewing Tutorial - Sewistry
Pingback: 101 Easy Handmade Gift Tutorials - EverythingEtsy.com