Recently, I was contacted by Jo-Ann about whether I wanted to check out their new exclusive line of HGTV upholstery fabric. (If you watched any HGTV lately, you may have noticed they have started producing their own line of home decor items, flooring, furniture, paints and fabric.) Not one to turn down more fabric for my stash, I said yes, of course. I was especially happy when I saw the lovely patterns it came in. I received a yard of Urban Blossom in Berry and a yard of the matching Checkered Past plus a matching trim which I haven’t used yet. (Check out the coupon for the fabrics at the end of this post.)
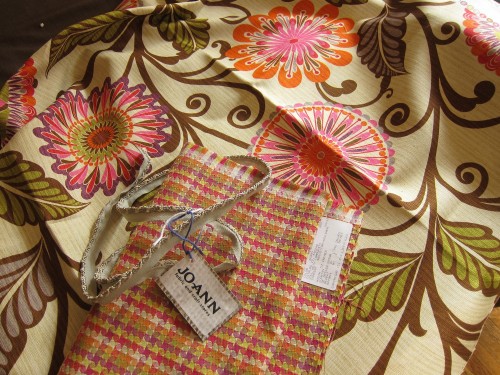
The only questions was what to do with it. I thought about doing a simple tablecloth for the patio, but then my cousin Jenny really admired the patterns. (She is always attracted to prints like this.) So, I decided to make something for her, a quilted laptop sleeve with a matching tote bag.

Upholstery fabrics have a great weight for making bag like this and I just love the bright springy colors as a holder for something so industrial. I made this a total electronics bag with the laptop sleeve and pockets an iPhone and iPad mini.
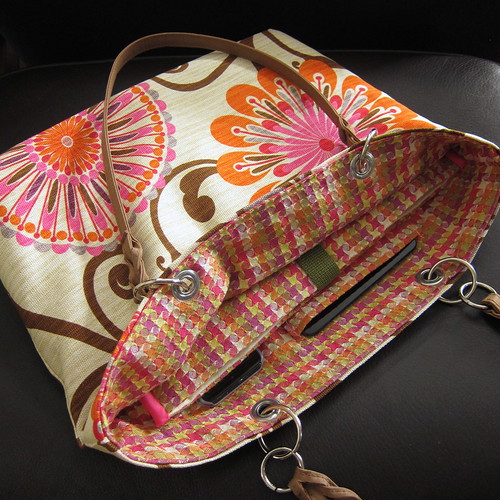
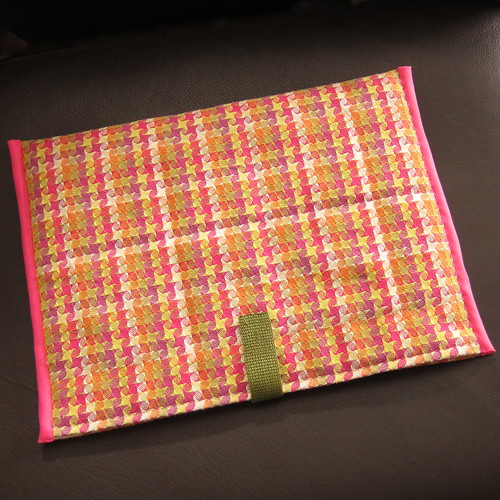
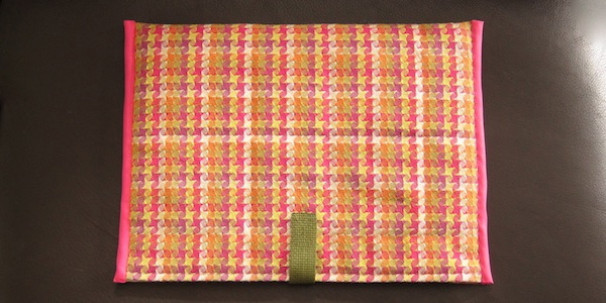
Because this is a rather long tutorial, let’s do it in two parts. Today I’ll share the instructions for the laptop sleeve and later in the week I’ll have the instructions for the tote. The sleeve is made to fit a 13″ Macbook Pro or Air like a glove. It is lined with a soft flannel, padded with some simple quilting and closes with a velcro tab to keep your laptop safe and sound.
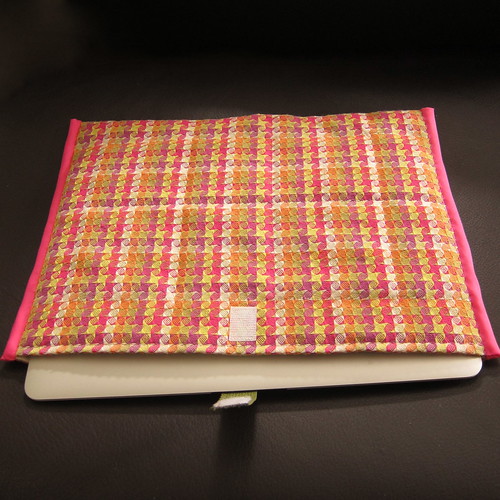
This is a great project for someone wanting to try some basic quilting skills. You’ll make a quilt sandwich, machine quilt it and then bind it with bias tape.
Quilted Laptop Sleeve
This sleeve is sized to fit a 13″ Macbook Pro or Macbook Air, but you can easily size it to fit the computer of your choice.
Supplies:
- 14.5″ x 22″ piece of outer fabric (36.63cm x 55.88cm)
- 14.5 x 22 piece of flannel
- 14.5 x 21 piece of quilt batting
- thread to match fabric
- 4″ piece of 1″ webbing
- 1″ of velcro
- thread to match webbing
- 24″ of double-fold wide bias tape
- thread to match bias tape
Tools:
- scissors
- straight pins
- sewing machine
- lighter
- hand-sewing needle
1. Prepare your quilt sandwich – Cut out all your fabric pieces to the sizes listed in the supplies.
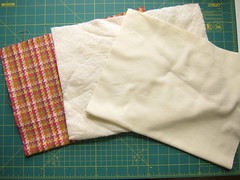
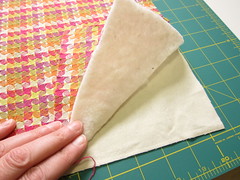
Layer the pieces, flannel, batting and outer fabric. You want the right sides of the flannel and the outer fabric facing out. Center the batting to there is 1/2″ overhang of the fabrics on each of the short sides.
Pin the pieces together by pinning not just the sides by spaced around the middle too. This will help prevent puckering when you are quilting.
2. Quilt the sleeve – Use the sewing machine to quilt the pieces together. Leave at least 1″ at each of the shorter ends un-quilted.
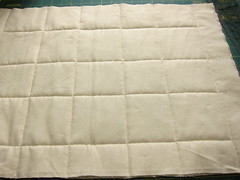
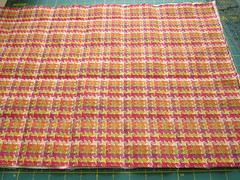
You don’t need to do a lot of quilting, just enough to keep the batting in place. I did very basic straight lines following the pattern in the outer fabric.
3. Finish the sleeve opening – At the short ends, turn the outer fabric in over the batting 1/2″. Fold the flannel over to the inside even with the outer fabric. Pin.
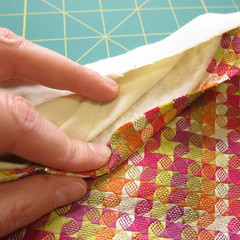
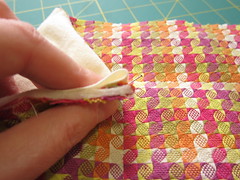
On one side, find the center and insert one end of the webbing in between the outer fabric and flannel, so about 1 inch of the webbing is inside. Pin in place.
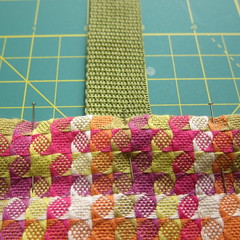
Top stitch the short sides shut, I went about 1/4″ in from the top. Reinforce the stitches over the webbing.
4. Add the velcro – Melt the end of the webbing with the lighter so it won’t fray. You just need to kiss the webbing with the flame. Careful, the melted plastic can be hot.
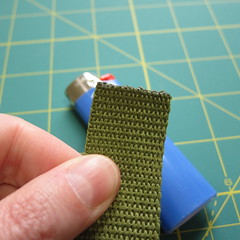
Sew one side of the velcro to the center of the short side of the sleeve that does not have the webbing on it. I put it about 1/2″ down from the top. Sew the other side of the velcro to the end of the webbing with the thread that matches the webbing. You want the velcro on the side of the webbing facing the flannel.
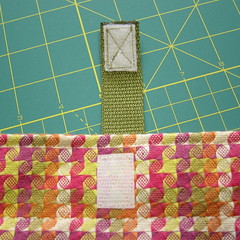
5. Finish the sides – Fold the sleeve in half with the flannel inside and the finished ends lined up. Cut the bias tape into two 12″ pieces. Open one piece of the bais tape. You’ll see one side is slightly shorter than the other. On the back of the sleeve (the one with the webbing in it), line the edge of that short side up along one side of the sleeve with 1/2″ hanging off the top and bottom. Pin in place. Sew along that fold closest to the edge.
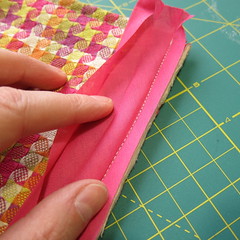
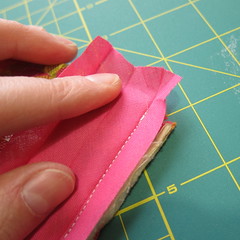
Fold over to cover the unfinished edge. (You may need to trim a little of the sleeve edge to make it lie nicely.) At the top and bottom, fold the excess over and inside.
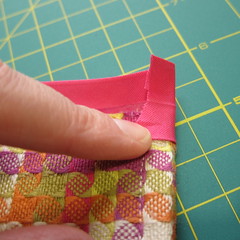
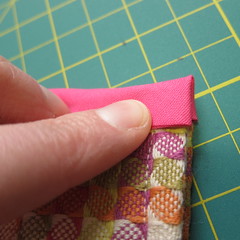
Hand sew into place on the front of the back using a blind stitch and thread that matches the bias tape.
Want to try your hand at making this? Here’s a coupon to get 10% off the HGTV line at Jo-Ann through May 4th.
***Disclaimer: I was given the HGTV fabric for this project, but not compensated in any other way.
© 2005 – 2013 Kathy Lewinski & Susan Cornish



First of all, you are a great cousin. Second of all, do you have any fabric that I might covet and then get a resulting gift–especially since coveting your fabric stash is all that it takes! Just kidding. More importantly, what a great project. Who could not smile at seeing either the tote or the laptop cover. Well done.
Dr Russ you are correct- I do have a great cousin and feel very lucky and thankful that she made me such a great bag. I can’t wait to use it.
Pingback: Tutorial: Quilted laptop sleeve · Sewing | CraftGossip.com
beautiful work!
Pingback: Tutorial: Quilted laptop sleeve | Sewing Patterns
Pingback: 101 Simple Sewing Tutorials