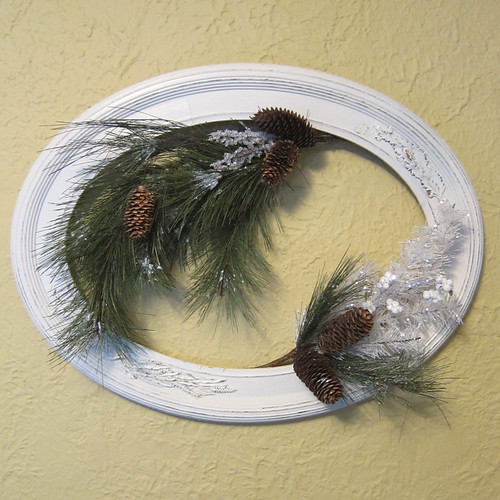
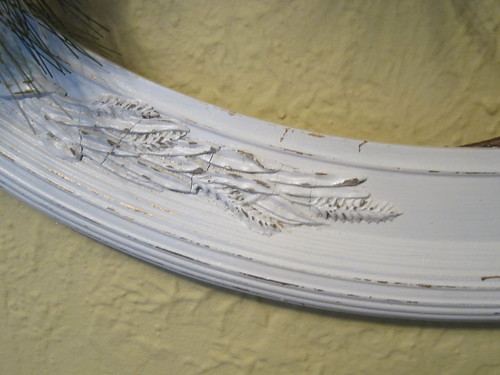
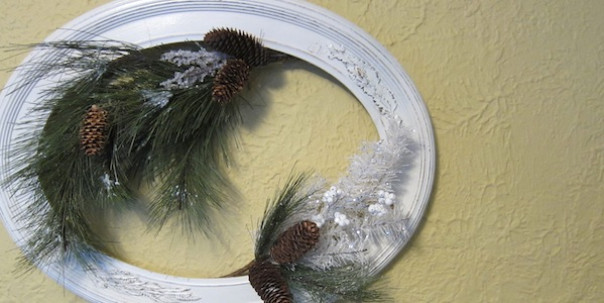
Last week Jenny and I went to this amazing sale (which I’ll tell you about in another post) and I picked up a beautiful, vintage oval frame. I loved the shape and details in the carving, but what was I going to do with it? Then I thought, why not fill it with Christmas greenery as a different take on a wreath. Plus I had the perfect place to hang it in my dining room.

My frame was in a distressed soft white with bits of gilt peeking through, a little shabby chic.

But you could do this with any frame really, just make sure it has some heft to it, a skinny little metal frame just wouldn’t have the same impact. You also want the frame to have a lip at the back where a mirror or photo would have sat in it.
Vintage Frame Wreath
Supplies:
- empty frame
- floral picks (I used 2 larger picks and added some pinecones
Tools:
- small nails
- hammer
- hot glue gun
- hot glue
Every frame and floral pick is different, so you may need to try different way of attaching your. This is just about how I did it with my wooden and plaster frame.
1. I used two large floral picks that were pre-made from Michael’s, but you could use lots of smaller ones and put together your own look. If you chose to do this, I would use floral tape to attach all the picks together at the stems to create on larger piece.
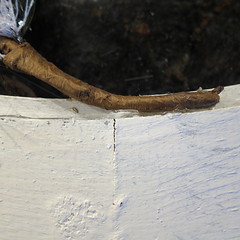
2. Decide where your picks are going on your frame. Bend the stem to fit along the inside lip of the frame.

3. Attach the floral picks – For the one at the bottom I just hot glued it in with lots of hot glue. You’ll want to hold it in place while the glue dries.
For the one at the top of the frame, glue was not going to be enough to hold it in place. I carefully nailed in a few small nails through the taped stems into the frame. You have to be very careful that the nails don’t go through the front of the frame (Yeah, I learned that one from experience.)

Then I added hot glue to secure it even more.
After that it is just a matter of hanging it. My frame already had a wire at the back, so hanging was easy.
One nice thing I discovered it that the hot glue will come off the frame after Christmas, so I’ll be able to use this frame for other projects through the year.
© 2005 – 2012 Kathy Lewinski & Susan Cornish


That looks great. I love it.
Pingback: Inspiration. DIY Christmas decorations | my Craft Bay
Pingback: Inspiration. DIY Christmas decorations my Craft Bay