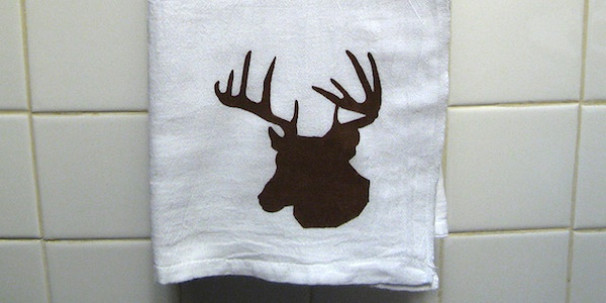
Let’s face it, we’d all like to be giving everyone on our list a handmade quilt or sweater made just for them, but unless you started back in June that just isn’t gonna happen at this point. Believe me, I know from experience (Sewing the binding on the last of four quilts on Christmas Eve anyone?). That doesn’t mean you still can’t give lovely homemade gifts, especially if you start with something already made and just personalize it using freezer paper stencils.
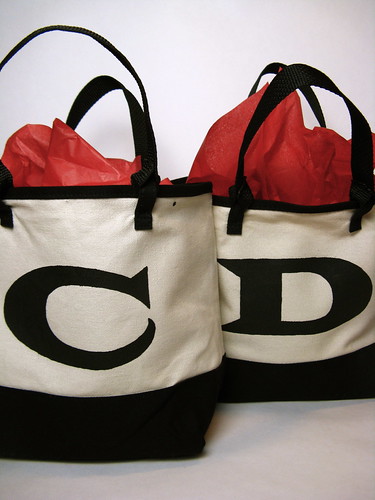
Personalize a tote bag using freezer paper stencils, then fill the bag with homemade or store-bought treats. By the way, these bags cost me $.97 each, so this was also a wallet friendly gift.
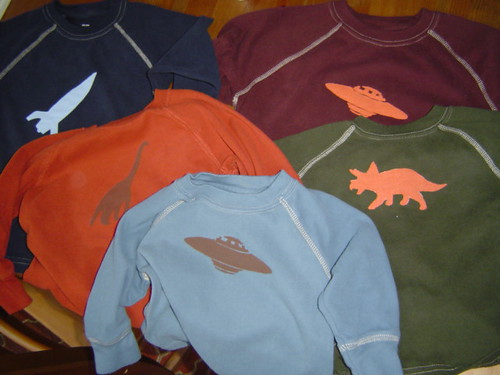
You can also use freezer paper to stencil t-shirts and sweatshirts. I did the ones above for all my nephews in an afternoon.
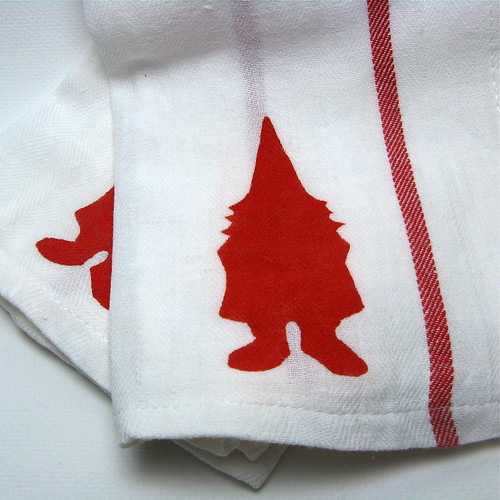
Freezer stenciling also work wonderfully for dressing up napkins or dishtowels. I like using freezer paper for stenciling on fabric because it stays in place and if you have ironed it on well, gives you a nice crisp line.
How to use Freezer Paper Stencils
Supplies:
- freezer paper sheets
- fabric item you want to personalize
- fabric paint
Tools:
- computer printer (optional)
- exacto knife
- iron
- paintbrush
1. Print or draw the image you want to use as your stencil on the back (non-waxy side) of a sheet of freezer paper.
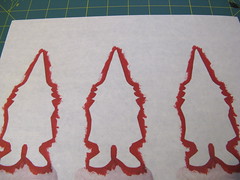
2. Cut the stencil out with an exacto knife or small scissors.
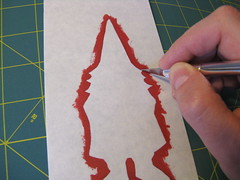
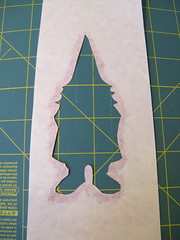
3. Place the stencil on the fabric waxy side down and iron in place. Pay special attention to getting details and points adhered.
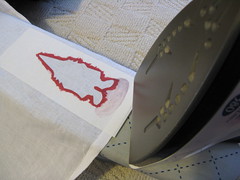
4. Put the area to be painted on a piece of scrap paper or protected surface. Paint in the stencil with fabric paint. It works best if you paint away from the edges of the stencil. Fill the whole stencil in, but you don’t need to saturate it with paint.
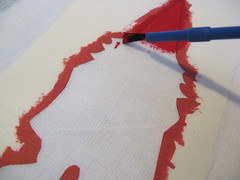
Let dry.
5. Carefully pull the stencil away from the fabric. I have found if I am very careful, I can use the same stencil again.
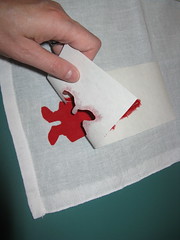
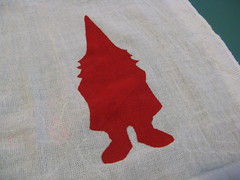
Follow the instruction on your paint for heat setting and washing.
Now go out and stencil something!
© 2005 – 2012 Kathy Lewinski & Susan Cornish

