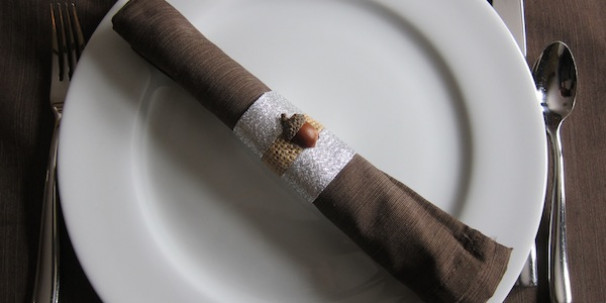
One more quick project before we start really relaxing for the holidays.
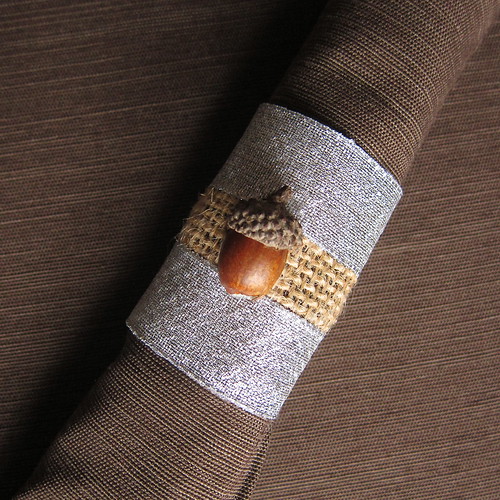
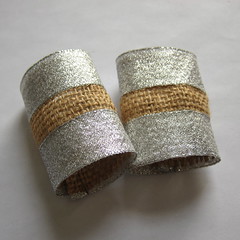
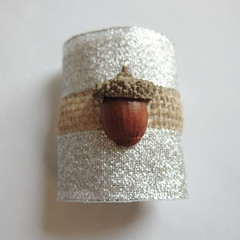
These napkin rings were a quick little addition to my holiday table and go so well with my natural centerpiece. The acorns are surprisingly easy to cut in half with an exacto knife if you just use a little care.
Burlap, Ribbon and Acorn Napkin Rings
Supplies:
- burlap
- 3/8″ ribbon
- fabric or tacky glue
- thread to match ribbon
- acorns and caps (one per napkin)
- cotton ball (optional)
Tools:
- ruler
- scissor
- paintbrush
- sewing machine
- exacto knife
1. Cut burlap into 5.5″ x 2″ strips. I use the weave in the burlap as a cutting guide.
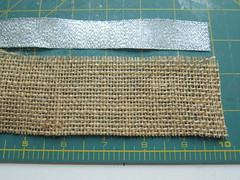
2. Cut the ribbon into 5.5″ strips. Cut two pieces of ribbon for each burlap strip.
3. Place the burlap on a piece of scrap paper. Paint the glue on one long side of the burlap just slightly shorter than the width of the ribbon. Press the ribbon in place. Repeat for the other side of the burlap with another piece of ribbon. Turn upside down and let dry.

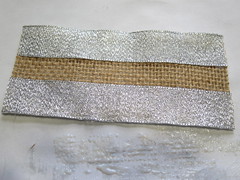
4. Fold the burlap and ribbon pieces in half lengthwise with right sides together. Sew a 1/4″ seam at the open end creating a tube. I sewed the same line twice to keep the burlap secure.
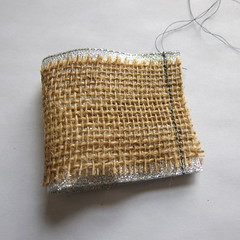
5. Turn right side out.
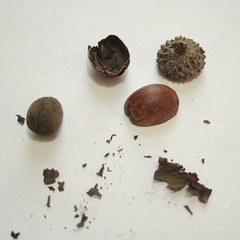
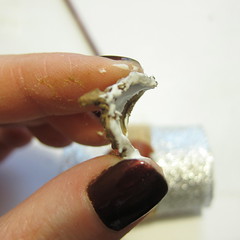
6. Cut the acorns in half – Take the caps off the acorns then use the tip of the exacto knife to carefully cut the body of the acorn in half. Acorns are pretty brittle, so be gentle. I was never able to get more than one good half from each acorn.
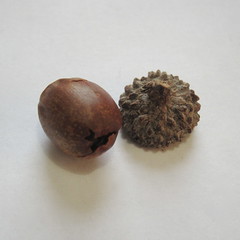
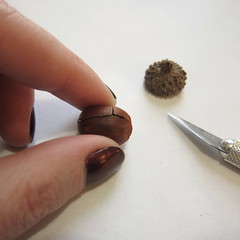
Through away the nut and other side of the acorn. Then cut the cap in half.
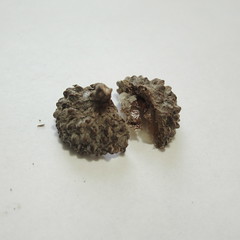
They should fit together like this.
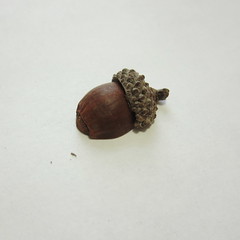
7. Glue the acorn onto the napkin ring – The body of the acorn is a little fragile and has a thin skin. I found it was easier to glue it on if I filled it with something first, so I glued some cotton ball inside them. Then glue the body onto the front of the napkin ring in the center of the burlap. Press in place until secure.
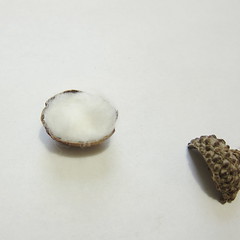
Put some glue on the inside of the acorn cap half and around the cut edge. Glue in place on top of the acorn body.
© 2005 – 2012 Kathy Lewinski & Susan Cornish

