(Every week until December 1st we will be making a small Christmas ornament that can be used in our Pocket Advent Calendar. Join us in making all 24 or just pick and choose your favorites.)
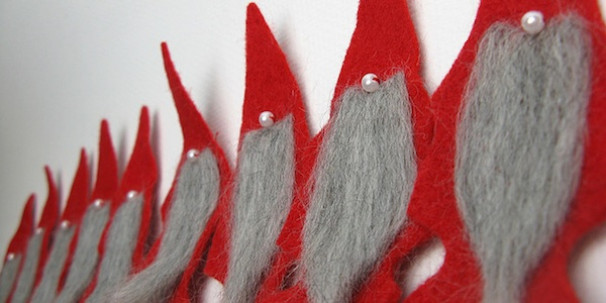
This little gnome or tomte ornament has been the most popular seller on our Etsy store over the past couple of years. I haven’t had time to make any to sell lately, so instead I thought it was time to share the pattern, so you can make your own.
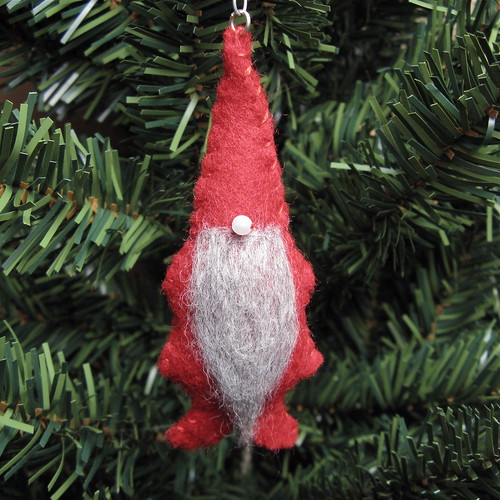
I love the fact that these little guys are so simple yet seem to have so much personality. You can easily whip a few of them up in an evening.
Felt Gnome
Download the Gnome Template
Supplies:
- 4-inch x 4-inch square of red felt scissors
- grey roving
- red embroidery thread that matches the felt
- 1/8-inch “pearl” bead
- stuffing
- 1/4-inch split silver ring
Tools:
- felting needle
- felting mat or foam felting square (a square of styrofoam will work too)
- sewing needle
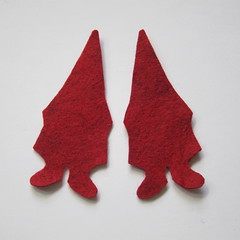
1. Cut two of the gnome pattern from the red felt.
2. Cut a piece of roving about 2 1/2 inches long by 1 inch wide, It doesnʼt need to be too
thick as you can always add more if the beard is a little thin.
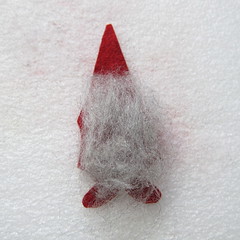
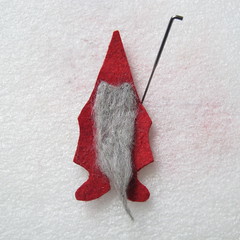
3. Place one of the felt gnome pieces on the felting board or foam. Use the felting
needle to attach the roving to the felt & shape the sides of the beard. This is done by poking the felting needle in & out of the roving & felt until secure. Trim the bottom of the beard to the desired length & into a point.
4. Cut a length of the embroidery thread & unwind the strands. Use two strands to do all the sewing.
5. Sew a bead on for the nose at the top of the beard.
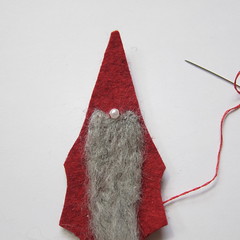
6. Put the second gnome piece against the back of the one with the beard & sew
together using a whipstitch. Start the sewing at about the top of the beard.
7. When you have sewed around both feet & the bottom of the skirt, work a little stuffing
into the top of the boots. (A knitting needle or other small straight stick can help with
this.) Be careful not to overstuff & make the sides of the gnome pull apart.
8. Continue sewing until you reach the top of the beard on the second side then stuff the
body.
9. Sew up one side of the hat & down half of the other side. Add some stuffing to the hat
then finish the sewing.
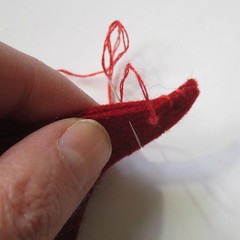
10.Push the needle & thread up through the inside of the hat coming out at the top.
Make 3 or 4 whipstitches at the top of the hat then knot off at the back & cut.
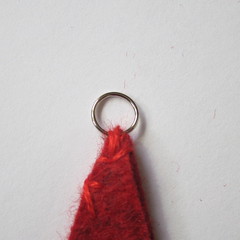
11. Open the loop of the silver ring & put through the stitches just made at the top of the
hat. Close the loop.
© 2005 – 2012 Kathy Lewinski & Susan Cornish



Pingback: Advent Calendar Project – Week 24 | Fiber Arts | Scoop.it
This is so cute 🙂 I am pinning this to my Christmas board!
These are so cute! Tomte, or nisse, are part of my Danish heritage, so I need to make some of these.
Pingback: How to make a felt gnome Christmas ornament · Felting | CraftGossip.com
I love these i will habe to borrow some felting needles from my mum!
They will look great with our collection of Nisse collected over the past few years while visiting Denmark.
Adorable! Thank you.
Pingback: Un petit nain en feutrine à accrocher au sapin | astuce | Blog de Petit Citron
Pingback: Top 10 DIY Felt Christmas Tree Ornaments - Top Inspired
Pingback: I’ll be Gnome for Christmas
Pingback: 70 DIY Felt Christmas Tree Ornaments
Pingback: 70 DIY Felt Christmas Tree Ornaments – Decor İdeas