(Every week until December 1st we will be making a small Christmas ornament that can be used in our Pocket Advent Calendar. Join us in making all 24 or just pick and choose your favorites.)
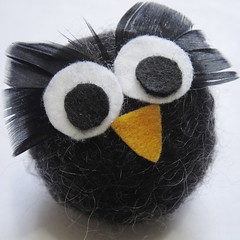
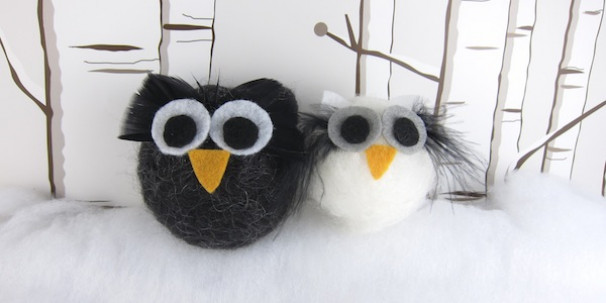
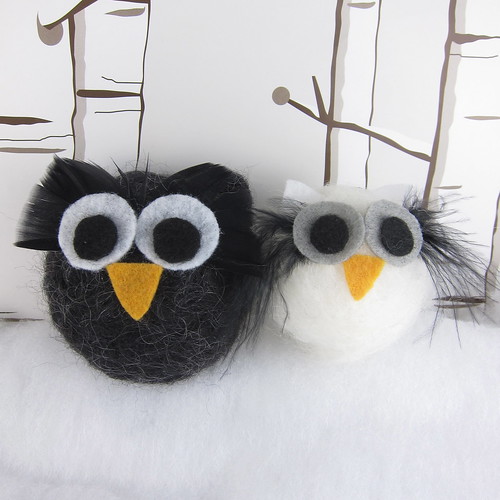
Owls are still so hot in design these days, I wanted to make one to add to our collection of ornaments…actually I made two.
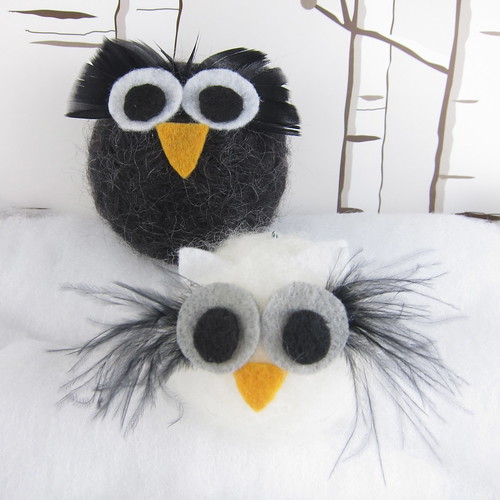
These little guys are so simple to make, you can whip up a whole family of owls in just a couple hours. Make them in different colors with all different types of feathers.
If you’ve never needlefelted before it’s really easy, you’re just stabbing a special barbed needle into the wool to felt it. The needles are readily available at most craft and knitting stores.
Felt Owl Ornament
- small styrofoam ball
- roving or loosing spun wool yarn (the yarn must be wool to felt) I used Sheepish in Whitish and Brown Sheep Burly Spun in Charcoal
- small eye screws
- glue for styrofoam
- feathers
- scraps of felt in white, black, and orange or yellow
- tacky glue
Tools:
- needlefelting needle
- scissors
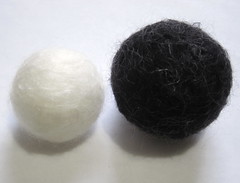
1. Cover the styrofoam ball with the wool – If you are using yarn, shred it until it is like roving. Using the needlefelting needle felt stab the roving into the styrofoam ball until it is felted in place. I found it easiest to to a section at a time. Don’t try to get it to a smooth felt, you want it a little fuzzy.
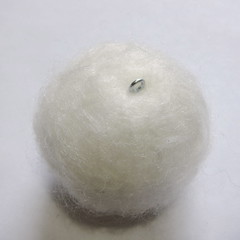
2. Attach the hanger – Put a dab of foam glue (I use Hold the Foam) on the end of the eye screw. Screw into the styrofoam ball. This will now be the top of your owl. Let dry.
(We will now be adding the owls face. I cut all the pieces and pinned them in place before gluing them on.)
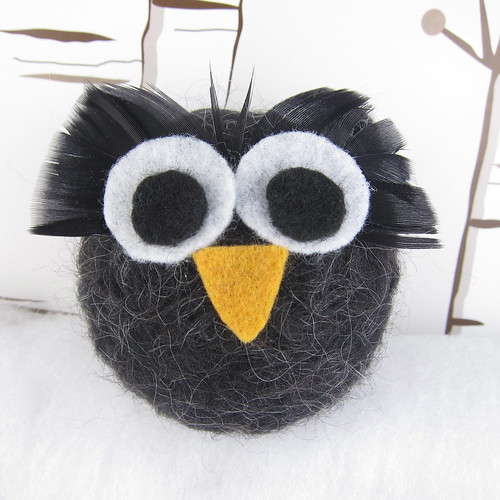
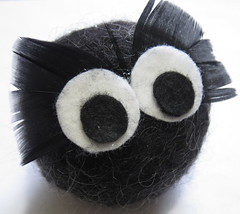
3. Add feathers – You can play with the look of the owl by using different shape feathers. For the larger owl, I trimmed two feathers into triangle and glued them on as in the picture below.
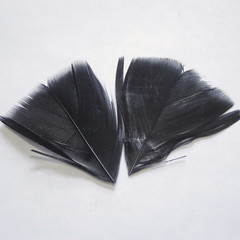
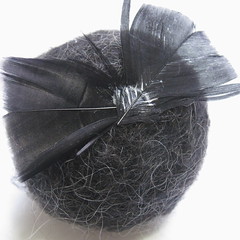
For the smaller owl, I used a whispier feather with a lot fo drape to it. I found this shape was easier to glue on to the eyes before glueing on to the owl itself.
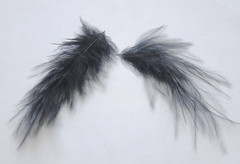
4. Add the eyes – Cut circles from the white felt and smaller circles from the black.The size is really based on the size of your owl. Buttons make a great template for these. Glue the white circles on top of the feather like this,
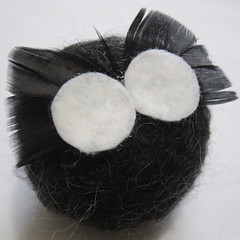
Then glue the black circles on top of that.
5. Add the beak – Cut a triangle from the orange or yellow felt. Glue in place under the eyes.
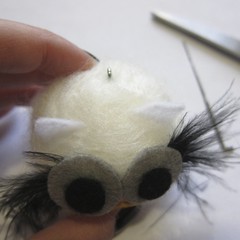
6. Add ears – You have two choices here, you can cut triangles from felt that matched the body for the ears or needlefelt them from more of the wool. For the small owl, I just cut some white felt and needlefelted them on.
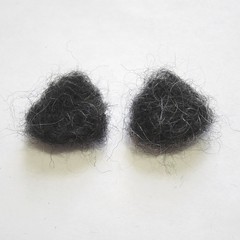
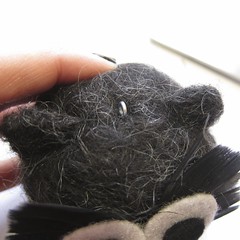
For the grey owl, I needlefelted the ears themselves as well as needlefelting them on.
Hoot! Hoot!
© 2005 – 2012 Kathy Lewinski & Susan Cornish




So cute! I love these little owls. i hope i have some time before Xmas to make some.
How cute are these? Just love ’em!
Pingback: The Advent Calendar Project Week 22 Felt Owls · Felting | CraftGossip.com
Pingback: Kreativ-Links, Teil 31: Christmas-Special – Abraxandria
Pingback: Weekend shenanigans « Cookies and Crafts
Pingback: Felt Owl Ornament for Advent Calendar Project – Felting